18
XciteRC Rocket 250 3D
EN
The remote control system
·
Battery charging
The remote control system
Here you get an overview of the remote control system of your XciteRC Rocket 250 3D and its various fea-
tures and settings. Before the first flight, you should absolutely have read and understood all these functions
and settings.
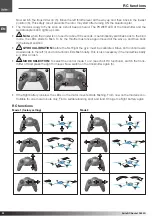
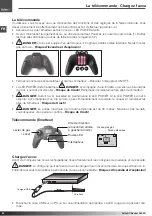
• Do make sure that the transmitter is turned off - POWER-LED off.
• Now open the battery compartment cover on the backside of the transmitter. Slide the cover down (1).
• Insert three size AA Alkaline batteries (2).
•
WARNING:
pay attention to the correct polarity -
fire or explosion hazard!
+
-
+
-
+
-
+
--
• Close the battery compartment cover, then turn on transmitter.
• The POWER LED must lit.
Attention:
if the POWER LED flashes and a beep sound appears or does not
light at all, the model may not started –
crash hazard!
Change transmitter batteries immediately.
•
WARNING:
check the POWER LED also during operation. If the POWER LED starts to blink and
the sound appears, stop operation, switch the model off and replace the transmitter batteries –
crash
hazard!
•
ATTENTION:
The maximum range of the remote control system is about 50 meters, do not fly
farther away under any circumstances - crash hazard!
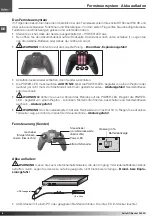
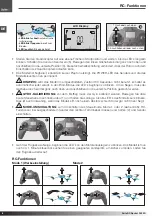
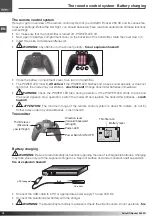
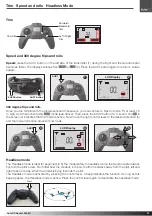
Transmitter
Power Switch (ON/OFF)
Power-LED
Direction lever
(forward/backward,
left/right)
Throttle lever
(Rise/sink,
yaw left/right)
%
H
L.H
EASY
Battery level
Throttle rate
Battery charging
WARNING:
Be sure to read all safety instructions regarding the use of rechargeable batteries. Charging
may take place only with the supplied charger on a fireproof surface and under constant adult supervision -
fire or explosion hazard!
COM P UTE R
U S B
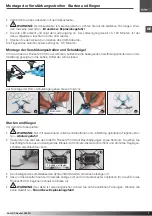
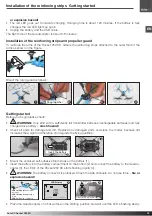
USB Ladegerät
LiPo-Akku
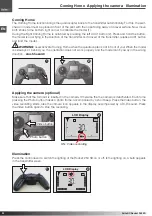
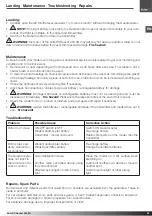
• Connect the USB cable to a PC or appropriate power supply. The red LED lits.
• Connect the Quadrocopter battery with the charger.
•
WARNING:
The Quadrocopter battery is polarized. Check the side channels. Do not use force -
fire

