background image


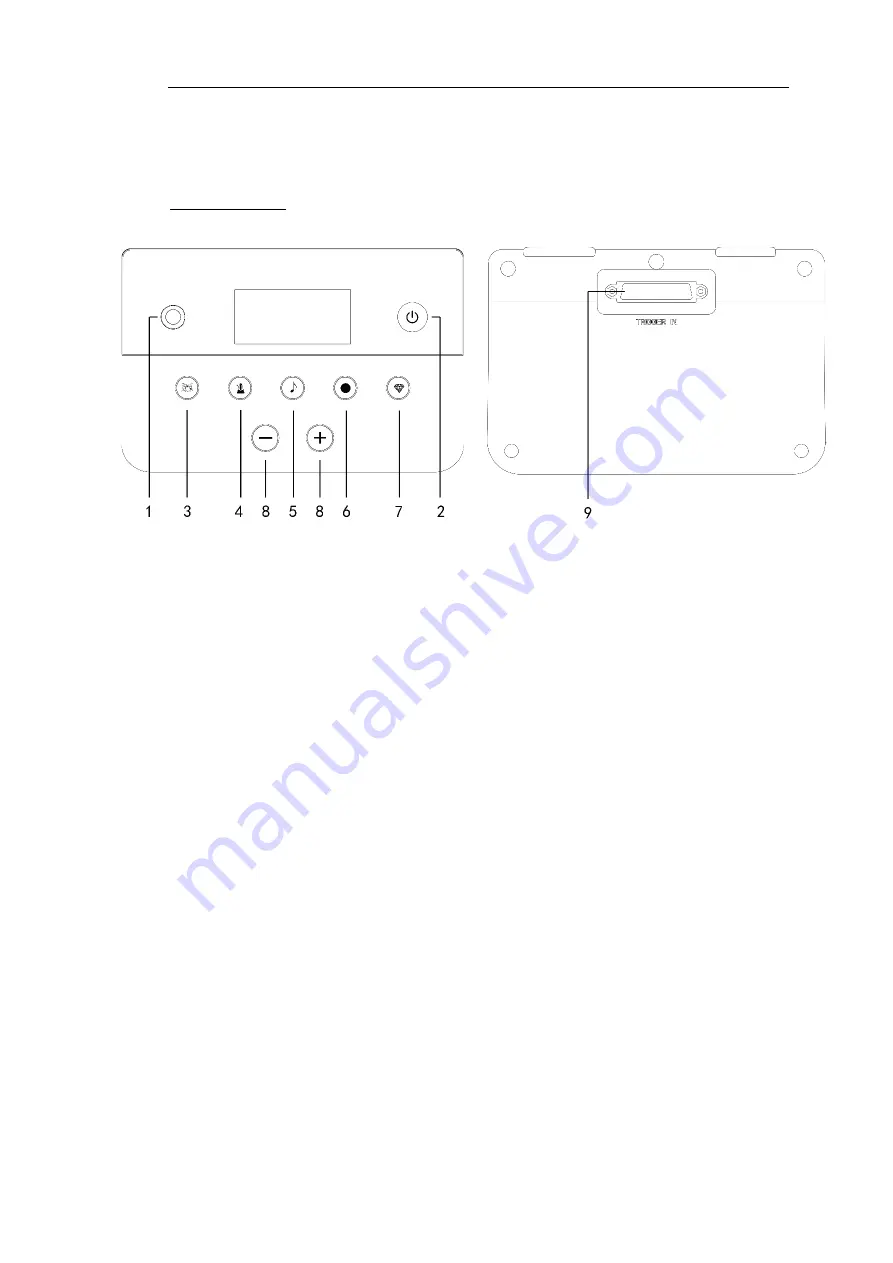
XDrum DD-460 


Module  

 
Top and bottom  


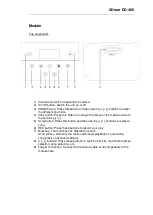
1)  Volume control: For adjusting the volume  
2)  On/Off button: Switch the unit on or off 
3)  DRUM button: Press this button and then use the [+] / [-] buttons to select 

the different drum kits. 

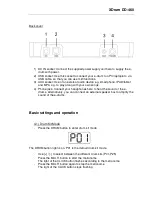
4)  Click button: Press this button to change the tempo of the metronome with 

the buttons [+] / [-]. 

5)  Song button: Press this button and then use the [+] / [-] buttons to select a 

song. 

6)  REC button: Press these buttons to record your play  
7)  Multi key: The multi key has different functions.  


Short press = start/stop the metronome/song/playback of a recording  
Long press = advanced settings 

8)  [+] / [-] buttons: Press these buttons to switch drum kits, metronome tempo 

selection, song selection, etc.  

9)  Trigger connection: Connect the multicore cable of all components to the 

module here. 


Summary of Contents for DD-460P Mesh E-Drum Kit

Page 1: ...00073463 XDrum DD 460P Mesh E Drum Kit 00073464 XDrum DD 460C Mesh E Drum Kit Operating instructions Revision 07 2021...

Page 2: ...th the permission of Musikhaus Kirstein GmbH The same applies to the reproduction or copying of images even in modified form Content Safety precautions and precautionary measures 3 Important informati...

Page 3: ...representations in these operating instructions may differ slightly from the appearance of the actual product as long as this does not have a negative impact on the technical characteristics and safe...

Page 4: ...y touch the mains cable by the plug Always plug in the mains plug last Plugging in must be done without using force Avoid contact of the mains cable with other cables Do not bend or twist the cable an...

Page 5: ...nit may interfere with radio and television reception Therefore do not use this unit in the vicinity of such receivers Noise can be caused by wireless communication devices such as mobile phones being...

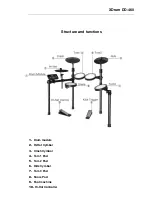
Page 6: ...XDrum DD 460 Structure and functions 1 Drum module 2 Hi Hat Cymbal 3 Crash Cymbal 4 Tom 1 Pad 5 Tom 2 Pad 6 Ride Cymbal 7 Tom 3 Pad 8 Snare Pad 9 Foot machine 10 Hi Hat Controller...

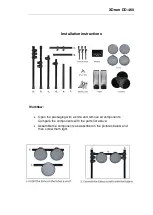
Page 7: ...ation instructions Workflow Open the packaging with a knife and remove all components Compare the components with the parts list above Assemble the components as described in the pictures below and th...

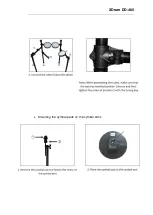
Page 8: ...XDrum DD 460 Mounting the cymbal pads on the cymbal arms...

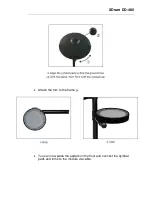
Page 9: ...XDrum DD 460 Attach the tom to the frame g You can now place the pedals on the floor and connect the cymbal pads and toms to the module via cable...

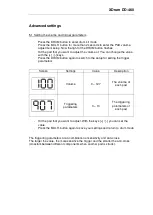
Page 10: ...nome with the buttons 5 Song button Press this button and then use the buttons to select a song 6 REC button Press these buttons to record your play 7 Multi key The multi key has different functions S...

Page 11: ...Connect your headphones here to hear the sound of the e drums Alternatively you can connect an external speaker box to amplify the sound of the e drums Basic settings and operation 4 1 Drum Kit Mode P...

Page 12: ...light of the CLICK button lights up again 4 3 SONG mode Press the SONG button to switch to SONG mode The light of the SONG button lights up Use the keys to select a song Press the MULTI button to pla...

Page 13: ...the MULTI button during recording the recording is stopped and played If the screen shows No when the MULTI button is pressed it means that there is no recording file available TIP If you switch to a...

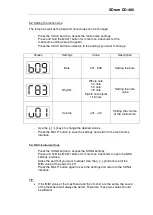
Page 14: ...in to switch to the setup for setting the trigger parameters Screen Settings Value Description Volume 0 127 The volume of each pad Triggering parameters 0 10 The triggering parameters of each pad Hit...

Page 15: ...Volume u01 u10 Setting the volume of the metronome Use the keys to change the desired values Press the MULTI button to save the settings and return to the metronome interface 5 3 MIDI related setting...

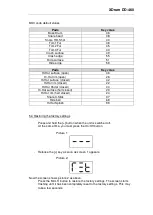
Page 16: ...4 Hi Hat surface half closed 23 Hi Hat rim half closed 24 Snare X Stick 37 Ride bell 69 Hi Hat Splash 99 5 4 Restoring the factory settings Press and hold the button when the unit is switched off At t...

Page 17: ...ppearances are subject to change without notice All information was correct at the time of going to press Musikhaus Kirstein GmbH does not guarantee the accuracy or completeness of the descriptions ph...

Reviews: