

Athena Series of LED
Stairwell Fixtures
Installation & Operation Guide
Xeleum’s Stairwell Fixture Installation (Cont)
Step
Description
Image
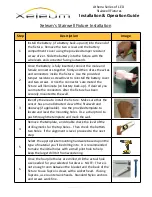
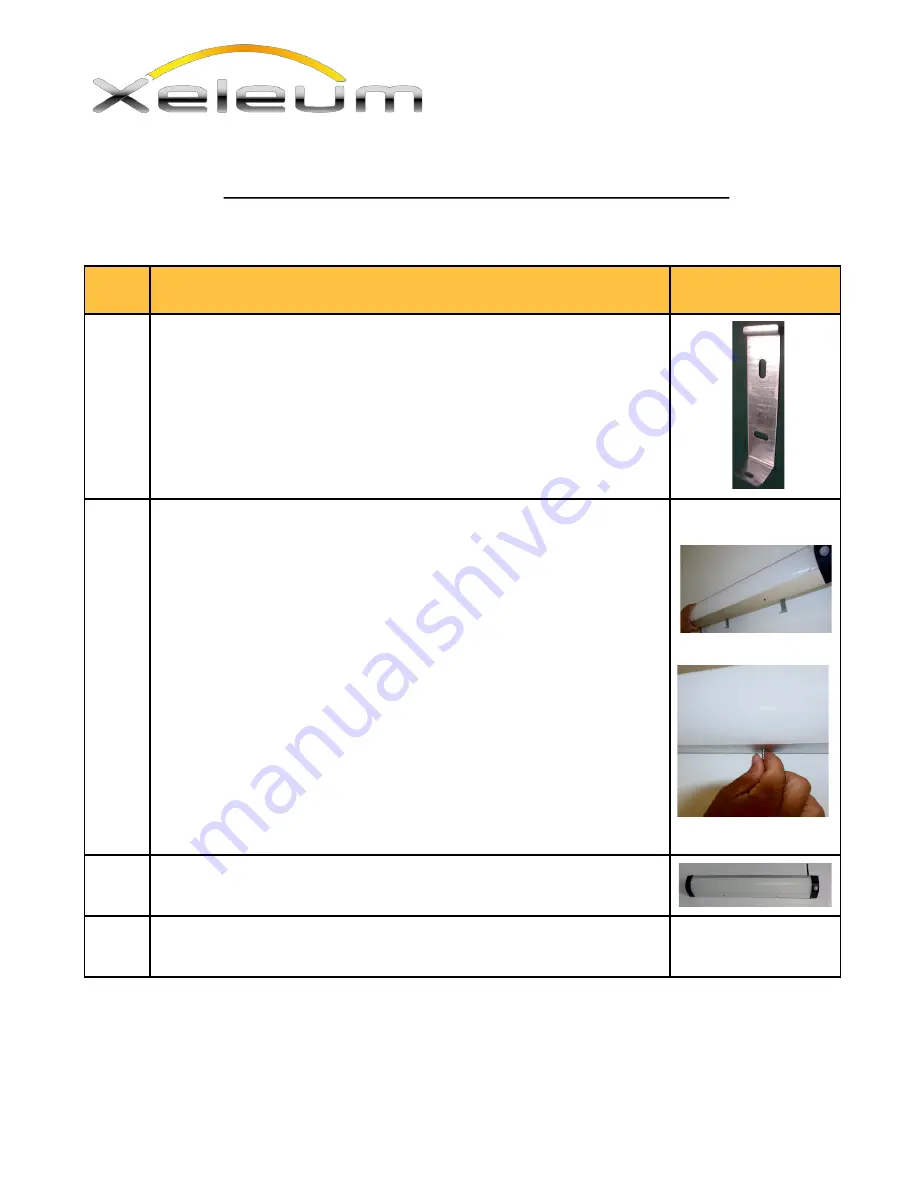
7
Secure the brackets to the wall ensuring that the short part
of the bracket in facing down and outwards (away from the
wall).
8
Once the electrical connections have been completed (if
power is coming in from the back of the fixture), you are
ready to mount the fixtures to the brackets. Start by
pressing the top part of the fixture slightly above the
brackets and slide it down towards the brackets. There is a
grove in the top (back) of the fixture that will engage with
the upper lip of the brackets. The fixture should support
itself now on the wall. Align the short part of the bracket
with the corresponding holes on the back of the fixture and
press the lower part of the fixture towards the wall. Now
use the two small screws provided and screw them into the
holes on the bottom of the fixture.
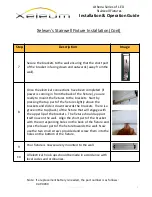
9
Your fixture is now securely mounted to the wall.
10
All electrical hook-‐ups should be made in accordance with
local codes and ordinances.
5
Note: If a replacement battery is needed, the part number is as follows:
XAP-‐0039
Revised: 1/6/14


