October 2012
2-93
ColorQube 8570/8870 Service Manual
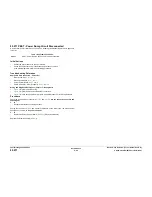
Paper Jam - Open Exit Door B to Clear, Tray 2 Emp-
Fault Messages and Codes
Xerox Internal Use Only - Revised, 3rd Revision
Paper Jam - Open Exit Door B to Clear (no jam is present
and message won’t clear)
A paper jam has occurred. The following troubleshooting procedure applies to this error.
Initial Actions
•
Check the paper path for obstructions.
•
If the problem persists, perform the following procedure.
Troubleshooting Reference
Applicable Part (Chapter 5 - Parts List)
•
Exit Module Sensor Assy,
PL 6.1 Item 9
Wiring and Plug/Jack References (Chapter 7 - Wiring Data)
•
Figure 5
, Top Front Wire Routing
•
Figure 8
, I/O Board, Sensors (1 of 2)
Procedure
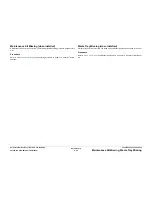
Check the Top Door sensor wiring harness connector
P/J116
for damage or being unplugged,
Is the connection secure and undamaged?
Y
N
Reseat and/or replace the wiring harness.
Check the Strip Sensor wiring for damage or being unplugged. Check that Strip Flag can move
freely (is not stuck). Does the Strip Flag move freely and is the connection secure and
undamaged?
Y
N
Troubleshooting complete.
Replace the Exit Module Sensor Assembly.
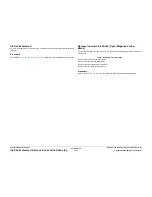
Tray 2 Empty (when it has paper)
A Tray 2 error has occurred. The following troubleshooting procedure applies to this error.
Initial Actions
•
Remove any paper from Tray 2.
•
Inspect the Paper Tray for damage.
•
Reload Tray 2 with fresh paper and confirm the Paper Guides are set correctly.
Troubleshooting Reference
Applicable Parts (Chapter 5 - Parts List)
•
Preheater and Deskew Assembly,
PL 2.1 Item 20
•
Tray 2 Lift Motor,
PL 4.1 Item 6
•
I/O Board,
PL 5.1 Item 10
•
Tray Lift Sensor,
PL 6.1 Item 3
Wiring and Plug/Jack References (Chapter 7 - Wiring Data)
•
Figure 2
, Left Side Wire Routing
•
Figure 3
, Front Side Wire Routing
•
Figure 4
, Optional Tray, Clutches, Solenoids, Tray 2 Lift Motor
•
Figure 9
, I/O Board, Sensors (2 of 2)
Procedure
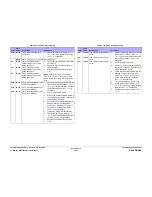
If the I/O Board has been recently removed, check that the ground plane on the top left corner
has been properly installed on top of the I/O Board instead of underneath. Otherwise, remove
the Preheater (
REP 2.20
) and check that wires are not blocking the Tray Lift Sensor (orange
flag) located on the chassis base under the Preheater. Is the Tray Lift Sensor blocked by
the wiring harnesses?
Y
N
Check that the Tray Lift Sensor wiring harness
P/J126
is properly plugged in and wires
are undamaged. Is the connection secure and undamaged?
Y
N
Reseat and/or replace the wiring harness.
Check that the Tray Lift Motor wiring harness connector
P/J108
(on the left side chassis)
is plugged in and wires are undamaged. Is the connection secure and undamaged?
Y
N
Reseat and/or replace the wiring harness.
Replace the Tray 2 Lift Motor (
REP 4.6
).
Move the wiring harnesses away from the Tray Lift Sensor. Does the error persist?
Y
N
Troubleshooting complete.
Replace the Tray Lift Sensor. Does the error persist?
Y
N
Troubleshooting complete.
Replace the I/O Board (
REP 5.10
).
Summary of Contents for COLORQUBE 8570
Page 1: ...ColorQube 8570 8870 Printer ColorQube 8570 8870 Service Manual Xerox Internal Use Only...
Page 2: ......
Page 423: ......

