October 2012
3-11
ColorQube 8570/8870 Service Manual
IQ6
Image Quality
Xerox Internal Use Only - Revised, 3rd Revision
IQ6 The Printed Image is Too Light or Too Dark
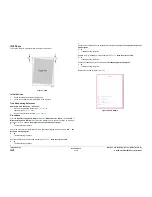
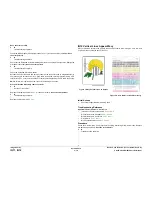
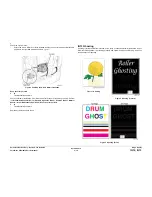
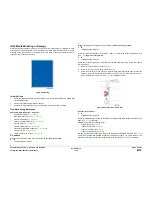
The overall image density is too light or too dark.
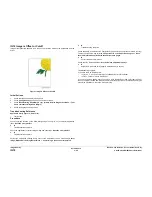
Figure 1 Printed Image is Too Light or Too Dark
Initial Actions
1.
Check the supported media is being used.
2.
Check that correct color ink sticks are in the Ink Loader.
3.
Perform Light Stripes test. Check for missing or discolored jets (see
IQ2
, Random Light
Stripes).
4.
Check the driver setting. There are advanced option controls that allow the user to lighten
and darken prints.
Troubleshooting Reference
Applicable Parts (Chapter 5 - Parts List)
•
Ink Sticks
•
Media
•
Printhead Assembly,
PL 2.1 Item 3
•
Lower Inner Duplex Guide,
PL 3.1 Item 2
•
Upper Duplex Guide with Solenoid,
PL 3.1 Item 5
Procedure
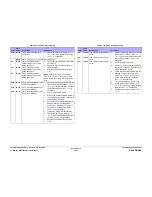
Verify that paper type is not set to Transparency. Set paper type to Plain Paper (Paper Tray
Setup -> Tray 2/3/4/5 Paper Type -> Plain Paper). Does the error persist after making the
adjustments?
Y
N
Troubleshooting complete.
Check and/or adjust the Control Panel print mode settings.
1.
Print the Troubleshooting Print Quality page (Control Panel Menu -> Troubleshoot-
ing -> Print Quality Problems -> Troubleshooting Print Quality Page) and evaluate
the Output Quality and Color Settings section.
2.
Check that the print mode is not set to Fast Color or Standard.
Does the error persist?
Y
N
Troubleshooting complete.
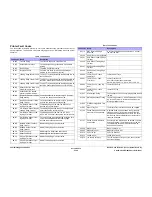
Check that correct driver setting and color correction setting are correct.
1.
From the Start menu, select Settings -> Printers and Faxes -> Xerox ColorQube
8570DN.
2.
Highlight Xerox ColorQube 8570DN.
3.
Right-click and select Printing Preferences.
4.
Click the Color Options tab.
5.
Under Color Correction, ensure Automatic Color (Recommended) is selected.
6.
Under Saved Settings, verify that Driver Defaults is selected.
7.
Click OK to close the window.
Print Solid Fills page to verify it’s not a computer application issue.
Try Custom Color Options in the printer driver to adjust color to customer preference. Sug-
gest Photo Mode for more saturated prints. Does the error persist?
Y
N
Troubleshooting complete.
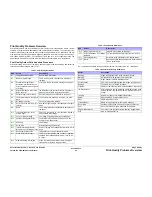
Check the Preheater Solenoid operation (Service Diagnostics Menu -> Exercise Menu ->
Activators -> Preheater Solenoid).
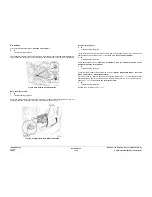
Open the Front Door. Remove the Lower Inner Duplex Guide (
REP 3.2
). The Preheater should
alternate between open and closed position. Replace the Solenoid (
REP 3.5
) and/or the Pre-
heater (
REP 2.20
) if necessary.
Determine if all the colors appear too light. Do all the colors appear too light?
Y
N
Insert new ink and perform the Solid Fill Prints routine until the affected color returns to
normal (Control Panel Menu -> Troubleshooting -> Service Tools -> Ink Flush
Prints). This could require several ink sticks of the affected color. Does the error per-
sist?
Y
N
Troubleshooting complete.
Check if Intelligent Ready power save mode is on. If necessary, advise the customer
that using Intelligent Ready power saver mode may avoid future ink discoloration.
Replace the Printhead Assembly (
REP 2.3
).
Perform the Head Adjust procedure (
ADJ 1.4
Manual Printhead Parking).
Summary of Contents for COLORQUBE 8570
Page 1: ...ColorQube 8570 8870 Printer ColorQube 8570 8870 Service Manual Xerox Internal Use Only...
Page 2: ......
Page 423: ......

