October 2012
xiii
ColorQube 8570/8870 Service Manual
Control Panel Layout
Introduction
Xerox Internal Use Only - Revised, 3rd Revision
Control Panel Layout
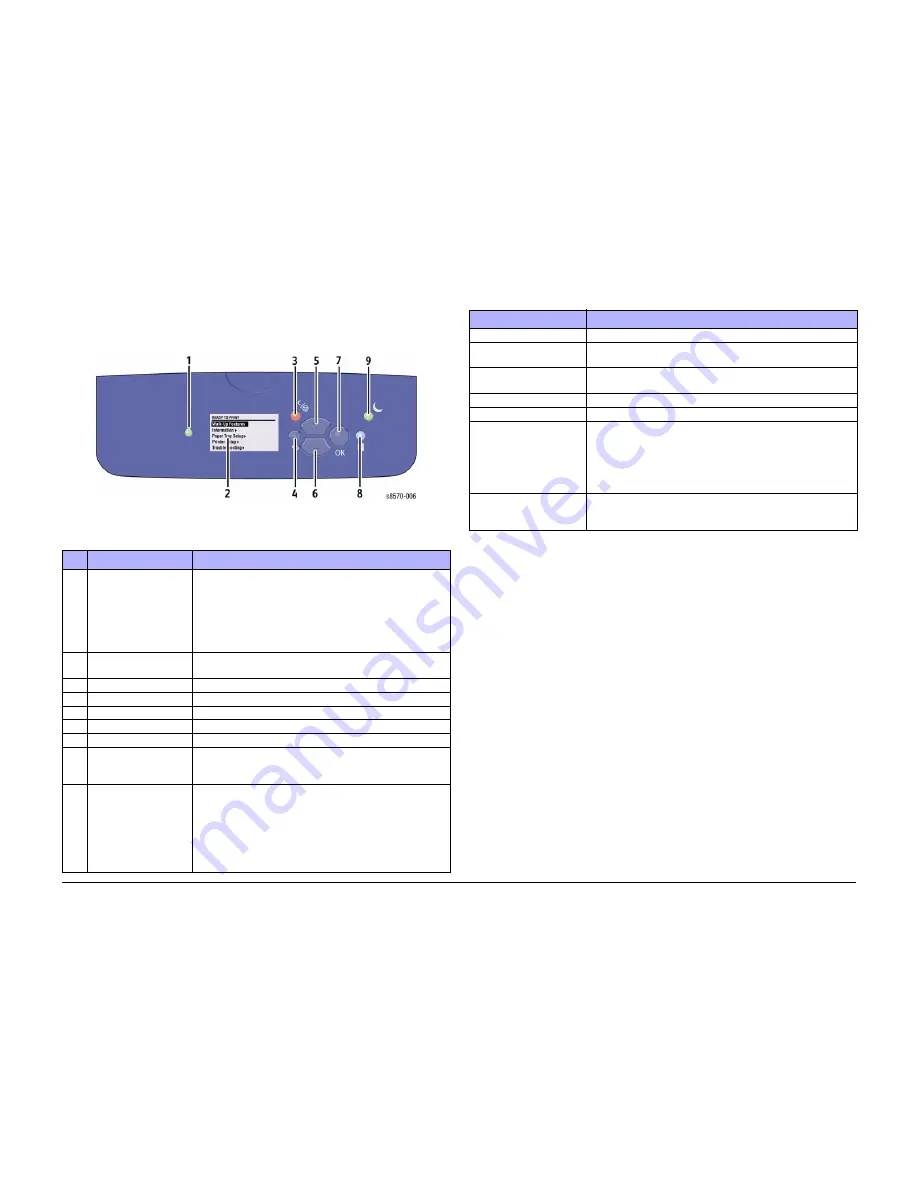
The Control Panel consists of one LED, a display window, and seven buttons. These buttons
are used to navigate the menu system, perform functions, and select modes of operation for
the printer.
Figure 1 Control Panel
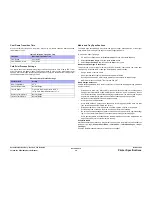
Control Panel Shortcuts
Table 1 Control Panel Description
Button/Feature
Description
1
Status Indicator LED
•
Green: Printer is ready to print.
•
Yellow: Warming condition, printer continues to print.
•
Red: Startup sequence or error condition.
•
Blinking:
–
Red: Error Condition
–
Green: Warming up
2
Graphic Control Panel
Display
Displays printer settings, status, and messages and menus.
3
Cancel Button
Cancels the current print job.
4
Back Button
Returns to the previous menu item.
5
Up Arrow Button
Scrolls upward through the menus.
6
Down Arrow Button
Scrolls downward through the menus.
7
OK Button
Accepts the selected settings.
8
Help (?) Button
Displays a help message with information about the printer,
such as Printer Status, Error Messages, and Maintenance
Information. Also describes Control Panel menu items.
9
Power Saver Button/
Indicator Light
Brings the printer out of, or puts the printer into, Power Saver
mode.
•
On Steady: Printer can be put in Power Saver mode at
this time.
•
Off: Printer cannot be put in Power Saver mode at this
time.
•
Blinking: Printer is in Power Saver mode.
Table 2 Control Panel Shortcuts
Mode or Menu
Press These Buttons
Service Tools Menu
From any menu, press and hold the Up Arrow, then press OK.
Hidden Service Menu
From the Service Tools menu, press and hold the Up Arrow,
and then press the Down Arrow.
Service Diagnostics
When the Display turns black, press and hold Back and Help
until Beginning Service Mode appears.
Control Panel Language
Press and hold the Cancel button, then press the Help button.
Bypass Protected Menus
Press and hold the Cancel button, then press the Back button.
FTTR (Fast Time To
Ready)
Printer goes to the Ready state without waiting for temperatures
to reach operating values. On power-up, when the Xerox splash
screen displays, press and release the Up Arrow button, then
press the Down Arrow button. If the printer detects ink on the
Drum, the display indicates a warming-up status. The printer will
not actually print until it reaches its operating temperatures.
Manufacturing Mode
Hold Up and Cancel.
Turn On the printer.
Release the buttons when XEROX scrolls across the screen.
Summary of Contents for COLORQUBE 8570
Page 1: ...ColorQube 8570 8870 Printer ColorQube 8570 8870 Service Manual Xerox Internal Use Only...
Page 2: ......
Page 423: ......

