October 2012
4-27
ColorQube 8570/8870 Service Manual
REP 2.3
Repairs and Adjustments
Xerox Internal Use Only - Revised, 3rd Revision
CAUTION
Do not push hard on the cable or otherwise bend the end of the cable.
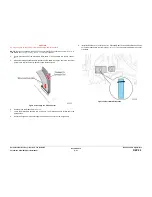
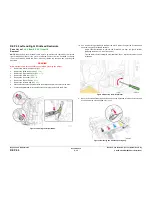
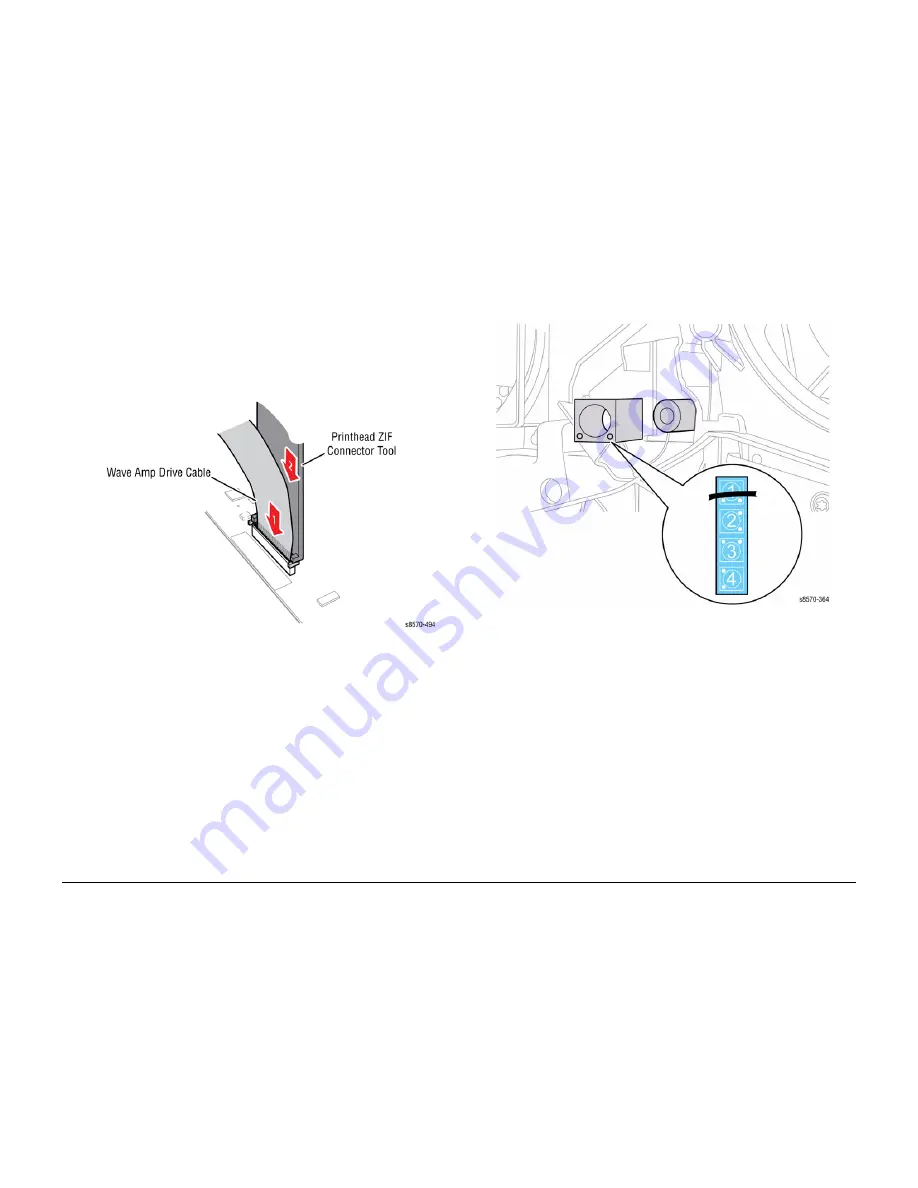
NOTE: Be sure to use the Unlock/Lock Tool to secure the ZIF connector as shown in
Figure 21
(see details in
Unlocking/ Locking the ZIF Connector
procedure).
4.
Gently place the end of the Wave Amp Drive cable
P/J240
squarely into the ZIF connec-
tor.
5.
While maintaining slight downward pressure on the cable to keep the end in the connector
gently reach in with the tool to squarely push the lock closed.
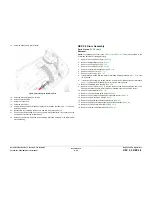
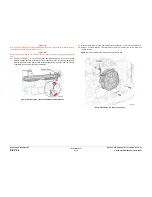
Figure 21 Securing the ZIF Connector
6.
Seat and lock the Ribbon Cable
P/J180
.
7.
Lower the Printhead Assembly into its mounts. The Printhead should tilt forward in the
print position.
8.
Route the Purge Pump Hose through the frame and connect it to the Purge Pump.
9.
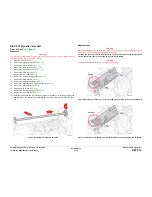
Install the Roll Block on the left end of the Printhead Shaft. Orient the Roll Black as shown
on the label attached to the frame (see
Figure 22
). The check mark indicates the correct
orientation.
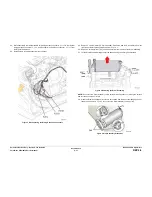
Figure 22 Roll Block Orientation
Summary of Contents for COLORQUBE 8570
Page 1: ...ColorQube 8570 8870 Printer ColorQube 8570 8870 Service Manual Xerox Internal Use Only...
Page 2: ......
Page 423: ......

