October 2012
4-35
ColorQube 8570/8870 Service Manual
REP 2.6, REP 2.8
Repairs and Adjustments
Xerox Internal Use Only - Revised, 3rd Revision
Replacement
1.
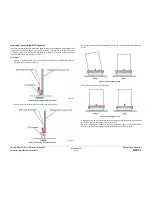
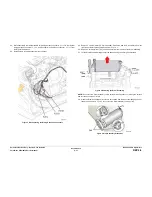
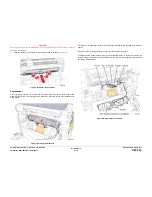
When reinstalling the belt into the wiper clip, place the belt partly on the clip, and then
press the center of the clip with a small needle-nose pliers until the belt is secured in the
clip.
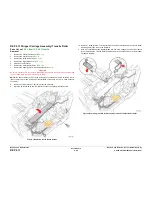
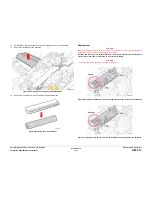
Figure 2 Connecting the Printhead Wiper Blade and Belt
2.
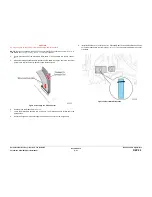
Perform the Wiper Blade Adjustment procedure (
ADJ 1.1
) to position the Wiper Blade so
that both ends are all the way down following reassembly. Also, make sure the metal por-
tion of the blade is nearest the Drum Assembly.
3.
Install the Printhead.
4.
Perform the Head Tilt Gear Homing procedure (
ADJ 1.2
).
5.
Perform the Process Drive Homing procedure (
ADJ 1.3
).
6.
Turn printer power on to check wiper operation.
REP 2.8 Purge Pressure Pump
Parts List on
PL 2.1 Item 8
Removal
1.
Remove the Control Panel Cover (
REP 1.5
).
2.
Remove the Left Side Cover (
REP 1.10
).
3.
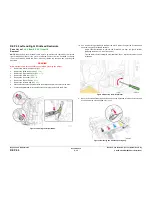
Disconnect the Purge Pump Hose from the Pump.
4.
Disconnect the wiring harness connector
P/J103
from the Purge Pressure Pump.
5.
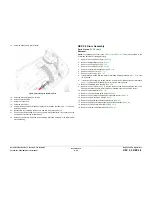
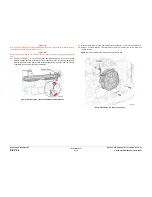
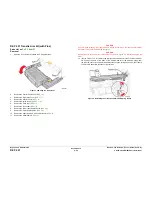
Remove 3 screws (plastic, T-20) that secure the Purge Pressure Pump to the chassis and
remove the Pump.
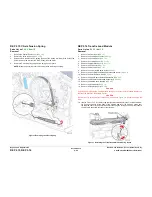
Figure 1 Removing the Purge Pressure Pump
Summary of Contents for COLORQUBE 8570
Page 1: ...ColorQube 8570 8870 Printer ColorQube 8570 8870 Service Manual Xerox Internal Use Only...
Page 2: ......
Page 423: ......


