October 2012
4-72
ColorQube 8570/8870 Service Manual
REP 4.5
Revised, 3rd Revision - Xerox Internal Use Only
Repairs and Adjustments
REP 4.5 Media Drive Assembly
Parts List on
PL 4.1 Item 5
Removal
NOTE: DO NOT remove the Tray 1 Pick Solenoid screw. A new Solenoid is included with the
new Media Drive Assembly. No screw loosening is required.
1.
Remove the Control Panel Cover (
REP 1.5
).
2.
Remove the Left Side Cover (
REP 1.10
).
3.
Disconnect the Media Drive Assembly wiring harness connectors from the Left Side Har-
nesses:
•
Media Path Motor (
P/J106
)
•
Deskew Clutch (
P/J111
)
•
Tray 2 Pick Clutch (
P/J109
)
•
Tray 1 Pick Solenoid (
P/J110
)
•
Preheater Lift Solenoid (
P/J112
)
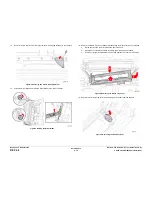
4.
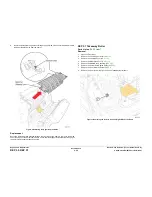
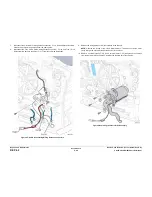
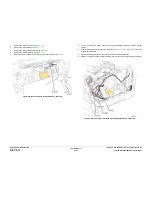
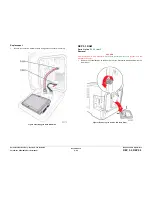
Remove 1 screw (metal, T-20) that secures the braided ground wire to the Media Drive
Motor mounting plate.
Figure 1 Removing the Screw
5.
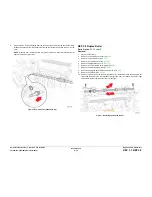
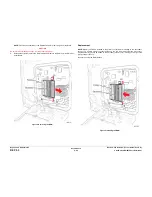
Remove 6 screws (plastic, T-20) that secure the Media Drive Assembly to the frame.
6.
Remove the Media Drive Assembly.
Figure 2 Removing the Media Drive Assembly
Summary of Contents for COLORQUBE 8570
Page 1: ...ColorQube 8570 8870 Printer ColorQube 8570 8870 Service Manual Xerox Internal Use Only...
Page 2: ......
Page 423: ......

