October 2012
4-79
ColorQube 8570/8870 Service Manual
REP 4.12, REP 4.13
Repairs and Adjustments
Xerox Internal Use Only - Revised, 3rd Revision
REP 4.12 Drum Cooling Fan
Parts List on
PL 4.1 Item 12
Removal
1.
Remove the Control Panel Cover (
REP 1.5
).
2.
Remove the Right Side Cover (
REP 1.11
).
3.
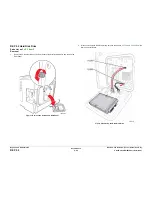
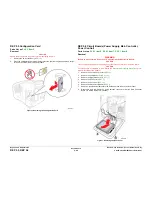
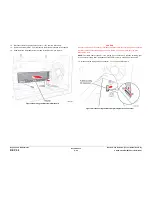
Disconnect the Drum Fan wiring harness connector
P/J903
from the I/O Board.
4.
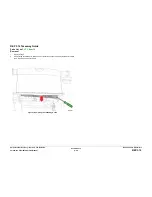
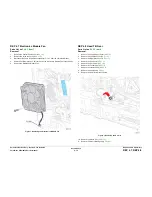
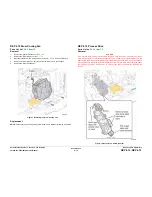
Remove 3 screws (plastic, T-20) that secure the Drum Fan to the chassis.
5.
Remove the Drum Cooling Fan.
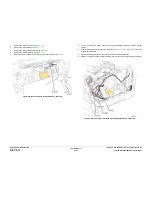
Figure 1 Removing the Drum Cooling Fan
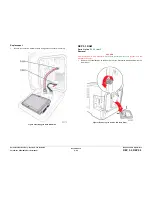
Replacement
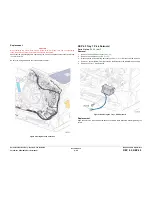
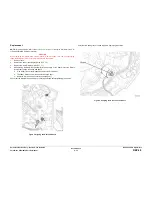
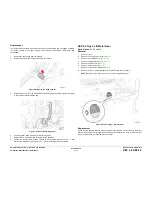
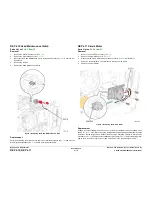
NOTE: Check that the grounding strap contacts the Pivot Plate Shaft following installation.
REP 4.13 Process Drive
Parts List on
PL 4.1 Item 13
Removal
CAUTION
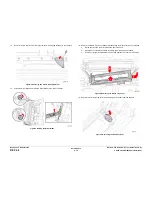
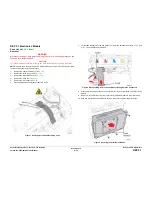
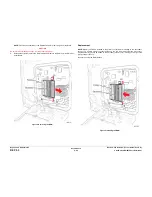
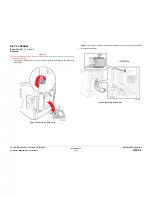
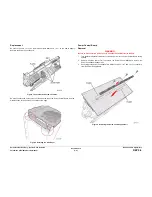
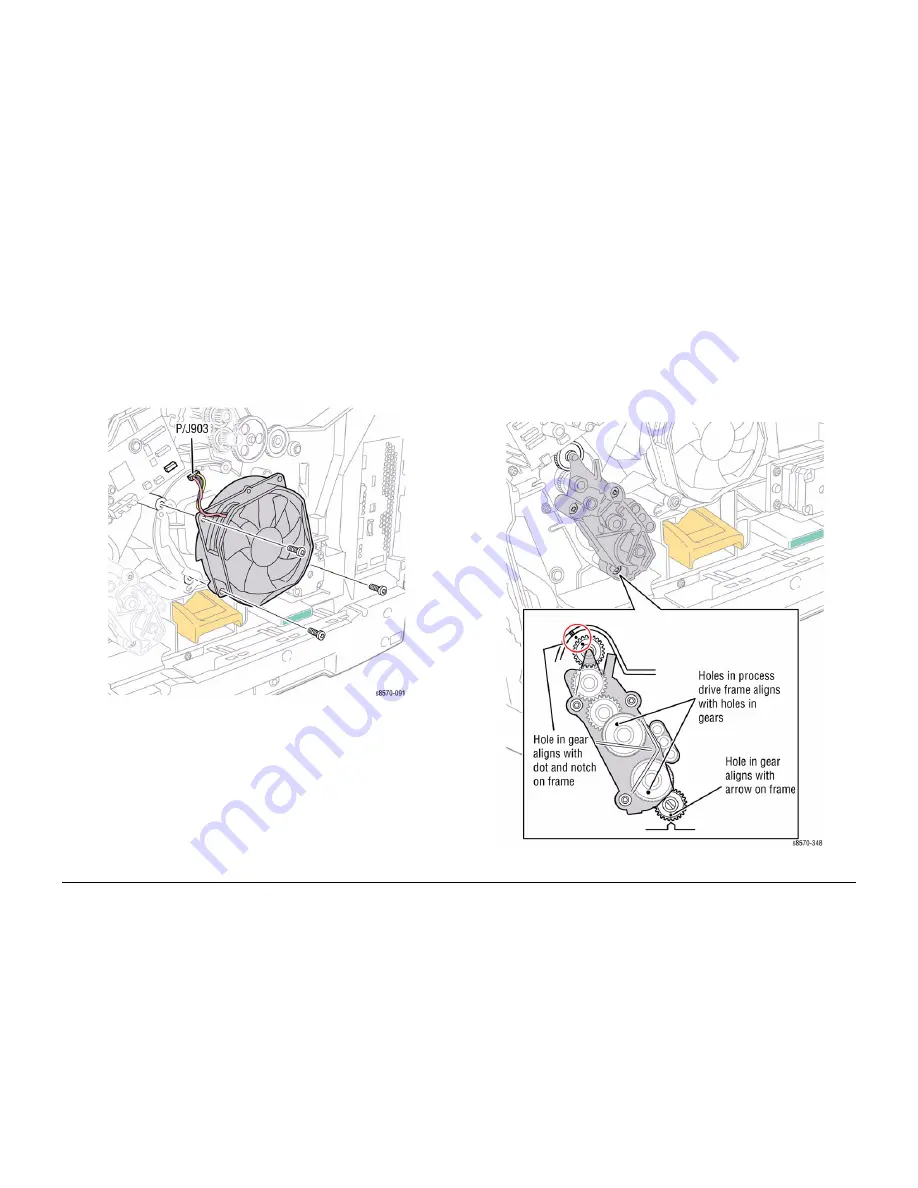
If the Process Drive is being reinstalled, pin the gears using the holes provided in the Process
Drive frame (
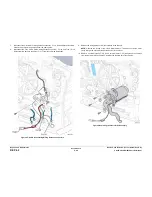
Figure 1
) to maintain gear alignment. Use a paper clip or similar object to pin the
gears before removing the drive. Replacement drives have pins installed. Do not remove these
pins until the drive has been installed. Installation of the Process Drive with misaligned gears
can damage the printer. See
Figure 1
to verify proper gear position before replacing the
screws.
Figure 1 Process Drive Gear Alignment
Summary of Contents for COLORQUBE 8570
Page 1: ...ColorQube 8570 8870 Printer ColorQube 8570 8870 Service Manual Xerox Internal Use Only...
Page 2: ......
Page 423: ......

