October 2012
4-81
ColorQube 8570/8870 Service Manual
REP 4.13
Repairs and Adjustments
Xerox Internal Use Only - Revised, 3rd Revision
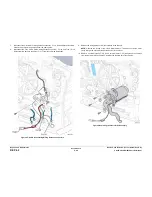
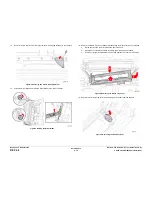
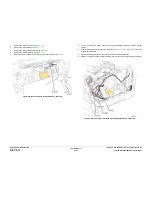
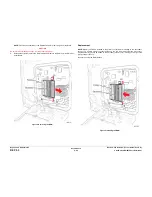
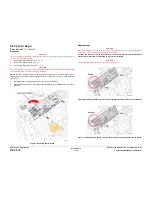
10. Remove 3 screws (plastic, T-20) that secure the Process Drive to the chassis.
11.
Remove the Process Drive from the chassis.
Figure 4 Removing the Process Drive and Process Drive Gear Alignment
Replacement
NOTE: Before installing the Process Drive, perform the Manual Printhead Parking procedure
(
ADJ 1.4
) and Wiper Blade Alignment procedure (
ADJ 1.1
) to put the Printhead and Wiper
Assembly in the home position.
1.
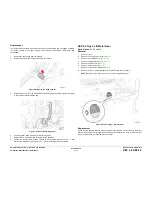
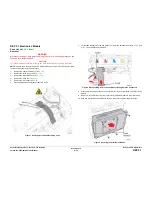
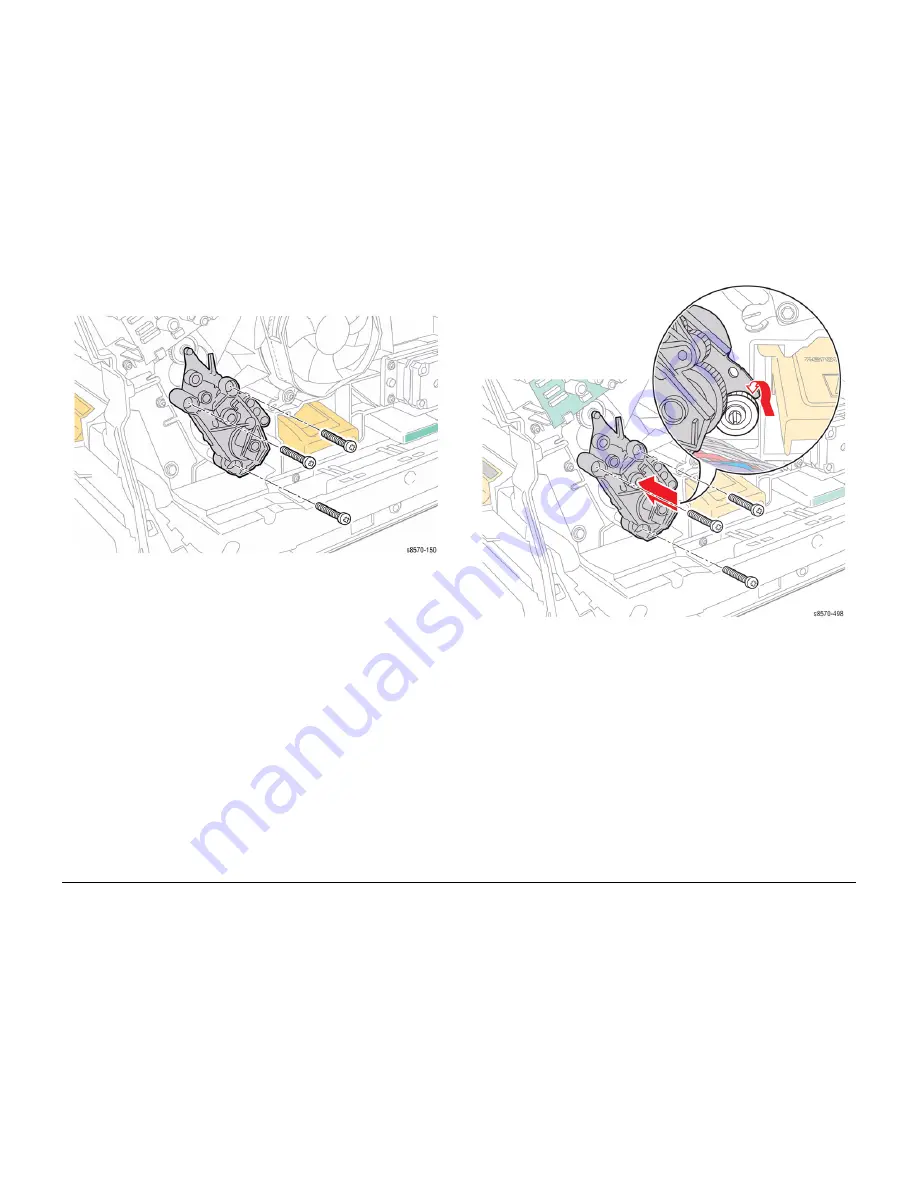
Slightly insert the Process Drive while rotating the Process Drive towards the left hand
side until the flange sits behind the gear (
Figure 5
).
2.
Before tightening the Process Drive mounting screws, align the holes in the Process Drive
flange with the mounting bosses on the frame, seat the Gears, and press the Process
Drive tightly against the frame (
Figure 1
).
CAUTION
Do not use the screws to pull the Process Drive into alignment.
3.
Next, seat all three screws before torquing the screws to a final tightness of 12 in-lbs.
Tightening the screws individually before seating all three can put undue strain on the
mounting bosses.
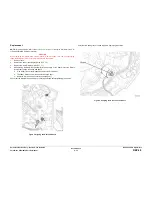
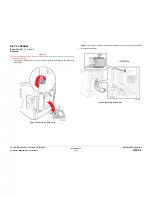
Figure 5 Installing the Process Drive
4.
Perform the Homing the Printhead Forward to Print Position procedure (
ADJ 1.2
) and
Process Drive Alignment procedure (
ADJ 1.3
) before restoring printer power.
NOTE: For additional tips, refer to the
Process Drive Installation
video (also available in the
ColorQube 8570/8870 Training materials).
Summary of Contents for COLORQUBE 8570
Page 1: ...ColorQube 8570 8870 Printer ColorQube 8570 8870 Service Manual Xerox Internal Use Only...
Page 2: ......
Page 423: ......


