October 2012
4-83
ColorQube 8570/8870 Service Manual
REP 5.1
Repairs and Adjustments
Xerox Internal Use Only - Revised, 3rd Revision
REP 5.1 Electronics Module
Parts List on
PL 5.1 Item 1
Removal
WARNING
Disconnect the Power Cord before servicing the printer. Line Voltage present on the
Fuse and Fuse Holder Contacts.
CAUTION
Touch the Electronics Module to discharge any static electricity before servicing the printer.
NOTE: Remove the Configuration Card, NVRAM, RAM, and the Hard Drive and install these
components into the replacement module.
1.
Remove the Control Panel Cover (
REP 1.5
).
2.
Remove the Left Side Cover (
REP 1.10
).
3.
Remove the Right Side Cover (
REP 1.11
).
4.
Remove the Exit Cover (
REP 1.7
).
5.
Remove the Ink Loader (
REP 1.8
).
6.
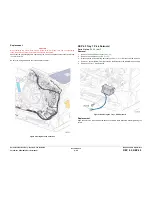
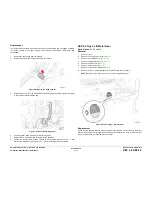
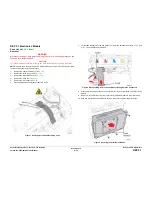
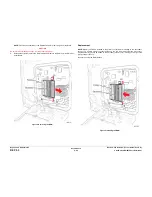
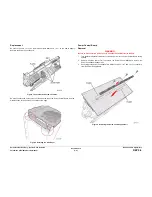
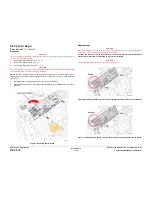
Lift the wiring harness to release it from the velcro.
Figure 1 Removing Screws and Retaining Clips
7.
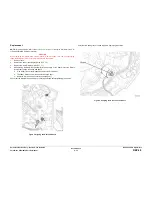
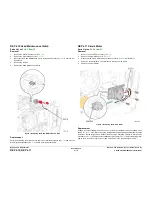
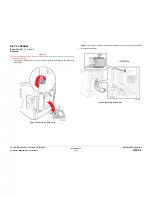
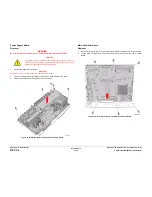
Lift the tape towards one side and disconnect the wiring harness connectors
P/J201
and
P/JAC2
from the Electronics Module.
Figure 2 Disconnecting the Electronics Module Wiring Harness Connectors
8.
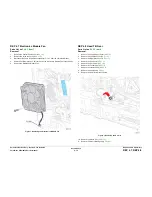
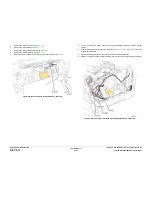
Disconnect the wiring harness connectors from the left and right sides of the Electronics
Module.
9.
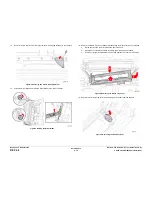
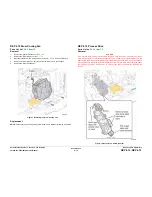
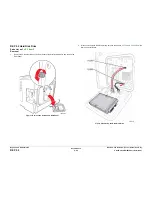
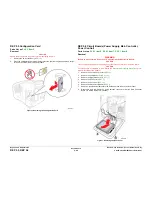
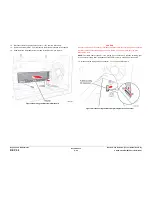
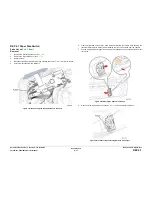
Remove 5 screws (metal, T-20) that secure the Electronics Module to the printer frame.
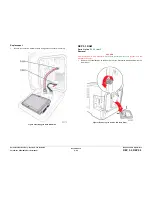
10. Hold and pull the Electronics Module out from the printer using the finger recesses.
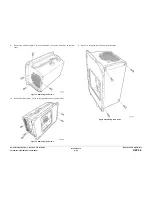
Figure 3 Removing the Electronics Module
Summary of Contents for COLORQUBE 8570
Page 1: ...ColorQube 8570 8870 Printer ColorQube 8570 8870 Service Manual Xerox Internal Use Only...
Page 2: ......
Page 423: ......

