October 2012
4-96
ColorQube 8570/8870 Service Manual
REP 5.10
Revised, 3rd Revision - Xerox Internal Use Only
Repairs and Adjustments
REP 5.10 I/O Board
Parts List on
PL 5.1 Item 10
Removal
CAUTION
The circuit board is vulnerable to ESD. Review the
Electrostatic Discharge Precautions
proce-
dures in the Introduction Chapter.
1.
Remove the Cover Panel Cover (
REP 1.5
).
2.
Remove the Control Panel (
REP 1.6
).
3.
Remove the Right Side Cover (
REP 1.11
).
CAUTION
Be sure to unlock the ZIF connector to release the ribbon cable. Be careful when disconnecting
the one ribbon cable to prevent damaging the cable.
NOTE: The ribbon cable connector is the locking type connector and require unlocking prior to
ribbon cable removal and locking after reinstallation of the cable in order to make adequate
connection.
4.
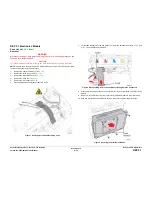
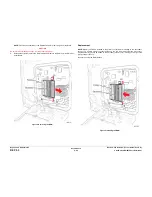
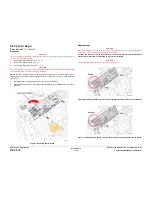
Disconnect the 12 wiring harness connectors from the I/O Board.
5.
Remove 2 screws (metal, T-20) that secure the I/O Board to the chassis and remove the I/
O Board.
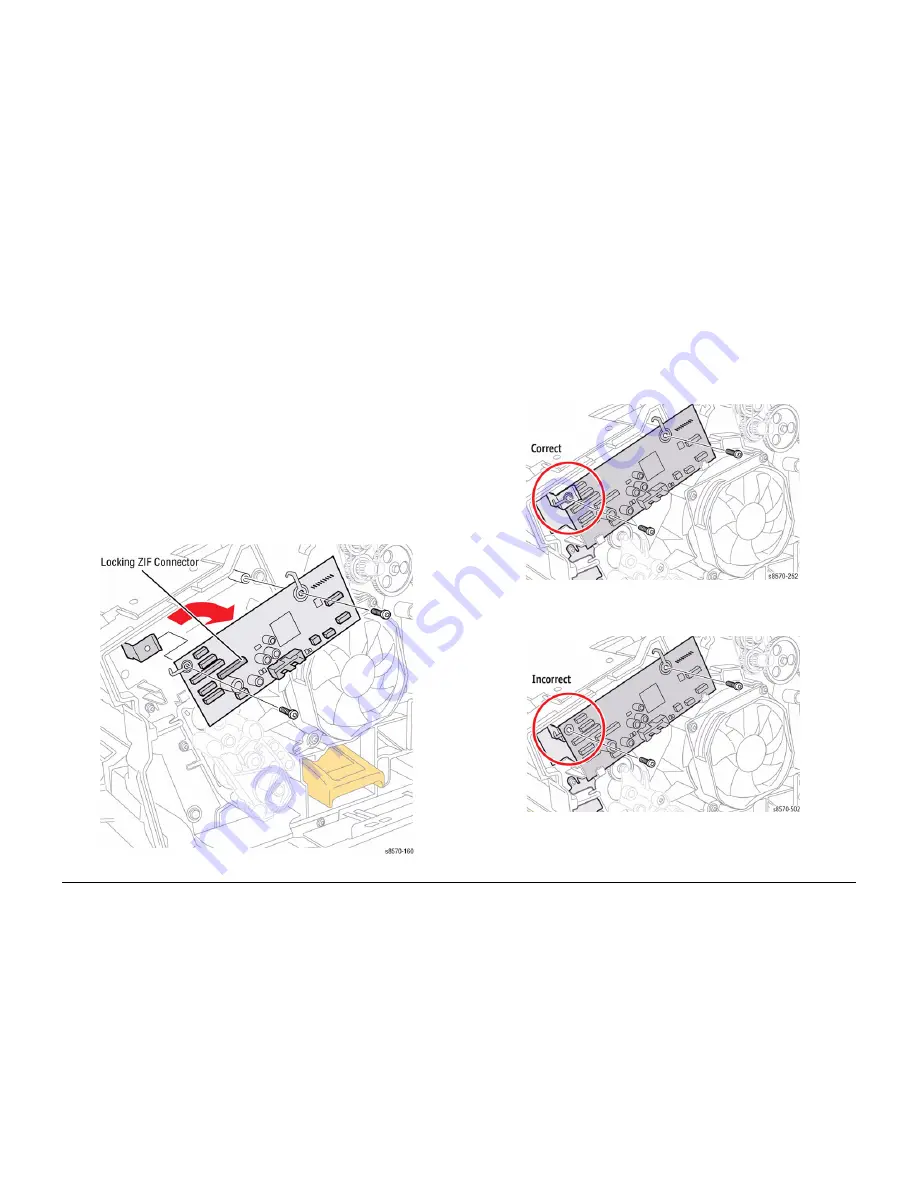
Figure 1 Removing the I/O Board
Replacement
CAUTION
When replacing the I/O Board screws, torque to no more than 12 in.-lbs. Overtightening these
fasteners can result in irreversible damage to the chassis.
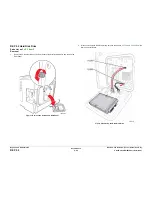
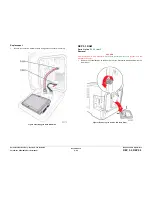
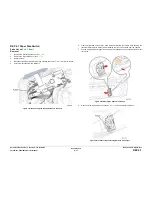
Position the corner of the I/O Board behind the Ground Plane before installing the
screws. Be sure to secure the Ground in front of the I/O Board.
CAUTION
Incorrectly mounting the I/O Board may short +3.3V power.
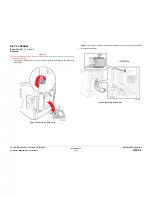
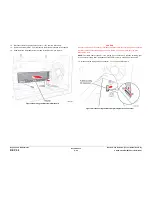
Figure 2 Installing the I/O Board - Correct Ground Plane position in front of the I/O Board
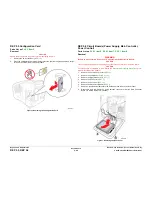
Figure 3 Installing the I/O Board - Incorrect Ground Plane position behind the I/O Board
Summary of Contents for COLORQUBE 8570
Page 1: ...ColorQube 8570 8870 Printer ColorQube 8570 8870 Service Manual Xerox Internal Use Only...
Page 2: ......
Page 423: ......

