October 2012
4-103
ColorQube 8570/8870 Service Manual
ADJ 1.1
Repairs and Adjustments
Xerox Internal Use Only - Revised, 3rd Revision
ADJ 1.1 Wiper Blade Alignment
Purpose
To set the Printhead Wiper Blade alignment or place the Wiper Blade at the bottom of its travel
position.
Adjustment
NOTE: For additional information, refer to
Wiper Blade Alignment
video (also available in the
ColorQube 8570/8870 Training materials).
To ensure Wiper Blade alignment, and ensure the Wiper is in the home position, remove the
Wiper Drive Gear, lower the Blade, and then re-install the Gear.
1.
Remove the Control Panel Cover (
REP 1.5
).
2.
Remove the Left Side Cover (
REP 1.10
).
3.
Remove the Right Side Cover (
REP 1.11
).
4.
Remove the Exit Cover (
REP 1.7
).
5.
Remove the Ink Loader (
REP 1.8
).
6.
Remove the Funnel Cap (
REP 2.1
).
7.
Remove the Jetstack Cap (
REP 2.2
).
8.
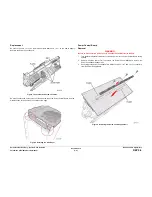
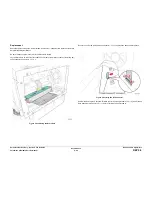
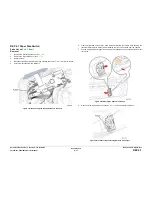
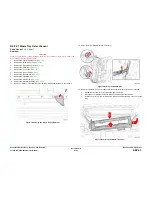
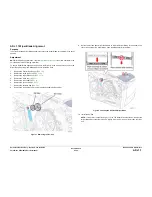
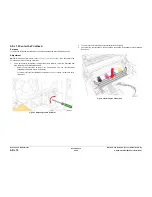
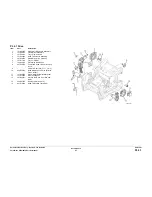
Remove the KL-Clip that secures the left side Wiper Blade Drive Gear.
Figure 1 Removing the KL-Clip
9.
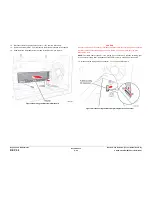
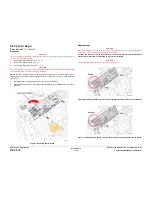
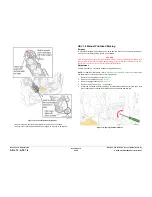
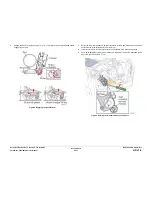
Rotate the left and right Wiper Belt Gears to lower the Wiper Blade to the bottom of its
travel. As you lower the Wiper Blade, keep the blade parallel to the Drum.
Figure 2 Lowering the Printhead Wiper Blade
10. Install the KL-Clip.
NOTE: If the printer is experiencing 91,710~91,716 Wiper Movement faults, readjust the
Wiper alignment so that the left-end is slightly lower (one drive gear tooth) than the right-
end.
Summary of Contents for COLORQUBE 8570
Page 1: ...ColorQube 8570 8870 Printer ColorQube 8570 8870 Service Manual Xerox Internal Use Only...
Page 2: ......
Page 423: ......

