October 2012
6-7
ColorQube 8570/8870 Service Manual
Service Diagnostics
General Troubleshooting
Xerox Internal Use Only - Revised, 3rd Revision
Test Selection Diagnostics Mode
The Test Selection mode provides limited access to Diagnostic tests, and is typically used dur-
ing remote customer support activity where the customer is being directed to run the test and
report results by a support representative.
NOTE: Before running any diagnostic test, prepare the printer according to test requirements.
To enter Test Selection mode from Customer mode and display the Test Selection screen:
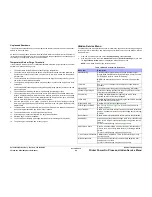
1.
From the Control Panel Menu, scroll down to select Troubleshooting and press the OK
button.
2.
Scroll down to Service Tools and press the OK button.
3.
Scroll down to Enter Diagnostic Mode and press the OK button.
4.
The printer reboots.
5.
After initialization, a Caution screen is displayed on the Control Panel. Press any key to
continue.
When the printer transitions from Customer mode into Test Selection mode, the initial Control
Panel display is the Test Selection screen as follows:
Diagnostics 23.P1.2.32.0.1
Test: 00 No Test Selected
The Diagnostics Menu revision number identifies the printer and diagnostics firmware ver-
sions. The first two identify the printer firmware version. The last digit identifies the Diagnostics
Firmware version. The Test number (00) is entered using the Up or Down buttons. The cur-
rently selected Test appears next to the number. Run the test by pressing the OK button. At
that point, the display changes to the name of the test, followed by a series of status messages
providing a general idea of the current test activity. When the test completes, the display
changes to display the results.
Test 00 is inoperative and causes no response if the OK button is pressed. To return to Cus-
tomer mode, run test 01.
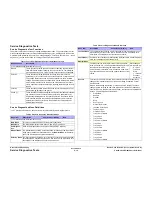
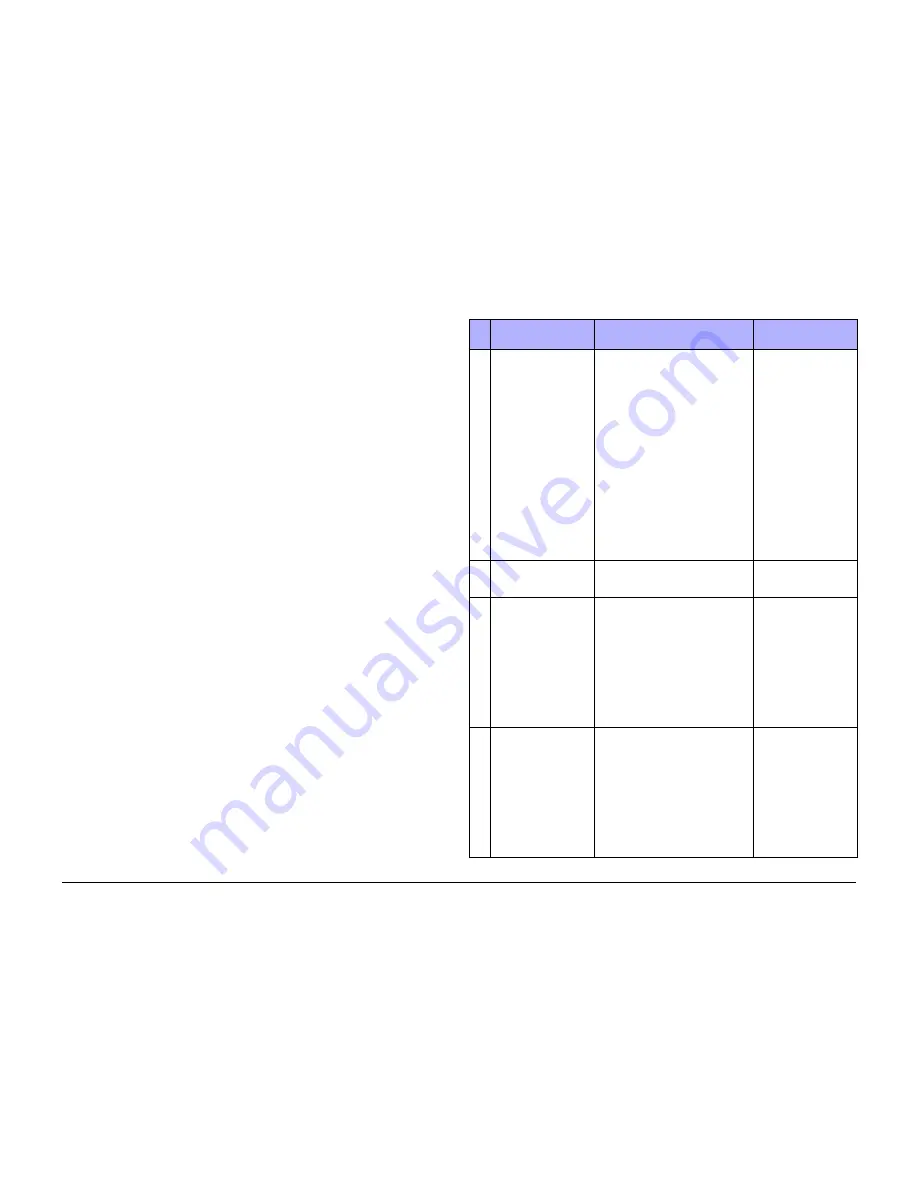
Table 2
lists the available tests.
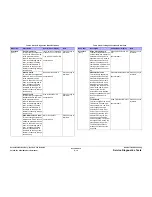
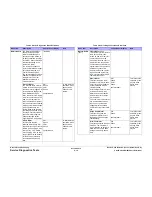
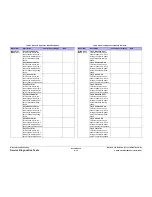
Table 2 Test Selection Numbers
No. Test Name
Description
Control Panel Display/
Note
00
No test selected
This menu allows the selection of
diagnostic test by entering a test
number and pressing the OK button.
Pressing the Up or Down button will
increment or decrement the blinking
digit of the test number. The digit to
be modified can be changed by
pressing the Back button. Pressing
the Cancel button will reset the test
number to 00. The test name corre-
sponding to the test number is also
displayed. Pressing the OK button
will cause the currently indicated test
to be executed. Most tests perform
the indicated action and terminate
with a display of measured results (if
any). The remainder runs until any
button is pressed.
01
Exit Diagnostics
This function exists Diagnostics, runs
through POST to Ready, and returns
the printer to normal operation.
02
Clear Fault History
This function clears the Fault History
and Extended Fault History NVRAM
storage areas.
initializing
Confirm Fault History
reset!
press (i) Info for discus-
sion
press OK to Continue
press any other key to
Abort
Abort - press any key to
exit
03
Clear PS NVRAM
This function clears the non-reserved
data in the PostScript portion of
NVRAM. When the printer next initial-
izes in Customer mode, PostScript
will restore all factory defaults value.
Refer to
PS NVRAM Reset
.
initializing
Confirm PS NVRAM
Clear!
press (i) Info for discus-
sion
press OK to Continue
press any other key to
Abort
Abort - press any key to
exit
Summary of Contents for COLORQUBE 8570
Page 1: ...ColorQube 8570 8870 Printer ColorQube 8570 8870 Service Manual Xerox Internal Use Only...
Page 2: ......
Page 423: ......

