October 2012
1-11
ColorQube 8570/8870 Service Manual
Cleaning Procedures
Service Call Procedures
Xerox Internal Use Only - Revised, 3rd Revision
Clean the Pick Assembly
1.
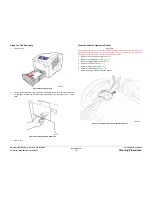
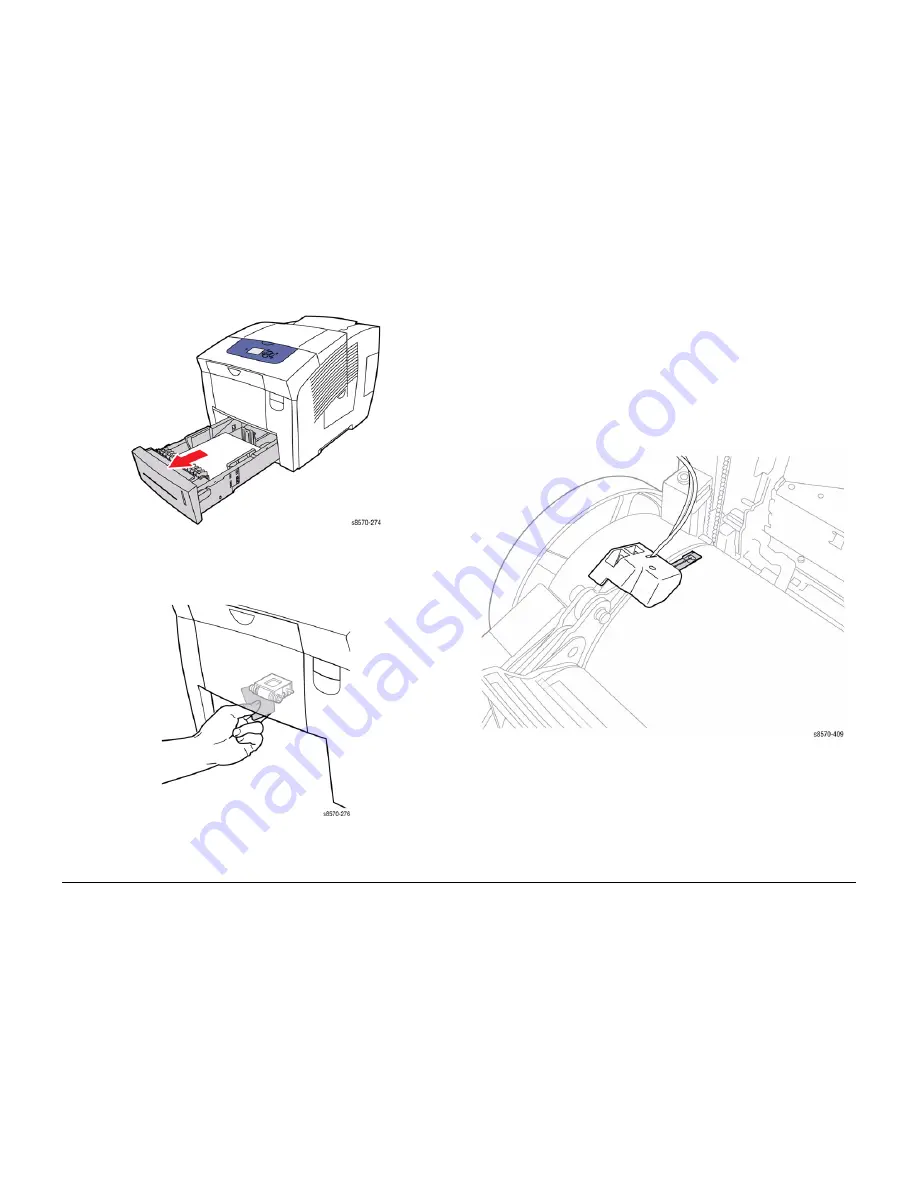
Remove Tray 2.
Figure 5 Removing Tray 2
2.
Use a moistened lint-free cloth to clean the Pick Assembly. Be sure the Pick Assembly is
not damaged. Replace the Pick Assembly if it appears to be excessively worn or dam-
aged.
Figure 6 Cleaning the Pick Assembly
3.
Close Tray 2.
Clean the Drum Temperature Sensor
CAUTION
Cleaning under the Sensor is not recommended. Only perform this procedure when there is an
issue with Drum temperatures (too hot or too cold) or there is a significant amount of debris
accumulated under the Sensor. Use care not to bend the Sensor.
1.
Remove the Control Panel Cover (
REP 1.5
).
2.
Remove the Left Side Cover (
REP 1.10
).
3.
Remove the Right Side Cover (
REP 1.11
).
4.
Remove the Exit Cover (
REP 1.7
).
5.
Remove the Ink Loader (
REP 1.8
).
6.
Remove the Exit Module (
REP 3.13
).
7.
Using a dry swab, carefully clean the Sensor.
Figure 7 Cleaning the Drum Temperature Sensor
Summary of Contents for COLORQUBE 8570
Page 1: ...ColorQube 8570 8870 Printer ColorQube 8570 8870 Service Manual Xerox Internal Use Only...
Page 2: ......
Page 423: ......

