Printing
ColorQube 8570/8870 Color Printer
User Guide
72
6.
At the Short Edge menu, do the following:
•
If the correct short edge size is displayed as the current setup, press
OK
. Go to step 8.
•
If the correct short edge size is not displayed, select
Change
>
OK
. To enter a new short edge
size, use the
Up
and
Down Arrow
buttons to specify the envelope’s short edge size and then
press
OK
.
7.
At the Long Edge menu, do the following:
•
If the correct long edge size is displayed as the current setup, press
OK
. Go to step 8.
•
If the correct long edge size is not displayed, select
Change
>
OK
. To enter a new long edge
size, use the
Up
and
Down Arrow
buttons to specify the envelope’s long edge size and then
press
OK
.
8.
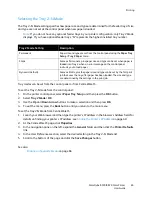
At the Tray 1 Paper Type menu, select
Envelope
>
OK
.
9.
In the printer driver, select either
Envelope
as the paper type or
Tray 1
as the paper source.
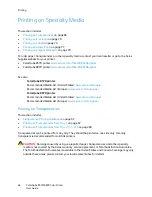
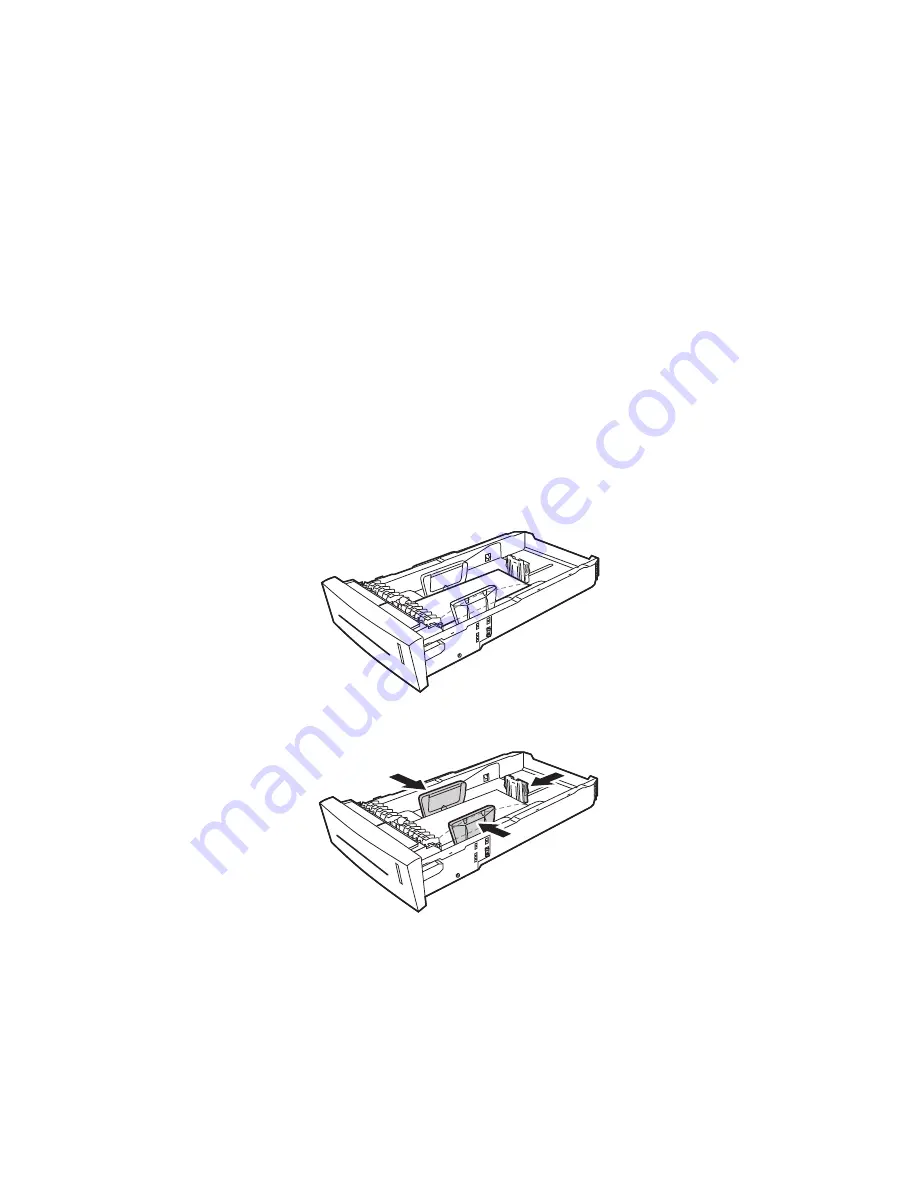
Printing on Envelopes from Tray 2, 3, 4, or 5
1.
Remove the tray from the printer and position its paper guides. For details, see
Loading Paper in
Tray 2, 3, 4, or 5
on page 59.
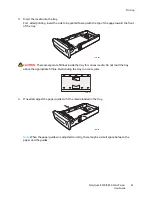
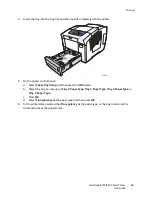
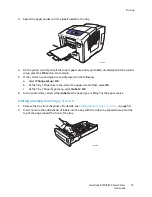
2.
Insert no more than 40 envelopes into the tray, flap side down with the flap toward the right side
of the tray as shown.
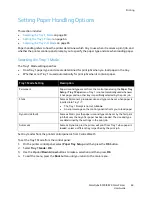
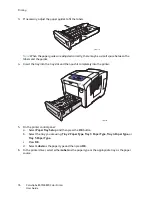
3.
Adjust the paper guides to fit the envelopes.
Note:
When the paper guides are adjusted correctly, there may be a small space between the
envelopes and the guides.
8X70-109
8X70-117
Summary of Contents for COLORQUBE 8570
Page 8: ...Contents ColorQube 8570 8870 Color Printer User Guide 8 ...
Page 16: ...Safety ColorQube 8570 8870 Color Printer User Guide 16 ...
Page 50: ...Installation and Setup ColorQube 8570 8870 Color Printer User Guide 50 ...
Page 142: ...Maintenance ColorQube 8570 8870 Color Printer User Guide 142 ...
Page 178: ...Troubleshooting ColorQube 8570 8870 Color Printer User Guide 178 ...
Page 190: ...Regulatory Information ColorQube 8570 8870 Color Printer User Guide 190 ...

