General Care
ColorQube™ 9201/9202/9203
General Care and Troubleshooting
293
When the Cleaning Unit is nearing end of
life, a warning message is displayed
informing you to reorder a new unit but
not to replace at this time. The warning is
given when there is approximately 13 days
usage remaining.
When the Cleaning Unit reaches end of life
and must be replaced, another message is
displayed. The unit must be changed for
the printer to operate.
Replace the unit using the instructions provided on the touch screen and within the packaging of the
new unit. Recycle the old unit as directed on the packaging or your local Xerox Representative.
Note:
The warning period can be customized by the System Administrator using
Tools
or Internet
Services. Refer to the
Administration and Accounting
guide for more information.
Staple Cartridges
If your device is equipped with the Office Finisher or High Volume Finisher, you will be required to
replace the staple cartridge or cartridges when the device displays a message instructing you to do so.
The staple cartridges for the
Office Finisher
and the
High Volume Finisher
contain 5000 staples. The
High Volume Finisher with Booklet Maker
has 2 additional staple cartridges located within the
Booklet
Maker
module. Each of these cartridges holds 2000 staples.
Detailed instructions are provided on the touch screen. Follow the instructions and labels provided
when replacing the staple cartridge.
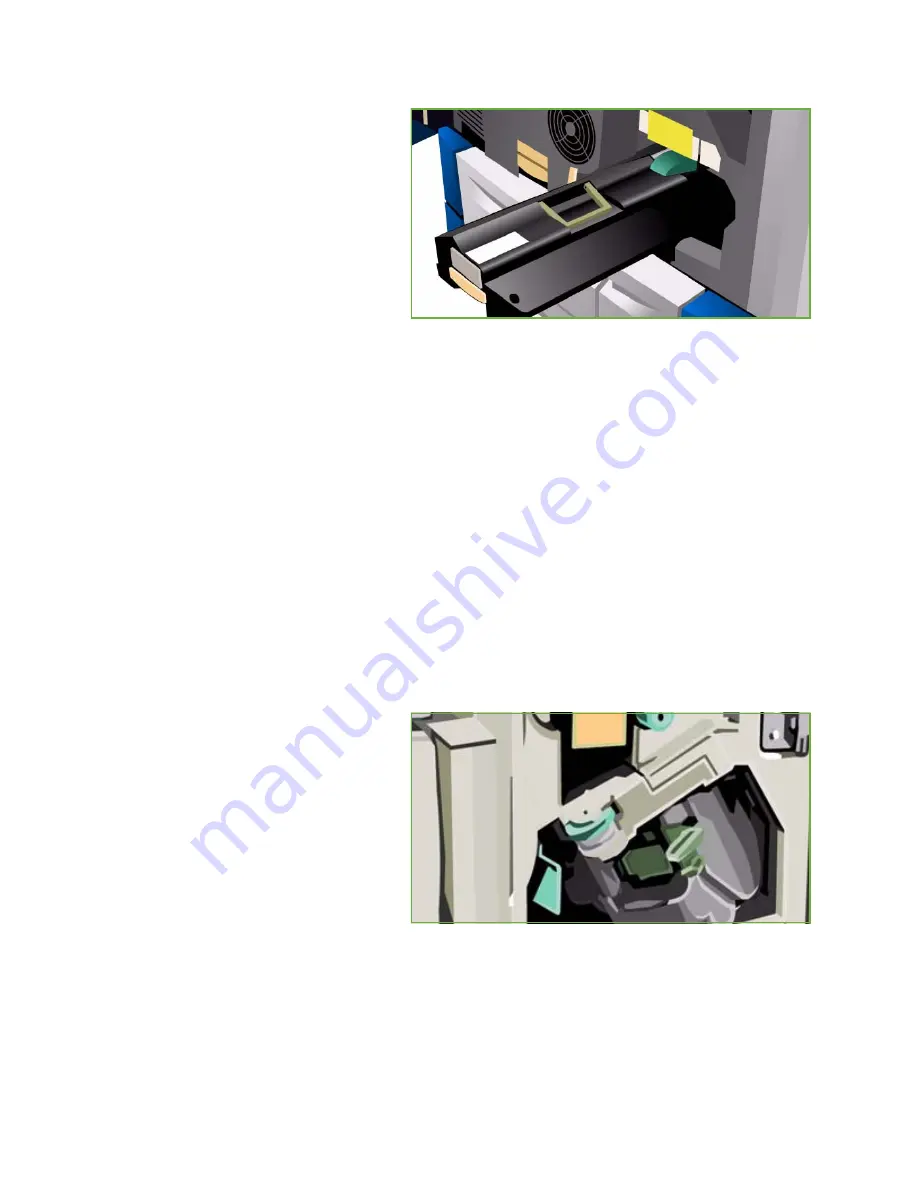
Office and High Volume Finisher Staple Cartridge:
1.
Open the finisher door.
2.
If using the Office Finisher, rotate the
staple access handle (a green cog)
clockwise until the staple unit is
accessible.
3.
Unlatch the staple cartridge using the
light colored catch and remove the
used staple cartridge.
4.
Dispose of the staple cartridge
according to the instructions
contained in the new staple cartridge
box.
5.
Unpack the new staple cartridge and install into the finisher. The staple cartridge clicks into place.
6.
If using the Office Finisher, rotate the staple access handle (the green cog) counter-clockwise until
back in position.
7.
Close the finisher door.
Summary of Contents for ColorQube 9201
Page 1: ...Version 2 0 06 09 Xerox ColorQube 9201 9202 9203 All Guides ...
Page 12: ...Table of Contents ColorQube 9201 9202 9203 All Guides 12 ...
Page 13: ...Version 2 0 06 09 Xerox ColorQube 9201 9202 9203 Copy ...
Page 52: ...Log In Out ColorQube 9201 9202 9203 Copy 52 ...
Page 53: ...Version 2 0 06 09 Xerox ColorQube 9201 9202 9203 Fax ...
Page 81: ...Version 2 0 06 09 Xerox ColorQube 9201 9202 9203 Server Fax ...
Page 96: ...Log In Out ColorQube 9201 9202 9203 Server Fax 96 ...
Page 97: ...Version 2 0 06 09 Xerox ColorQube 9201 9202 9203 Internet Fax ...
Page 115: ...Version 2 0 06 09 Xerox ColorQube 9201 9202 9203 Fax from PC ...
Page 126: ...Fax from PC Options ColorQube 9201 9202 9203 Fax from PC 126 ...
Page 127: ...Version 2 0 06 09 Xerox ColorQube 9201 9202 9203 Print ...
Page 147: ...Version 2 0 06 09 Xerox ColorQube 9201 9202 9203 Workflow Scanning ...
Page 177: ...Version 2 0 06 09 Xerox ColorQube 9201 9202 9203 E mail ...
Page 196: ...Log In Out ColorQube 9201 9202 9203 E mail 196 ...
Page 197: ...Version 2 0 06 09 Xerox ColorQube 9201 9202 9203 Reprint Saved Job ...
Page 207: ...Version 2 0 06 09 Xerox ColorQube 9201 9202 9203 Internet Services ...
Page 217: ...Version 2 0 06 09 Xerox ColorQube 9201 9202 9203 Paper and Media ...
Page 234: ...Storage and Handling ColorQube 9201 9202 9203 Paper and Media 234 ...
Page 235: ...Version 2 0 06 09 Xerox ColorQube 9201 9202 9203 Machine and Job Status ...
Page 248: ...Machine Status ColorQube 9201 9202 9203 Machine and Job Status 248 ...
Page 249: ...Version 2 0 06 09 Xerox ColorQube 9201 9202 9203 Administration and Accounting ...
Page 287: ...Version 2 0 06 09 Xerox ColorQube 9201 9202 9203 General Care and Troubleshooting ...
Page 307: ...Version 2 0 06 09 Xerox ColorQube 9201 9202 9203 Safety and Regulations ...
Page 331: ...Index ColorQube 9201 9202 9203 All Guides 331 ...


