February 2013
8-86
ColorQube® 9303 Family
Principles of Operation
SH1 Priming Sensor
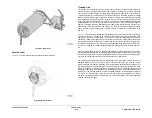
Priming of the staple head is the pre-forming of the first two staples in the staple stick. If the
staple head home sensor is low at machine initialization, the SH1 priming sensor (located
within the staple head) is checked for staple head primed (H) (high = primed). If the sensor is
high then the initialization is complete. If the staple head primed signal is low, the control logic
will cycle the staple head 1 motor until the SH1 priming sensor signal goes high.
SH1 Home Sensor
After the staple has been formed in the compiled set, the staple head cam continues to rotate
until it has made one complete revolution and the staple head home sensor, Q12-318 (located
within the staple head) has been actuated, sending a (H) signal to the control logic to stop the
staple head 1 motor at the home position.
SH Low Staples Sensor
The SH1 low staples sensor (located within the staple head) is used to detect the presence of
staples (and therefore a staple cartridge) in the compiler carriage stapler. The sensor signals
the control logic when the cartridge is missing or low on staples.
Tamping
The purpose of the tamping function is to align the sheets in the compiler carriage to eliminate
skew and offset. Tamping registers all sheets in the correct position, as a set, for correct sta-
pling.
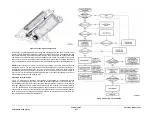
The front tamper arm is driven by the front tamper motor, MOT12-226. The rear tamper arm is
driven by the rear tamper motor, MOT12-227.The tamper motors are mounted on the front and
rear frames of the compiler carriage and drive their respective tamper arms using a toothed
belt driven lead screw for each tamper.
Home Position
The tamper arms are initially at a home position that puts them outside of the paper path. The
home positions are detected by the front tamper home sensor, Q12-180 and the rear tamper
home sensor, Q12-181, which monitor flags located on the tamper arms. These two sensors
are bonded the compiler carriage frames. If a sensor failure occurs, a new compiler carriage
must be installed.
Tamp Position
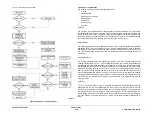
Upon actuation of the compiler sensor by the first sheet of a set, the tamper arms are moved
from the home position to the ready position. The ready position is paper size dependent and
the information is obtained from the IME. When each sheet of the set is fully within the compil-
ing area, the tamper arms are moved to the tamp position and then back to the ready position
to wait for the next sheet. The tamper arms are moved back to the ready position at a slower
speed so that an over tamp buckle is avoided which could move sheets out of the registered
position.
Bin 1 Stacking
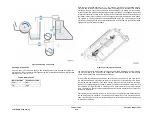
Bin 1 of the LCSS provides a platform to stack up to 2000 sheets. The bin 1 tray surface or the
top of the stack in bin 1, assists in the compiling mode by providing an extended surface to
support longer documents, e.g. SEF A4 and A3 (SEF 8.5 x 11 and 11 x 17 inch).
As the paper stack increases in the tray, the bin 1 elevator motor, MOT 12-241 lowers the tray
to the appropriate eject height to receive the set.
The bin 1 upper level sensor, Q12-188 measures the height of the stack in bin 1. This signal is
used by the LCSS PWB to determine when to lower bin 1 in steps to maintain the correct stack
height, with regard to the output from the compiler. The 90% full sensor, Q12-187 is used to
signal when bin 1 is 90% full, together with the bin 1 lower limit switch, S12-191 being made.
The control logic will allow 10% more set feeds prior to declaring a bin 1 full status to the IME.
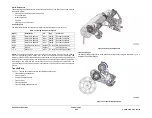
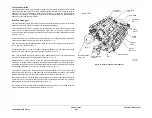
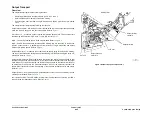
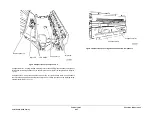
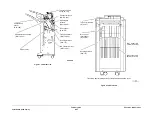
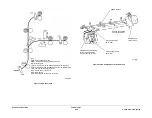
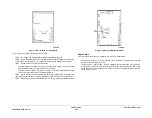
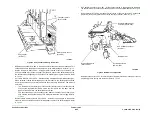
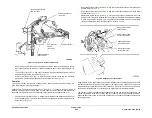
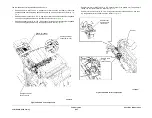
Refer to the following:
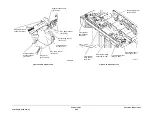
•
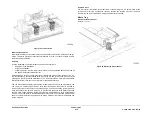
Figure 1
LCSS rear view
•
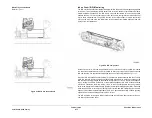
Figure 2
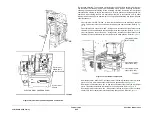
LCSS left view
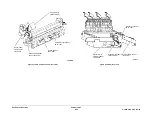
•
Figure 3
LCSS paper path
•
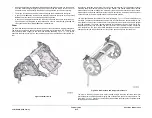
Figure 4
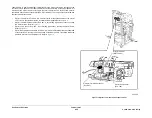
LCSS Paddle wheel and stapler unit
•
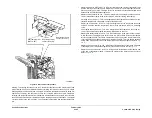
Figure 5
LCSS Stapler head
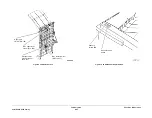
•
Figure 6
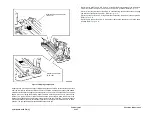
LCSS tramper unit
•
Figure 7
LCSS hole punch unit (rear view)
•
Figure 8
LCSS ejector unit
•
Figure 9
LCSS stacker unit
•
Figure 10
LCSS Manual stapler button
Summary of Contents for ColorQube 9303 Series
Page 1: ...Xerox ColorQube 9303 Family Service Manual 708P90290 February 2013...
Page 4: ...February 2013 ii ColorQube 9303 Family Introduction...
Page 18: ...February 2013 1 2 ColorQube 9303 Family Service Call Procedures...
Page 92: ...February 2013 2 68 ColorQube 9303 Family 05F Status Indicator RAPs...
Page 104: ...February 2013 2 80 ColorQube 9303 Family 12 701 00 65 Status Indicator RAPs...
Page 200: ...February 2013 2 176 ColorQube 9303 Family 12N 171 Status Indicator RAPs...
Page 292: ...February 2013 2 268 ColorQube 9303 Family 16D Status Indicator RAPs...
Page 320: ...February 2013 2 296 ColorQube 9303 Family 42 504 00 42 505 00 Status Indicator RAPs...
Page 500: ...February 2013 2 476 ColorQube 9303 Family 94B Status Indicator RAPs...
Page 648: ...February 2013 3 2 ColorQube 9303 Family Image Quality...
Page 653: ...February 2013 3 7 ColorQube 9303 Family IQ 1 Image Quality Figure 1 IQ defects 1...
Page 654: ...February 2013 3 8 ColorQube 9303 Family IQ 1 Image Quality Figure 2 IQ defects 2...
Page 655: ...February 2013 3 9 ColorQube 9303 Family IQ 1 Image Quality Figure 3 IQ defects 3...
Page 656: ...February 2013 3 10 ColorQube 9303 Family IQ 1 Image Quality Figure 4 IQ defects 4...
Page 657: ...February 2013 3 11 ColorQube 9303 Family IQ 1 Image Quality Figure 5 IQ defects 5...
Page 658: ...February 2013 3 12 ColorQube 9303 Family IQ 1 Image Quality Figure 6 IQ defects 6...
Page 660: ...February 2013 3 14 ColorQube 9303 Family IQ 1 Image Quality Figure 9 IQ defects 9...
Page 661: ...February 2013 3 15 ColorQube 9303 Family IQ 1 Image Quality Figure 10 IQ defects 10...
Page 662: ...February 2013 3 16 ColorQube 9303 Family IQ 1 Image Quality Figure 11 IQ defects 11...
Page 663: ...February 2013 3 17 ColorQube 9303 Family IQ 1 Image Quality Figure 12 IQ defects 12...
Page 664: ...February 2013 3 18 ColorQube 9303 Family IQ 1 Image Quality Figure 13 IQ defects 13...
Page 728: ...February 2013 3 82 ColorQube 9303 Family IQ 29 IQ 30 Image Quality...
Page 736: ...February 2013 3 90 ColorQube 9303 Family TP 15 Image Quality Figure 2 Media path test pages...
Page 758: ...February 2013 3 112 ColorQube 9303 Family IQS 7 IQS 8 Image Quality...
Page 778: ...February 2013 4 20 ColorQube 9303 Family REP 1 9 Repairs Adjustments...
Page 794: ...February 2013 4 36 ColorQube 9303 Family REP 3 10 Repairs Adjustments...
Page 1144: ...February 2013 4 386 ColorQube 9303 Family REP 94 1 Repairs Adjustments...
Page 1176: ...February 2013 4 418 ColorQube 9303 Family ADJ 62 3 ADJ 62 4 Repairs Adjustments...
Page 1182: ...February 2013 4 424 ColorQube 9303 Family ADJ 75 3 Repairs Adjustments...
Page 1184: ...February 2013 4 426 ColorQube 9303 Family ADJ 82 1 Repairs Adjustments...
Page 1186: ...February 2013 4 428 ColorQube 9303 Family ADJ 91 1 Repairs Adjustments...
Page 1552: ...February 2013 6 260 ColorQube 9303 Family dC140 General Procedures Information...
Page 1576: ...February 2013 6 284 ColorQube 9303 Family dC640 General Procedures Information...
Page 1578: ...February 2013 6 286 ColorQube 9303 Family dC708 dC715 General Procedures Information...
Page 1600: ...February 2013 7 2 ColorQube 9303 Family Wiring Data...
Page 1696: ...February 2013 8 2 ColorQube 9303 Family Principles of Operation...
Page 1808: ...February 2013 8 114 ColorQube 9303 Family Principles of Operation...
Page 1809: ...XEROX EUROPE...
Page 1810: ...XEROX EUROPE...
Page 1811: ...XEROX EUROPE...
Page 1812: ...XEROX EUROPE...

