February 2013
3-44
ColorQube® 9303 Family
IQ 11
Image Quality
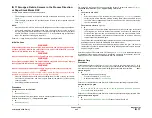
NOTE: W/
TAG 018
machines do not have air pumps install as standard. However, the preheat
air pumps in a replacement registration/preheat assembly will function when the unit is
installed, refer to service bulletin T8009-12-06.
Refer to
88-508-00
Registration/preheat Air Pump Incorrect Current RAP. The Registration/
preheat air pump is good.
Y
N
Install a new registration/preheat air pump,
PL 88.10 Item 5
.
Press the Machine Status button select the fault tab on the UI and enter Current Messages.
Check if the message ‘Cleaning unit life extended, image may be impacted’ is displayed. A
different message is displayed.
Y
N
Install a new cleaning unit,
PL 94.10 Item 21
.
NOTE: Installing a new cleaning unit may temporarily make smudging worse.
Enter
dC969
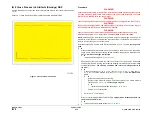
and run Clean Print Smears. Print three copies of TP 4 Yellow Solid Fill Test
Pages (
TP 2 to TP 10
). The test prints are good.
Y
N
Open the stripper gate,
GP 31
. Check the drum stripper blade for accumulations of ink or
other debris. The stripper blade is clean.
Y
N
Perform the following:
1.
Check the stripper solenoid SOL10-021,
PL 10.10 Item 3
. Refer to
10-570-00
Stripper Solenoid Over Current RAP. If necessary, install a new stripper sole-
noid assembly,
PL 10.10 Item 3
.
2.
Install a new cleaning unit,
PL 94.10 Item 21
.
NOTE: Installing a new cleaning unit may temporarily make smudging worse.
3.
Inspect the cleaning unit camshaft assembly,
PL 94.10 Item 4
for obstructions
that would prevent it from moving freely. Remove the camshaft assembly.
Check the bushings,
PL 94.10 Item 8
and
PL 94.10 Item 14
for wear or dam-
age. If necessary, install a new camshaft assembly,
PL 94.10 Item 4
.
4.
If necessary, install a new drum stripper blade,
PL 10.12 Item 3
.
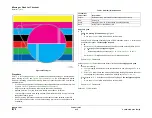
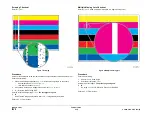
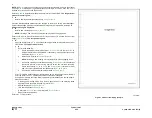
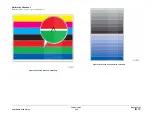
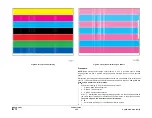
TP 15
Media Path Test Pages, to determine where in the paper path the marking is
occurring. Refer to
GP 27
Cleaning Procedure to clean the media path.
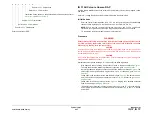
If the problem persists, check the following areas for accumulation of ink or media debris.
Clean as necessary:
•
Cleaning unit metering blade. Only remove paper debris. If the metering blade
appears to have excessive ink build-up, refer to
IQ 21
.
•
Abatement plenum,
PL 94.20 Item 12
.
•
IOD shield and sensor,
PL 94.15 Item 1
.
•
Roller nip N,
PL 10.15 Item 1
and roller nip P,
PL 10.15 Item 6
.
•
Paper path ribs and guides.
Perform
SCP 5
Final Actions.
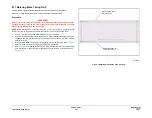
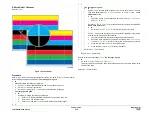
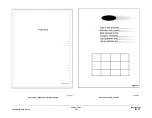
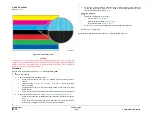
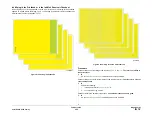
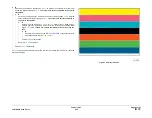
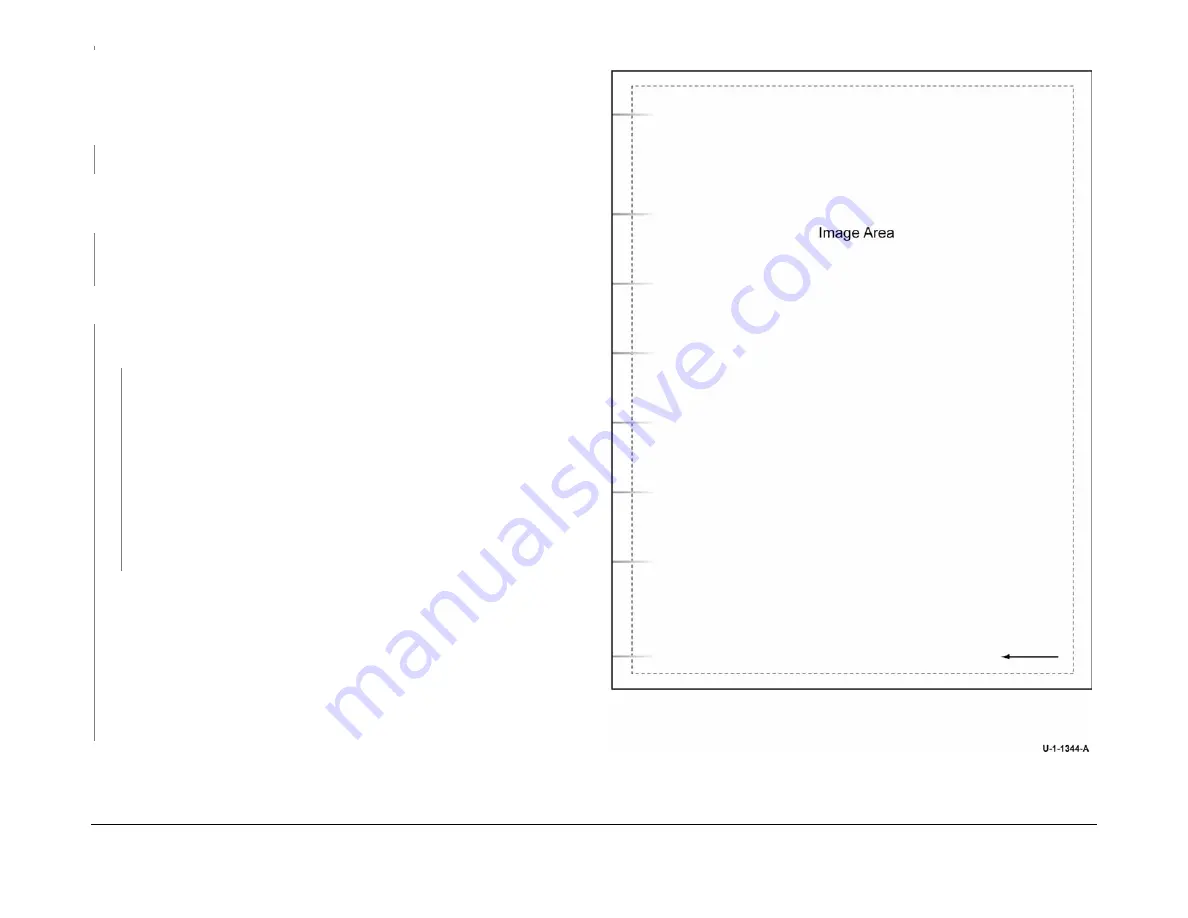
Figure 1 Finisher rib marking example
B
Summary of Contents for ColorQube 9303 Series
Page 1: ...Xerox ColorQube 9303 Family Service Manual 708P90290 February 2013...
Page 4: ...February 2013 ii ColorQube 9303 Family Introduction...
Page 18: ...February 2013 1 2 ColorQube 9303 Family Service Call Procedures...
Page 92: ...February 2013 2 68 ColorQube 9303 Family 05F Status Indicator RAPs...
Page 104: ...February 2013 2 80 ColorQube 9303 Family 12 701 00 65 Status Indicator RAPs...
Page 200: ...February 2013 2 176 ColorQube 9303 Family 12N 171 Status Indicator RAPs...
Page 292: ...February 2013 2 268 ColorQube 9303 Family 16D Status Indicator RAPs...
Page 320: ...February 2013 2 296 ColorQube 9303 Family 42 504 00 42 505 00 Status Indicator RAPs...
Page 500: ...February 2013 2 476 ColorQube 9303 Family 94B Status Indicator RAPs...
Page 648: ...February 2013 3 2 ColorQube 9303 Family Image Quality...
Page 653: ...February 2013 3 7 ColorQube 9303 Family IQ 1 Image Quality Figure 1 IQ defects 1...
Page 654: ...February 2013 3 8 ColorQube 9303 Family IQ 1 Image Quality Figure 2 IQ defects 2...
Page 655: ...February 2013 3 9 ColorQube 9303 Family IQ 1 Image Quality Figure 3 IQ defects 3...
Page 656: ...February 2013 3 10 ColorQube 9303 Family IQ 1 Image Quality Figure 4 IQ defects 4...
Page 657: ...February 2013 3 11 ColorQube 9303 Family IQ 1 Image Quality Figure 5 IQ defects 5...
Page 658: ...February 2013 3 12 ColorQube 9303 Family IQ 1 Image Quality Figure 6 IQ defects 6...
Page 660: ...February 2013 3 14 ColorQube 9303 Family IQ 1 Image Quality Figure 9 IQ defects 9...
Page 661: ...February 2013 3 15 ColorQube 9303 Family IQ 1 Image Quality Figure 10 IQ defects 10...
Page 662: ...February 2013 3 16 ColorQube 9303 Family IQ 1 Image Quality Figure 11 IQ defects 11...
Page 663: ...February 2013 3 17 ColorQube 9303 Family IQ 1 Image Quality Figure 12 IQ defects 12...
Page 664: ...February 2013 3 18 ColorQube 9303 Family IQ 1 Image Quality Figure 13 IQ defects 13...
Page 728: ...February 2013 3 82 ColorQube 9303 Family IQ 29 IQ 30 Image Quality...
Page 736: ...February 2013 3 90 ColorQube 9303 Family TP 15 Image Quality Figure 2 Media path test pages...
Page 758: ...February 2013 3 112 ColorQube 9303 Family IQS 7 IQS 8 Image Quality...
Page 778: ...February 2013 4 20 ColorQube 9303 Family REP 1 9 Repairs Adjustments...
Page 794: ...February 2013 4 36 ColorQube 9303 Family REP 3 10 Repairs Adjustments...
Page 1144: ...February 2013 4 386 ColorQube 9303 Family REP 94 1 Repairs Adjustments...
Page 1176: ...February 2013 4 418 ColorQube 9303 Family ADJ 62 3 ADJ 62 4 Repairs Adjustments...
Page 1182: ...February 2013 4 424 ColorQube 9303 Family ADJ 75 3 Repairs Adjustments...
Page 1184: ...February 2013 4 426 ColorQube 9303 Family ADJ 82 1 Repairs Adjustments...
Page 1186: ...February 2013 4 428 ColorQube 9303 Family ADJ 91 1 Repairs Adjustments...
Page 1552: ...February 2013 6 260 ColorQube 9303 Family dC140 General Procedures Information...
Page 1576: ...February 2013 6 284 ColorQube 9303 Family dC640 General Procedures Information...
Page 1578: ...February 2013 6 286 ColorQube 9303 Family dC708 dC715 General Procedures Information...
Page 1600: ...February 2013 7 2 ColorQube 9303 Family Wiring Data...
Page 1696: ...February 2013 8 2 ColorQube 9303 Family Principles of Operation...
Page 1808: ...February 2013 8 114 ColorQube 9303 Family Principles of Operation...
Page 1809: ...XEROX EUROPE...
Page 1810: ...XEROX EUROPE...
Page 1811: ...XEROX EUROPE...
Page 1812: ...XEROX EUROPE...

