Xerox
®
D70n Scanner
PC Installation
5-4
User Guide
Note:
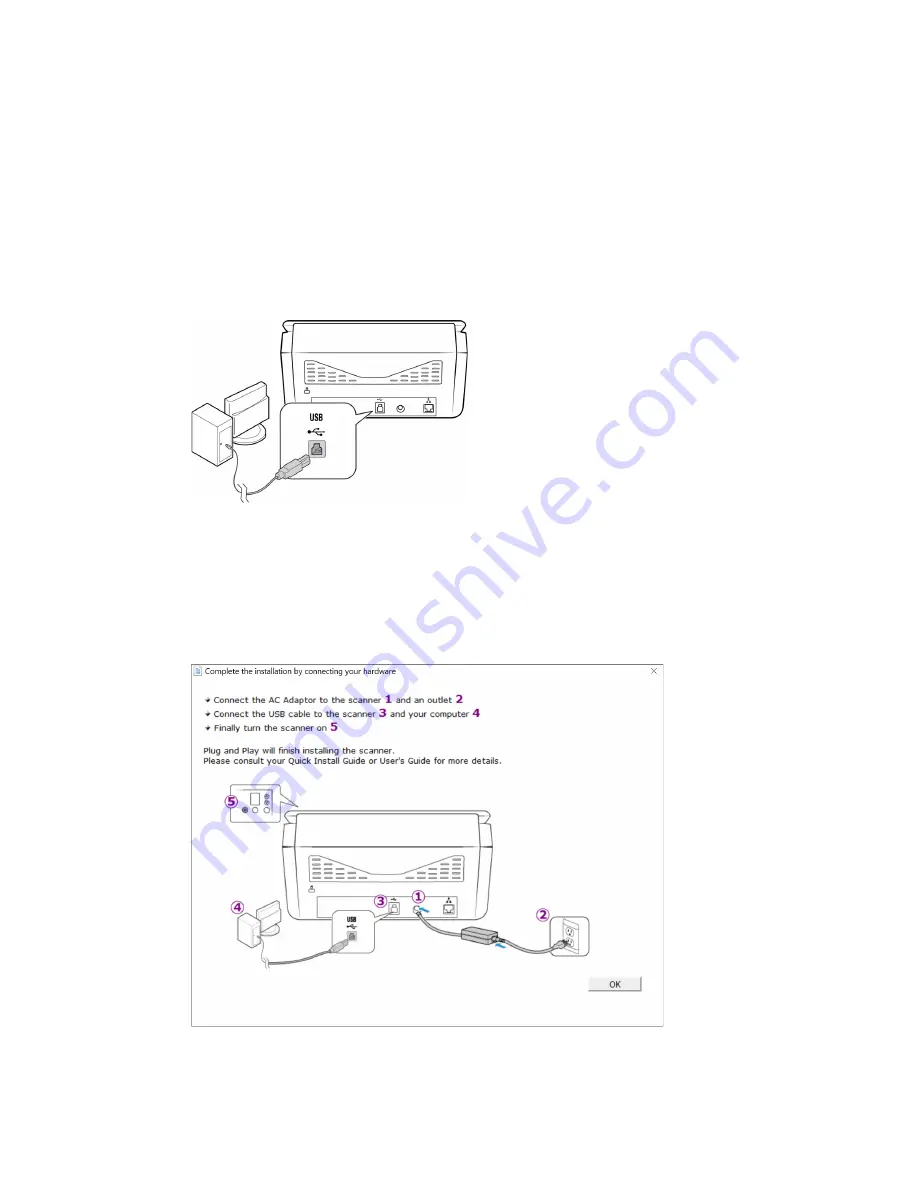
If you do not see this on-screen diagram for connecting the scanner, stop and follow
the instructions below.
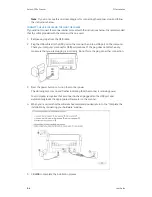
CONNECT THE USB CABLE AND TURN ON THE POWER
If you did not connect the scanner earlier, proceed with the instructions below. It is recommended
that the cable provided with the scanner is the one used.
1. Remove any tape from the USB cable.
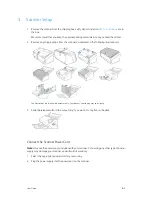
2. Plug the USB cable into the USB port on the scanner then into a USB port on the computer.
Check your computer’s manual for USB port locations. If the plug does not attach easily,
make sure that you are plugging it in correctly. Do not force the plug into either connection.
3. Press the power button to turn on the scanner power.
The status light comes on and flashes indicating that the scanner is receiving power.
Your computer recognizes that a scanner has been plugged into the USB port and
automatically loads the appropriate software to run the scanner.
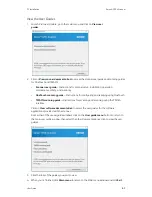
4. When you’re certain that the software has completely loaded, return to the “Complete the
installation by connecting your hardware” window.
5. Click
OK
to complete the installation process.
Summary of Contents for D70n
Page 1: ...Xerox D70n Scanner Scanner User Guide for Microsoft Windows FEBRUARY 2021 05 0999 000...
Page 6: ...Xerox D70n Scanner Table of Contents vi User Guide...
Page 18: ...Xerox D70n Scanner Scanner Setup 3 4 User Guide...
Page 22: ...Xerox D70n Scanner The Scanner s LCD 4 4 User Guide...
Page 34: ...Xerox D70n Scanner Wired Network Connection 6 4 User Guide...
Page 36: ...Xerox D70n Scanner Installation for Use on Your Mobile Device 7 2 User Guide...
Page 44: ...Xerox D70n Scanner Loading Documents to Scan 8 8 User Guide...
Page 58: ...Xerox D70n Scanner The Scanner s Web Interface 9 14 User Guide...
Page 82: ...Xerox D70n Scanner Scanner Options Maintenance and Troubleshooting 10 24 User Guide...

