44
Setting up the Fiery XJ as a PostScript printer
9.
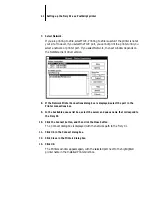
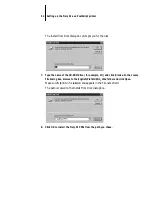
Select a port type (the default is LPT1:), and click Next.
You’ll configure the port later, according to your network type.
10.
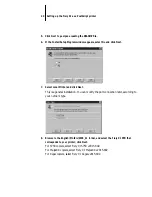
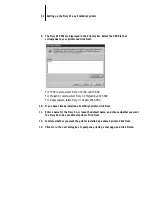
Enter a descriptive name (up to 20 characters) for the printer. Select Yes to use the
printer as the default printer, select No to test page and then click Next.
To use the default (PPD) name, do not change the entry in the Printer Name area.
The Windows 95 test page can be printed later, when the configuration is finished.
11.
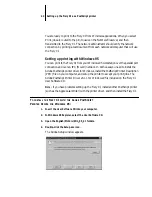
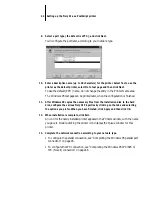
After Windows 95 copies the necessary files from the installation disk to the hard
disk, configure the various Fiery XJ Properties by clicking on the tabs and selecting
the options you prefer. When you have finished, click Apply and then click OK.
12.
When installation is complete, click Exit.
An icon for the newly installed printer appears in the Printers window, with the name
you gave it. Double-clicking the printer icon displays the Queue window for this
printer.
13.
Complete the network connection according to your network type.
• To configure the parallel connection, see “Completing the Windows 95 parallel port
connection” on page 45.
• To configure the IPX connection, see “Completing the Windows 95 IPX/SPX or
IPX (Novell) connection” on page 46.


