63
Setting up the Fiery XJ as a PostScript printer
3.
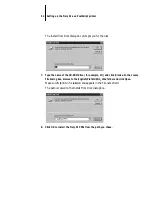
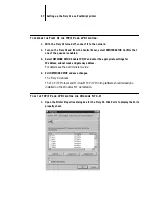
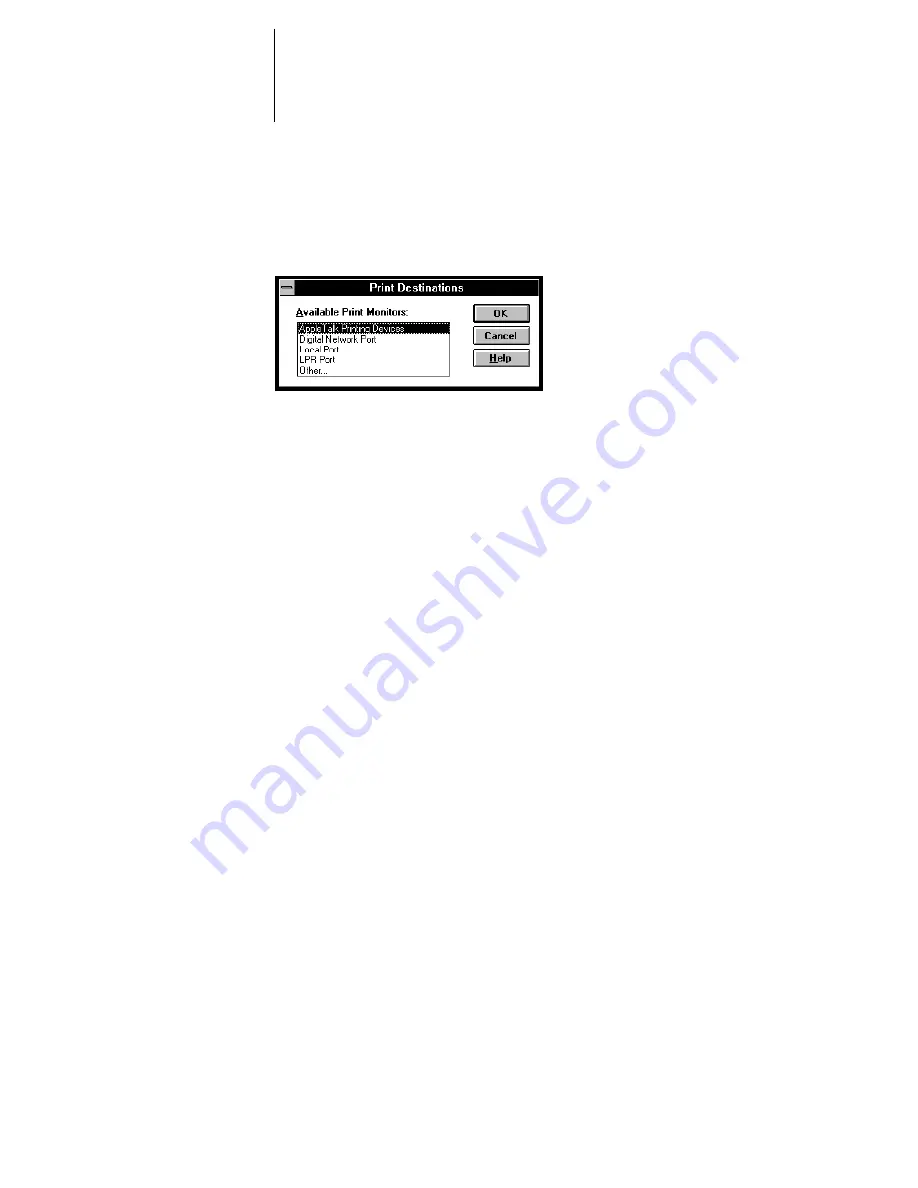
In the Print to list, scroll to Other.
The Print Destinations dialog box appears.
4.
Select LPR Port and click OK.
This option is available if you installed TCP/IP with the LPR printing protocol when
you installed Windows NT. See your Windows NT documentation for information.
5.
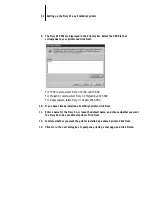
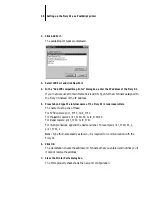
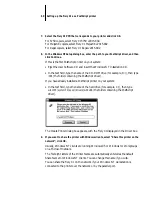
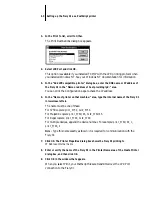
In the “Add LPR compatible printer” dialog box, enter the DNS name or IP address of
the Fiery XJ in the “Name or address of host providing lpd:” area.
You can print the Configuration page to check the IP address.
6.
In the “Name of printer on that machine:” area, type the internal name of the Fiery XJ
in lowercase letters.
The name must be one of these:
For 5750 copiers:
print_5750, hold_5750.
For MajestiK copiers:
print_5760/65, hold_5760/65.
For Regal copiers:
print_5790, hold_5790.
For multiple devices, append the device number. For example:
print_5760/65_1,
print_5790_2
.
N
OTE
:
Type this name exactly as shown; it is required for communication with the
Fiery XJ.
7.
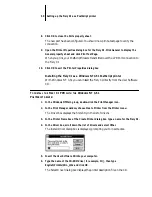
Click OK. The Printer Properties dialog box shows the Fiery XJ printing to
IP Address:Internal name
8.
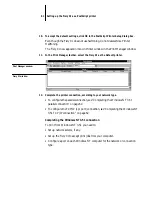
Enter or verify the name of the Fiery XJ in the Printer Name area of the Create Printer
dialog box, and then click OK.
9.
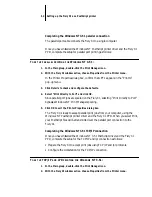
Click OK in the window that appears.
When you select Print, your PostScript files are transmitted over the LPR Port
connection to the Fiery XJ.

