SETTING THE SYSTEM CONFIGURATION
4-36
XEROX DOCUPRINT 96/4635/180 IPS GUIDE TO CONFIGURING AND MANAGING THE SYSTEM
Note:
This list contains only standard stock sizes. You
cannot create or specify paper sizes not contained in this
list.
If you have a job that requires a size of paper that is not on
this size list, add it using the Tools icon on the printer control
console. (Refer to the “Printers” chapter in
96/4635/180 IPS
System Overview Guide
.) However, the size must be within
the length/width range supported by your IPS printer. (Refer
to the “Paper and other print media” chapter in
96/4635/180
IPS System Overview Guide
.)
•
Plex Capability
—
Specifies whether the media will be
simplex or duplex, or simplex only.
•
Form Type —
Lists the
types of stock you will use in your
IPS printer (e.g., standard, 3-hole, transparency, etc.). To
select a form type from this list, highlight your selection by
clicking it with the left mouse button.
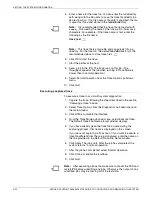
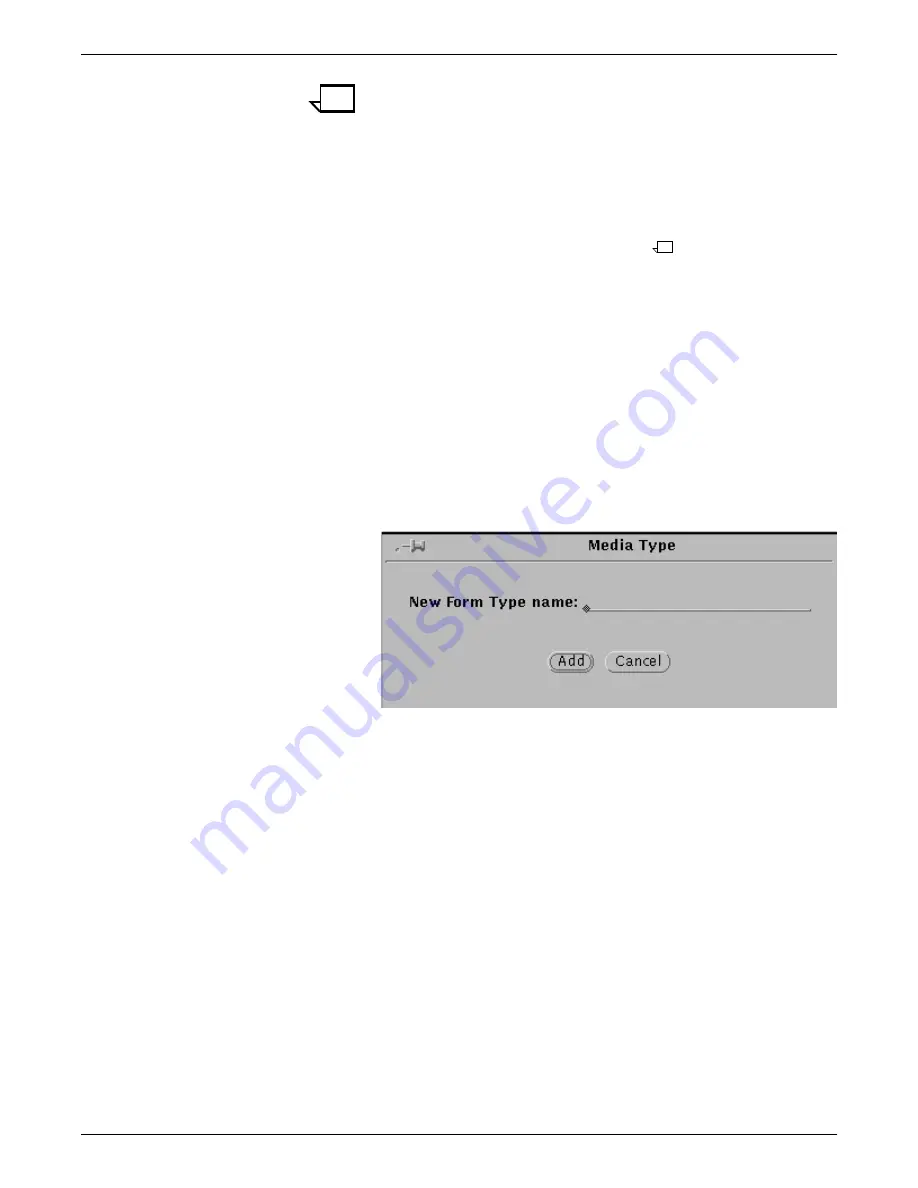
You can create new stock types to add to this list by
following these steps:
a.
Click the Add button, located below the Form Type list
box. The following window displays:
Figure 4-26.
Add a New Form Type window
b.
With the cursor positioned on the Add a New Form
Type window, enter the name of the media type you
want to add to the list (such as 2-hole, Reinforced,
etc.).
c.
Click Add on the Add a New Form Type window. Your
new stock type displays on the Form Type list.
To create a temporary form type
: You may have occasion
to create a media icon requiring a form type you know you
will not need again for any other stock. You do not want to
add this form type to the list of those you use frequently. For
this, you can create a temporary form type that will be
available only while you are creating your media icon.
a.
On the Other Form Type line, located below the Add
and Delete buttons, click the left mouse button.
b.
Enter a name for the new form type. The text you enter
displays in the media icon display box at the bottom of
the screen as well as on the Other Form Type line.
Do
not click the Add button.

