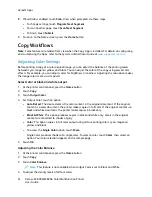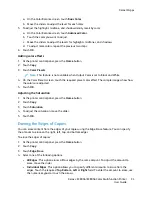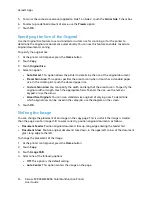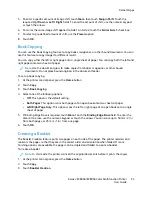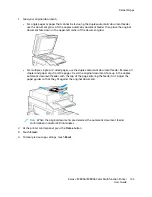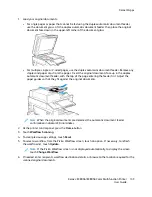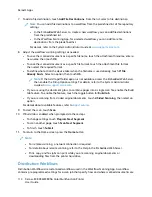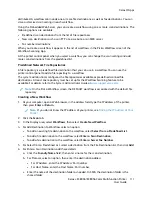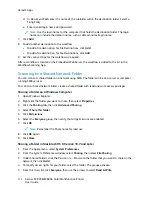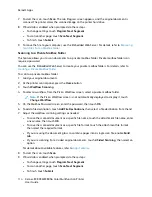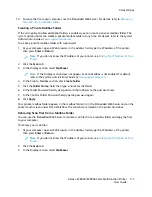
5. Enter recipients.
• If the entry screen appears, to enter a recipient, touch an option, or touch
X
.
• To select a contact or group from the Address Book, touch the
Device Address Book
option.
Touch
Favorites
or
Contacts
, then select a recipient. Touch
OK
.
• To select a contact from the Network Address Book, touch the
Network Address Book
option.
Enter a name, touch
Search
, then select a recipient. Touch
OK
.
• To enter the email address manually, touch
Manual Entry
. In the Enter Email Address field,
enter the email address, then touch
Add
.
• To add your own email address to the recipient list, touch
Add Me
. If necessary, enter your
login details.
• To add more recipients, touch
Add Recipient
, then repeat the procedure.
Note:
The choices available for adding recipients depends on system configuration.
6. To organize the recipients, touch one of the recipient names on the list. From the menu, select
To:
,
Cc:
, or
Bcc:
.
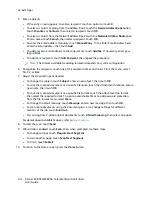
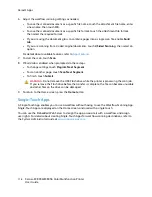
7. Adjust the email settings as needed.
• To change the subject, touch
Subject
, enter a new subject, then touch
OK
.
• To save the scanned document as a specific filename, touch the attachment filename, enter a
new name, then touch
OK
.
• To save the scanned document as a specific file format, touch the attachment file format,
then select the required format. To create a searchable file or to add password protection,
from the file format menu, select
More
.
• To change the email message, touch
Message
, enter a new message, then touch
OK
.
• To scan more documents using the document glass, or to change settings for different
sections of the job, touch
Build Job
.
• If scanning from 2-sided original documents, touch
2-Sided Scanning
, then select an option.
For details about available features, refer to
8. To start the scan, touch
Send
.
9. If Build Job is enabled, touch
Scan
, then, when prompted, do these steps.
• To change settings, touch
Program Next Segment
.
• To scan another page, touch
Scan Next Segment
.
• To finish, touch
Submit
.
10. To return to the Home screen, press the
Home
button.
106
Xerox
®
EC8036/EC8056 Color Multifunction Printer
User Guide
Summary of Contents for EC8036
Page 1: ...Version 1 0 July 2021 702P08641 Xerox EC8036 EC8056 Color Multifunction Printer User Guide...
Page 10: ...10 Xerox EC8036 EC8056 Color Multifunction Printer User Guide Table of Contents...
Page 64: ...64 Xerox EC8036 EC8056 Color Multifunction Printer User Guide Getting Started...
Page 74: ...74 Xerox EC8036 EC8056 Color Multifunction Printer User Guide Customize and Personalize...
Page 248: ...248 Xerox EC8036 EC8056 Color Multifunction Printer User Guide Maintenance...
Page 332: ...332 Xerox EC8036 EC8056 Color Multifunction Printer User Guide Specifications...
Page 344: ...344 Xerox EC8036 EC8056 Color Multifunction Printer User Guide Regulatory Information...
Page 350: ...350 Xerox EC8036 EC8056 Color Multifunction Printer User Guide Recycling and Disposal...
Page 368: ...368 Xerox EC8036 EC8056 Color Multifunction Printer User Guide Apps Features...
Page 369: ......
Page 370: ......

