M
Maannaaggiinngg JJoobbss uussiinngg tthhee EEm
mbbeeddddeedd W
Weebb SSeerrvveerr
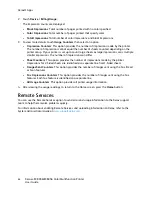
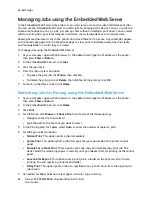
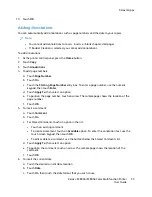
In the Embedded Web Server Active Jobs list, you can view a list of active jobs and delete print jobs.
You can use the Embedded Web Server to submit jobs for printing at the device. You can use the Job
Submission feature to print .ps, .pdf, .pcl, and .xps files without installing a print driver. You can select
jobs for printing from your local computer hard drive, mass storage devices, or a network drive.
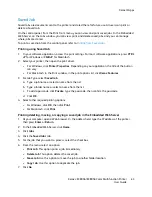
Saved jobs are documents sent to the printer and stored there for future use. Any saved jobs appear
on the Saved Jobs page. Use the Saved Jobs page to view, print, and delete saved jobs, and create
and manage folders in which they are stored.
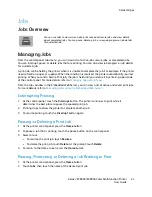
To manage jobs using the Embedded Web Server:
1. At your computer, open a Web browser. In the address field, type the IP address of the printer,
then press
Enter
or
Return
.
2. In the Embedded Web Server, click
Jobs
.
3. Click the job name.
4. From the menu, select an option.
• To pause the print job, click
Pause
, then click
Go
.
• To delete the print job, click
Delete
, then click
Go
. At the prompt, click
OK
.
5. To return to the Home screen, click
Home
.
SSuubbm
miittttiinngg JJoobbss ffoorr PPrriinnttiinngg uussiinngg tthhee EEm
mbbeeddddeedd W
Weebb SSeerrvveerr
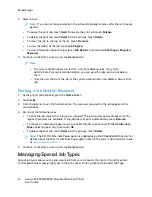
1. At your computer, open a Web browser. In the address field, type the IP address of the printer,
then press
Enter
or
Return
.
2. In the Embedded Web Server, click
Home
.
3. Click
.
4. For File Name, click
Browse
or
Choose File
, then do one of the following steps.
• Navigate to the file, then select it.
• Type the path to the file that you want to select.
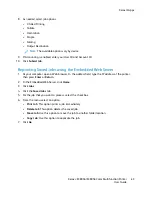
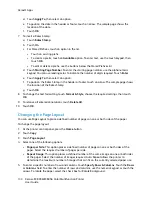
5. In the Printing area, for Copies, select
Auto
, or enter the number of copies to print.
6. For Job Type, select an option:
•
Normal Print
: This option prints a job immediately.
•
Secure Print
: This option prints a job after you enter your passcode at the printer control
panel.
•
Sample Set
or
Proof Print
: These options print one copy of a multiple-copy print job. The
device holds the remaining copies in memory until you release them for printing at the control
panel.
•
Save Job for Reprint:
This option saves a print job in a folder on the print server for future
printing. You can specify a job name and folder.
•
Delay Print:
This option prints a job at a specified time up to 24 hours from the original job
submission.
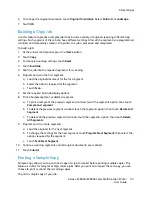
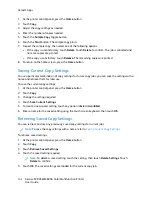
7. As needed, for Paper Selection, select paper size, color, type, and tray.
88
Xerox
®
EC8036/EC8056 Color Multifunction Printer
User Guide
Summary of Contents for EC8036
Page 1: ...Version 1 0 July 2021 702P08641 Xerox EC8036 EC8056 Color Multifunction Printer User Guide...
Page 10: ...10 Xerox EC8036 EC8056 Color Multifunction Printer User Guide Table of Contents...
Page 64: ...64 Xerox EC8036 EC8056 Color Multifunction Printer User Guide Getting Started...
Page 74: ...74 Xerox EC8036 EC8056 Color Multifunction Printer User Guide Customize and Personalize...
Page 248: ...248 Xerox EC8036 EC8056 Color Multifunction Printer User Guide Maintenance...
Page 332: ...332 Xerox EC8036 EC8056 Color Multifunction Printer User Guide Specifications...
Page 344: ...344 Xerox EC8036 EC8056 Color Multifunction Printer User Guide Regulatory Information...
Page 350: ...350 Xerox EC8036 EC8056 Color Multifunction Printer User Guide Recycling and Disposal...
Page 368: ...368 Xerox EC8036 EC8056 Color Multifunction Printer User Guide Apps Features...
Page 369: ......
Page 370: ......


