Index
8
Print Provider Guide
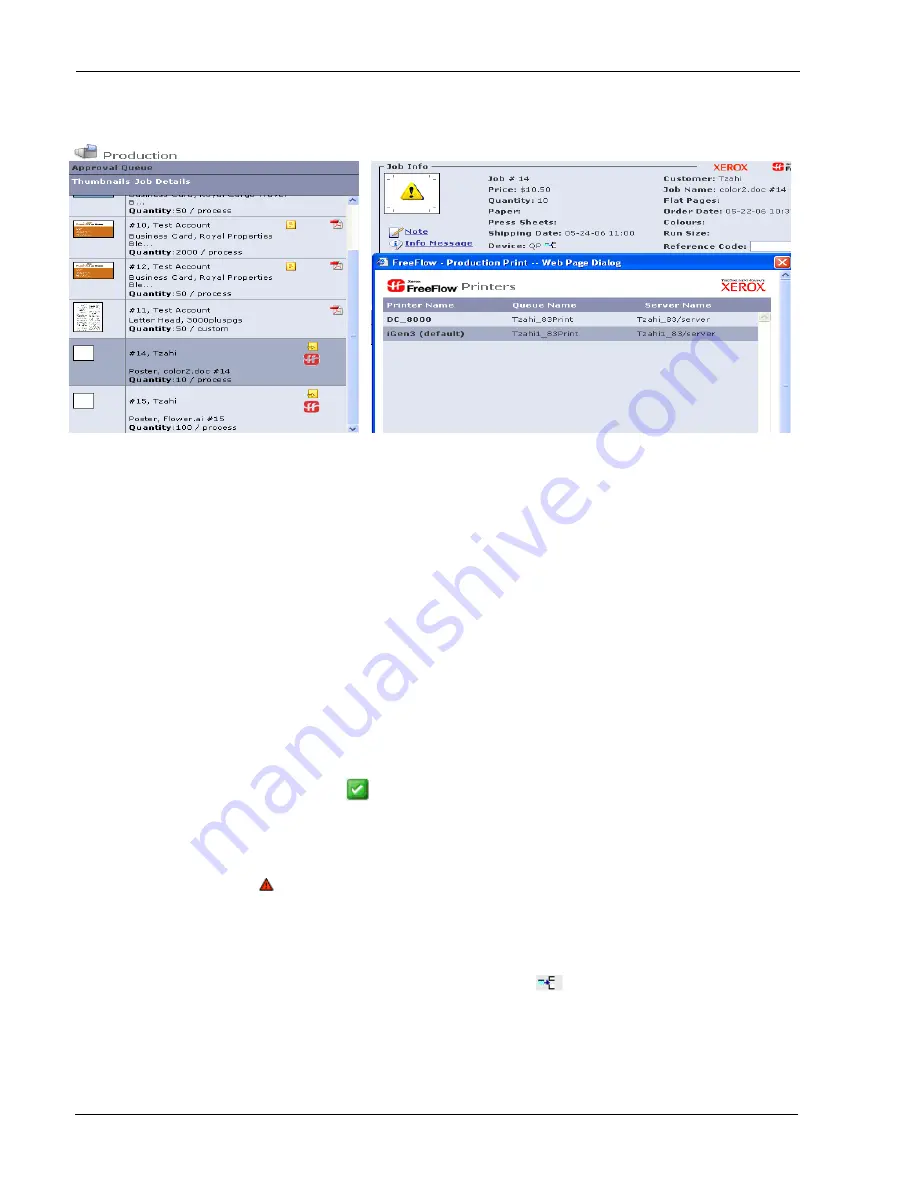
Figure 4: Approve Job
Printing a Free Flow Web Services Job to a Free Flow Printer
In
order
to
approve
a
FreeFlow
Web
Services
based
job
carry
out
the
following
steps
1
Select
Tasks
/
Production
menu
2
Choose
Job
in
Approval
queue.
3
Press
on
Approve
button
4
The
job
(PDF,
.XPR,
.XPIF)
will
be
transferred
to
the
designated
“cold”
folder
created
in
the
Output
Device
set
‐
up
for
non
catalog
jobs.
Use
the
FreeFlow
QuickPrint
on
any
client
to
access
this
folder
to
complete
the
production
print.
5
The
approval
is
successful
when
the
icon
appears
in
the
Status
column
6
A
message
will
be
shown
to
the
user
saying
that
the
files
are
stored
in
the
previously
configured
Network
Folder
7
Jobs
that
fail
in
the
Printing
Queue
are
generally
due
to
network
errors.
Check
the
Device
set
‐
up
to
diagnose
this
problem.
Selecting
a
different
Printer
Selection
for
jobs
in
the
Approval
Queue
1
Choose
the
Job
in
Approval
Queue
2
Select
the
multiple
queue
icon
in
Job
Info
next
to
the
Device
name
or
click
on
Edit
Imposition
button
3
Change
the
Printer
Selection
by
selecting
a
different
Printer
Name
4
Select
the
OK
button


