Xerox 4590/4110 Copier/Printer System Administration Guide
8-105
8. Setups
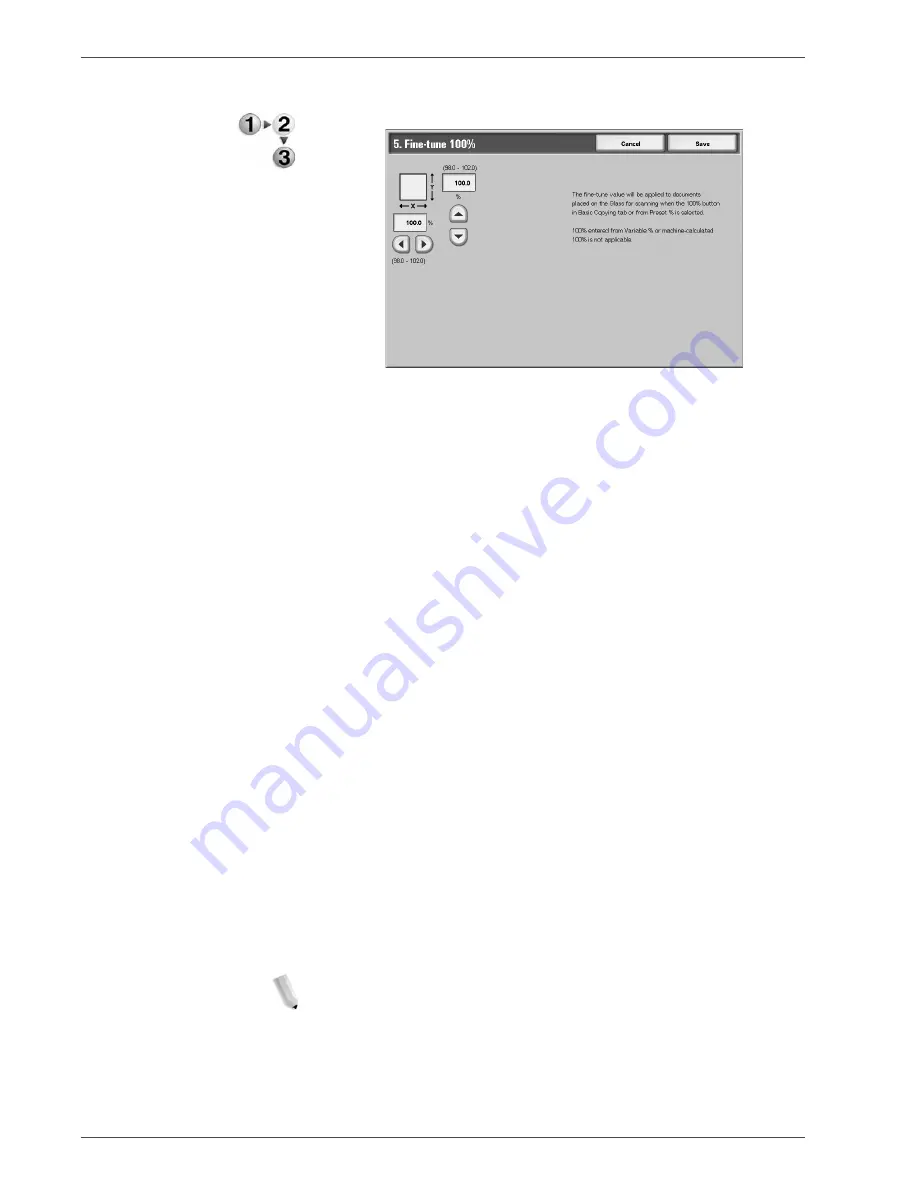
Use the following procedure to select a default fine tune setting.
1.
Select
Fine-tune 100%
, and select
Change Settings
.
2.
Enter the desired fine-tune value by using
s
,
t
,
W
, and
X
.
3.
Select
Save
to save the changes and return to the
Copy
Control
screen.
Pseudo-Photo Gradation
Mode
Select the default toning method for photo originals. To obtain an
image quality that is closer to the photo image, select how gray
tones will be handled by the machine. Select either
Error
Diffusion
or
Dither
.
Original Type - Lightweight
Originals
Select the default setting for light weight originals. The selection
made here is displayed on the
Image Quality
screen,
Original
Type
feature. Select either
Enabled
or
Disabled
.
Output Orientation-Reverse
Order
Select whether or not
Reverse Order
is enabled for the delivery of
the copy or print output. If
Enabled
is selected,
Face Up
,
Reverse Order
is displayed on the
Output Orientation
screen
(
Output Format
tab).
Output Orientation-Auto
(Single sheet)
Select the default setting for delivering the copy or print
output. This default setting is displayed on the
Output
Orientation
screen (
Output Format
tab). Select either
Face Up
or
Face Down
. The setting selected here is the default delivery
method when the
Auto
feature is selected on the Output
Orientation
screen (
Output Format
tab).
Stamp Density
Select the default translucency/density of the stamp when it is
printed out the copy/print output. Select from three translucency
values:
0%
(solid),
25%
, or
50%
.
NOTE: Selecting the 0% value represents no translucency
(transparency); therefore, any text that resides underneath the
stamp may not be readable on the output.
Summary of Contents for Legacy 4590
Page 34: ...Xerox 4590 4110 Copier Printer System Administration Guide 1 22 1 Overview...
Page 140: ...Xerox 4590 4110 Copier Printer System Administration Guide 6 22 6 Computer Operations...
Page 378: ...Xerox 4590 4110 Copier Printer System Administration Guide 9 18 9 Troubleshooting...
Page 401: ......
Page 402: ......


