User Guide
9-1
9. File
Send your scanned images to a
Network Folder, USB Flash Drive
or
Public Folder
.
Note:
To send your scanned images to a network folder such as
FTP, FTPS,
or
SMB
, make
sure you have access to the network folders. For example, you need to create a login name
and password first.
1.
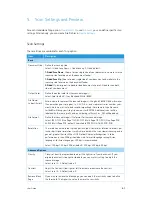
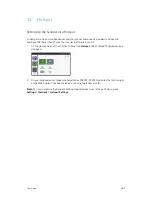
From the LCD menu, tap the
File
button
.
The Cloud screen will be displayed on the right
panel.
2.
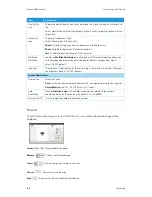
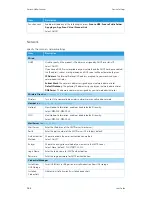
Select a
Scan to
destination to store your scanned images.
–
Select
Network
or
Local.
–
If
Network
is selected, the available network servers will be displayed at the right box.
You may use the Up-arrow or Down-arrow button to scroll from the list.
–
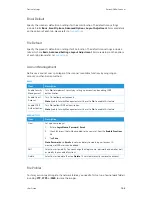
If
Local
is selected,
USB
and
Public Folder
will be displayed.
–
If
USB
is selected, make sure a USB flash drive has been inserted into either of the
USB flash drive ports of the scanner.
–
If
Public Folder
is selected, the scanned image will be stored in the product’s
memory. Enter the pin number during scanning and then access the scanned image
via the scanner’s internal website. See
for additional
information.
3.
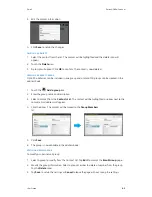
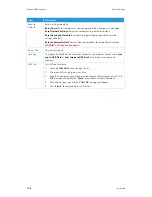
If desired, enter the file name prefix in the
File Name
field for the scanned document and
adjust the
4.
Press the
Scan
button to start scanning.
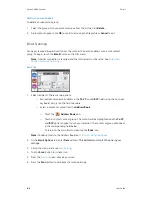
5.
The
window appears. When satisfied with your scan, press the
Scan
button. Use the
Abort
button to cancel the scan.
6.
The scanned images will be sent to the set destination.
Summary of Contents for N60w
Page 1: ...Xerox N60w Scanner Scanner User Guide for Microsoft Windows AUGUST 2020 05 0987 000...
Page 14: ...Xerox N60w Scanner Welcome 2 4 User Guide...
Page 26: ...Xerox N60w Scanner LCD Buttons and Shortcuts 6 4 User Guide...
Page 28: ...Xerox N60w Scanner Cloud 7 2 User Guide...
Page 34: ...Xerox N60w Scanner Email 8 6 User Guide...
Page 36: ...Xerox N60w Scanner File 9 2 User Guide...
Page 40: ...Xerox N60w Scanner OneTouch 11 2 User Guide...
Page 42: ...Xerox N60w Scanner Hotspot 12 2 User Guide...
Page 84: ...Xerox N60w Scanner Maintenance 16 26 User Guide...
Page 92: ...Xerox N60w Scanner PC Installation 17 8 User Guide...

