


Scanning
38
Xerox Card Scanner 200 User’s Guide
Text Formats
Selecting the text format option also selects OCR processing as an automatic step for scanning. Therefore,
when you scan a document with the text format selected, the text portions of the document are
automatically converted to editable text.
Select a text format for documents with text or numbers, such as a business letter, report, or spreadsheet.
The text format icon has several file formats available, depending on the Destination Application you
select.
The specific file format is the file name extension on the text format icon.
As you select Destination Applications that are text applications, the text format icon changes to match
the file type of the application. In some cases, the Destination Application supports several file types, and
you can right-click on the icon to choose the particular file type for that application.
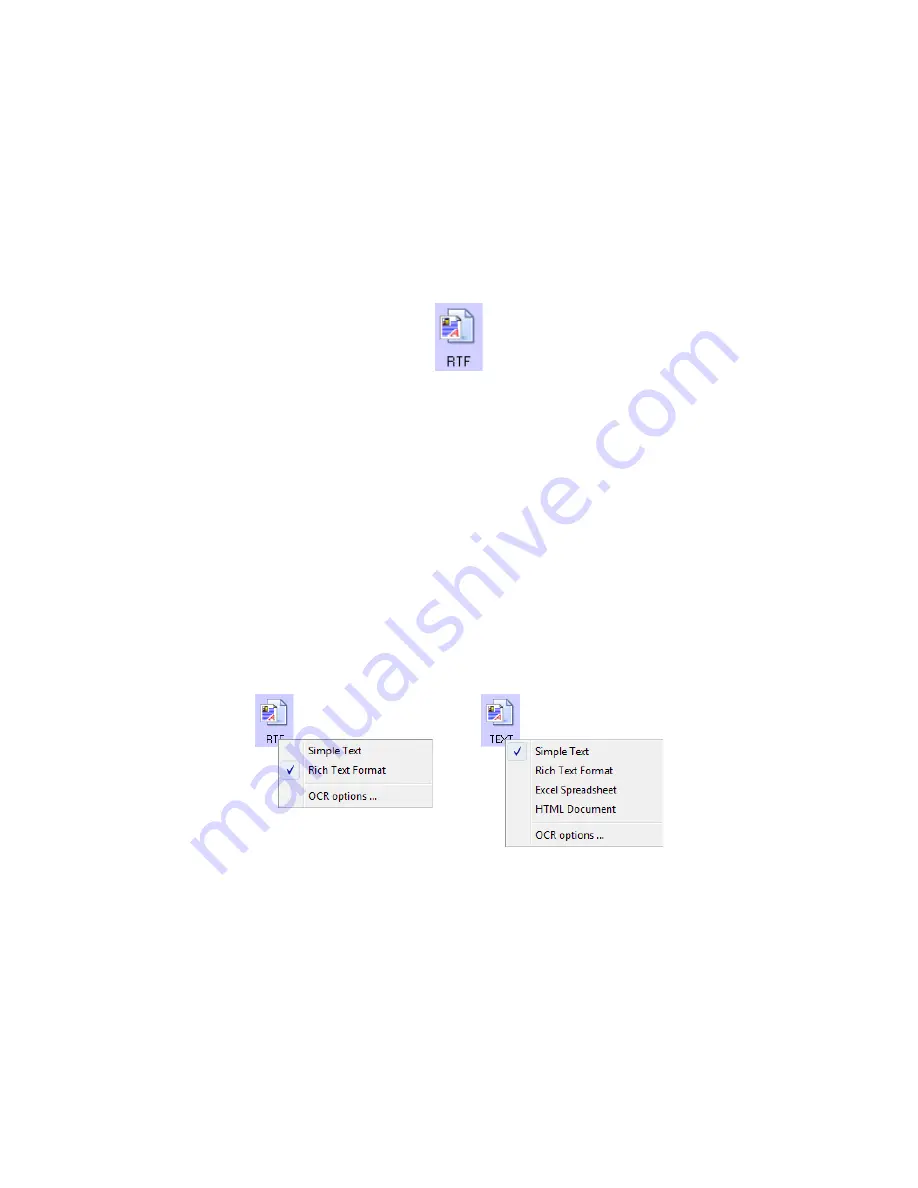
To select a file type for the text format:
1. Select the Destination Application.
2. Right-click on the text format icon.
The menu options depend on the type of Destination Application you select.
The Rich Text Format; this
example is for Microsoft Word.
Example menu for the Text format
when the selected application is
Transfer to Storage.
Example menu for the Text format
when the selected application is
Microsoft’s Word.
Summary of Contents for Nuvera 200
Page 1: ...Card Scanner 200 User Guide ...
Page 3: ......
Page 85: ...Maintenance 80 Xerox Card Scanner 200 User s Guide ...
Page 93: ...88 Xerox Card Scanner 200 User s Guide ...
Page 97: ...Index 92 Xerox Card Scanner 200 User s Guide ...
Page 98: ...P N 05 0776 100 ...


