Troubleshooting
8-8
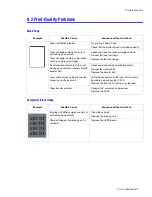
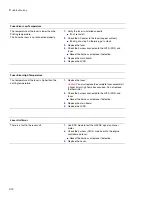
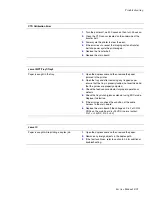
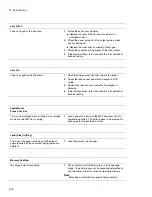
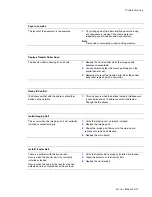
Deterioration of Print Quality In ALL Colors
Deterioration of Print Quality in ONE Color
Uneven Color Density
Example
Possible Cause
Sequence of Repair Actions
Problem transferring the intermediate
images to the transfer belt.
Check and clean the transfer belt contacts.
Re-install or replace the transfer belt.
Contamination of the paper path.
Check and clean the printers internal paper path.
Problem transferring intermediate
image onto paper.
Check and clean the transfer roller contacts.
Check and test the transfer T2 solenoid and cam
operation.
Ensure the roller comes properly into contact when
the solenoid operates.
Example
Possible Cause
Sequence of Repair Actions
The toner cartridge for the problem
color is low or at it’s end of life.
Check the life of the toner cartridge.
Replace if necessary.
The toner cartridge sensor is bad.
Check or replace the toner cartridge.
The paper path is blocked or damaged.
Check for the correct positioning of the paper.
The image transfer is incorrect.
Re-install the transfer belt.
Replace the transfer belt if necessary.
Example
Possible Cause
Sequence of Repair Actions
The alignment of the transfer roller or
transfer belt is bad.
Re-install or replace the transfer belt or transfer
roller.
The image appears just one time after
a new toner cartridge is installed.
Run several test prints to clear.
Summary of Contents for Phaser 6100
Page 1: ...Service Manual X XEROX P h a s e r C o l o r L a s e r P r i n t e r 6100 ...
Page 2: ......
Page 10: ...vi ...
Page 22: ...Reference Information 2 6 ...
Page 28: ...Specifications 3 6 ...
Page 38: ...Summary of Product 4 10 RAM DIMM SPGPm Main Control FLASH MEMORY ENGINE CONTROL ...
Page 44: ...Summary of Product 4 16 ...
Page 66: ...Disassembly 6 10 3 Remove the toner caps and fit them to the inlets as shown below Toner Cap ...
Page 94: ...Disassembly 6 38 6 Disconnect 2 harnesses and remove the laser unit Harness Harness ...
Page 130: ...Maintenance and Diagnostics 7 20 ...
Page 196: ...Parts List 9 42 9 21 Transfer Belt Cam Assembly S18 9 0 8 S8 7 6 5 10 1 2 14 3 12 13 S8 11 4 ...
Page 200: ...Parts List 9 46 ...


