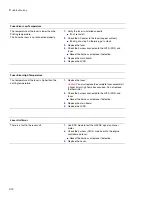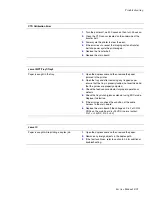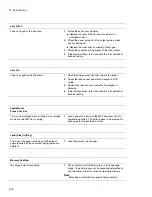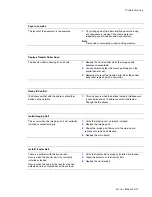
Troubleshooting
Service Manual 8-9
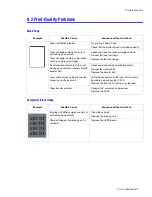
Voids or White Areas
Lateral Lines - Possible Repeating Defect
Evenly Repeating Defect
Example
Possible Cause
Sequence of Repair Actions
The paper is wet or moist.
Use a fresh ream of dry paper and inspect the
storage area for the media.
Some parts of the image are blank
and/or wrinkled in appearance.
Replace the fuser.
Replace in the following order; imaging unit, toner
cartridge, transfer belt where contamination has
been found.
The defect appears only while duplex
printing.
Replace the duplex unit.
Example
Possible Cause
Sequence of Repair Actions
Check the distance of the repeating
defect to the corresponding unit.
Refer to the table in section 7.5 of this manual and
replace the corresponding unit if necessary.
Is the defect is within 1 ~ 2 mm?
Replace the laser.
Is the defect in an irregular pattern?
Replace the imaging unit.
Summary of Contents for Phaser 6100
Page 1: ...Service Manual X XEROX P h a s e r C o l o r L a s e r P r i n t e r 6100 ...
Page 2: ......
Page 10: ...vi ...
Page 22: ...Reference Information 2 6 ...
Page 28: ...Specifications 3 6 ...
Page 38: ...Summary of Product 4 10 RAM DIMM SPGPm Main Control FLASH MEMORY ENGINE CONTROL ...
Page 44: ...Summary of Product 4 16 ...
Page 66: ...Disassembly 6 10 3 Remove the toner caps and fit them to the inlets as shown below Toner Cap ...
Page 94: ...Disassembly 6 38 6 Disconnect 2 harnesses and remove the laser unit Harness Harness ...
Page 130: ...Maintenance and Diagnostics 7 20 ...
Page 196: ...Parts List 9 42 9 21 Transfer Belt Cam Assembly S18 9 0 8 S8 7 6 5 10 1 2 14 3 12 13 S8 11 4 ...
Page 200: ...Parts List 9 46 ...


