Tray 2
149
3
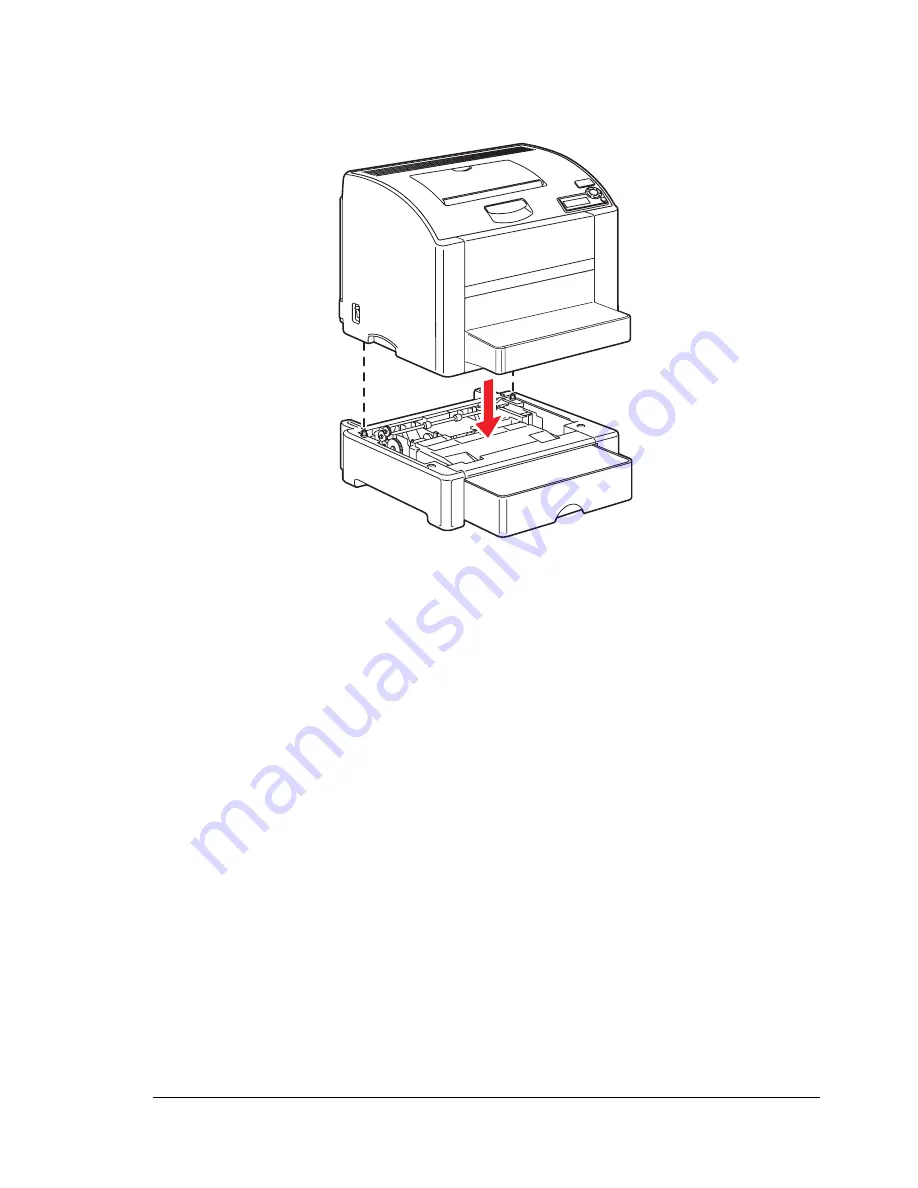
Lift the printer and place it on top of Tray 2, making sure that the
positioning pins on Tray 2 correctly fit into the holes in the bottom of
the printer.
4
Enable the Tray 2 in the driver. For instruction on enabling Tray 2,
see “Selecting Driver Options/Defaults (for Windows)” on page 17.
Summary of Contents for Phaser 6120
Page 8: ...Introduction...
Page 12: ...Network Printing...
Page 20: ...About the Software...
Page 31: ...Printer Control Panel and Configuration Menu...
Page 51: ...Using Media...
Page 70: ...Loading Media 63 8 Raise both green fuser separator levers 9 Carefully close the top cover...
Page 72: ...Loading Media 65 b Lower both green fuser separator levers c Close the top cover...
Page 78: ...Loading Media 71 7 Reinsert Tray 2 into the printer...
Page 82: ...Replacing Supplies...
Page 95: ...Maintaining the Printer...
Page 102: ...Cleaning the Printer 95 6 Carefully close the top cover...
Page 104: ...Cleaning the Printer 97 4 Carefully close the duplex cover...
Page 108: ...Troubleshooting...
Page 117: ...Clearing Paper Jams 110 5 Carefully close the top cover...
Page 120: ...Clearing Paper Jams 113 6 Load the media in Tray 2 and attach the lid 7 Reinsert Tray 2...
Page 142: ...Installing Options...
Page 157: ...Appendix...
Page 169: ...Appendix...


