4. To select the type of lighting you use for viewing calibration pages, touch
Lighting Type
, then
touch a selection.
5. To select the Color Density adjustment, touch
Color Density Only
.
6. To begin your calibration and print the calibration pages, touch
Next
.
7. To run the calibration procedure, follow the onscreen instructions, or refer to
Performing a Color Density Calibration
To perform a Color Density Calibration:
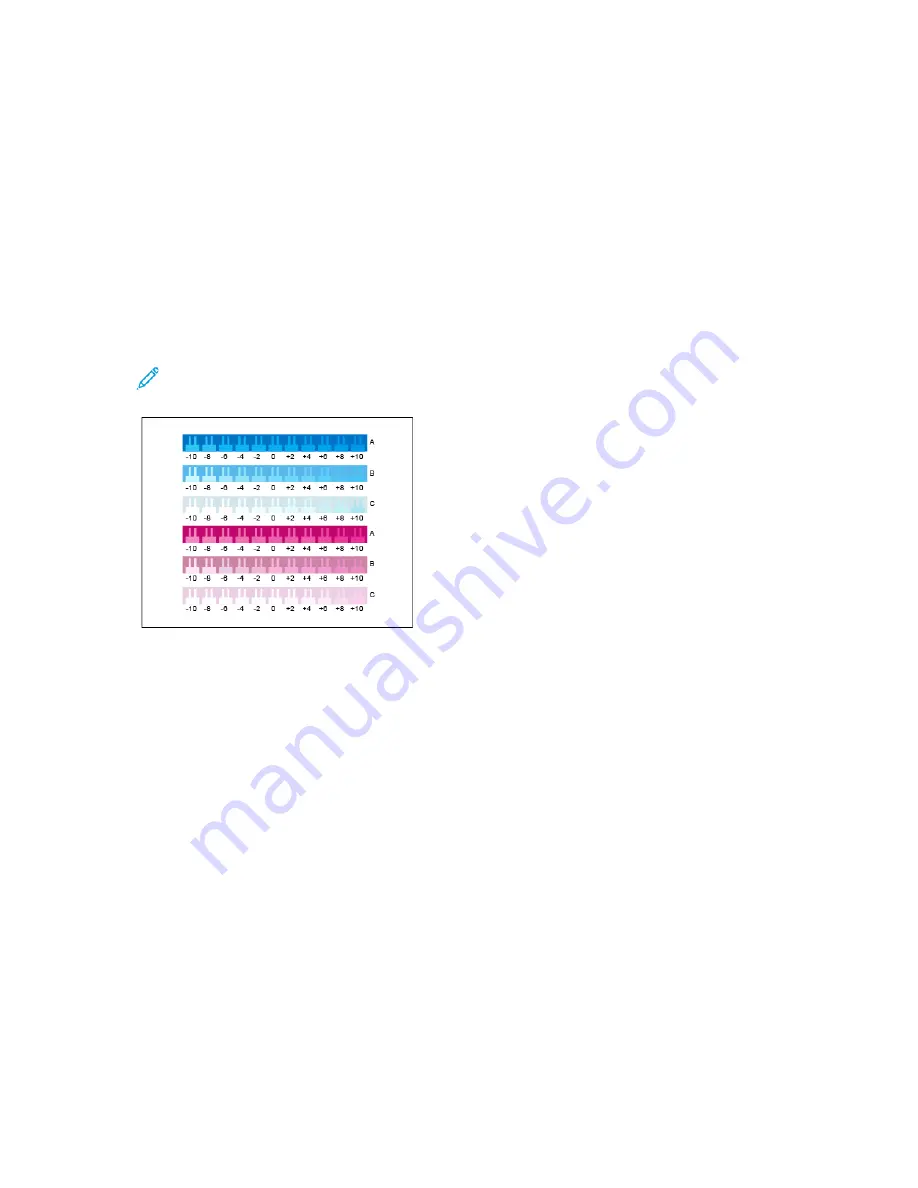
1. To evaluate the current calibration for cyan and magenta density, hold the Cyan/Magenta
Calibration page at an arm length away.
Note:
To obtain accurate adjustments, ensure that your environment lighting matches the
Lighting Type
selected in Starting a Color Density Calibration.
2. To determine the best match, evaluate the comb pattern in the dark cyan and magenta rows,
labeled A. Mark the section where the bottom comb most closely blends into the background
color. If the best match is between two combs, write down a number value between the two
printed comb values. A close match for the zero comb means that the row is calibrated.
3. If the best comb for any row is a value other than zero, an adjustment is required. On the touch
screen, touch
Edit
, then for that color, touch
A
, then move the slider to the value you want.When
finished, to save the values and print a revised calibration page, touch
OK
.
4. Repeat the process by marking the best match for the medium and light rows, labeled B, and C.
5. Using the updated calibration page, repeat the process until the best comb for every cyan and
magenta row is zero. To continue to the green and black color density adjustments, touch
Next
.
148
Xerox
®
VersaLink
®
C8000/C9000 Color Printer
User Guide


