Faxing
11.
In the Transmission Defaults section, enter information.
a.
Specify the number of attempts the printer makes to redial a fax number.
b.
Specify the interval between redial attempts, interval timer, and dialing type.
c.
To specify when to add the prefix number when you send a fax, for Prefix Dial, select
On
.
d.
To specify the prefix dial number up to five digits, for Prefix Dial Number, type the number. This
number dials before any auto dial number starts.
e.
To have the printer print a fax cover page automatically, select
On
.
f.
To have the printer attempt to correct errors in the fax transmission, for Error Correction Mode
(ECM), set the ECM to
On
.
g.
To specify the fax modem speed, for Modem Speed, select an option.
h.
To display the number of the recipient on the Sending Fax screen, for Display Manual Fax
Recipients, select
On
.
12.
In the Fax Reports section, from each list, select the condition when the printer prints a fax report.
−
To print a fax activity report after every 50 fax communication attempts, for Fax Activity,
select
Auto Print
.
−
To print a report of the transmission results after sending a fax, for Fax Transmit, select an
option.
−
To print a report of the transmission results after sending a fax to multiple destinations, for Fax
Broadcast, select an option.
−
To print a fax protocol report to help troubleshoot fax problems, for Fax Protocol, select an
option.
13.
Click
Save Changes
.
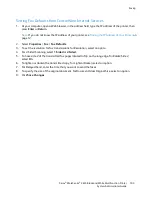
Setting Fax Defaults from the Control Panel
Note:
If your printer is connected to your computer through a wired or wireless network connection,
use CentreWare Internet Services to configure the fax settings.
1.
At the printer control panel, press the
Machine Status
button.
2.
Touch
Tools
, then touch
Service Defaults
.
3.
Touch
Fax Defaults
.
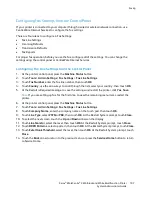
4.
Touch
Resolution
, select the default resolution for fax transmissions, then touch
OK
.
5.
Touch
2-Sided Scanning
, select
1-Sided
or
2-Sided
, then touch
OK
.
6.
Touch
Lighten/Darken
, use the scale to make the fax lighter or darker, then touch
OK
.
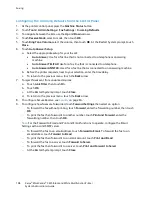
7.
To select a delayed transmission time, touch
Delayed Send
.
a.
Touch the hour field, then use the keypad to enter the hour.
b.
Touch the minute field, then use the keypad to enter the minutes.
c.
Touch
AM
or
PM
.
d.
To save the setting, touch
OK
.
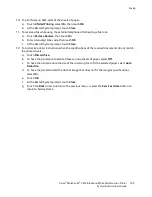
8.
To select the original size of documents placed on the document glass, touch
Document Glass
Original Size
.
9.
Touch
OK
.
10.
To return to the Services Home menu, press the
Services Home
button.
106
Xerox
®
WorkCentre
®
3615 Black and White Multifunction Printer
System Administrator Guide

