Initial Setup
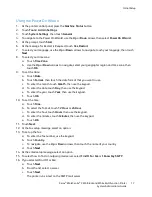
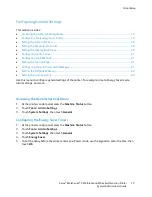
Setting the Date and Time
1.
At the printer control panel, press the
Machine Status
button.
2.
Touch
Tools
>
Admin Settings
.
3.
Touch
System Settings
, then touch
General
.
4.
Touch
Date and Time
.
5.
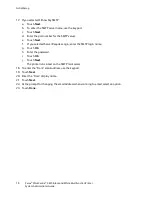
To select your time zone:
a.
Touch
Time Zone
.
b.
Use the
Up
or
Down
arrows to navigate, select your geographic region and time zone, then
touch
OK
.
6.
To set the date:
a.
Touch
Date
.
b.
Touch
Format
, then touch the date format that you want to use.
c.
To enter the month, touch
Month
, then use the keypad.
d.
To enter the date, touch
Day
, then use the keypad.
e.
To enter the year, touch
Year
, then use the keypad.
f.
Touch
OK
.
7.
To set the time:
a.
Touch
Time
.
b.
To select the format, touch
12 Hour
or
24 Hour
.
c.
To enter the hour, touch
Hour
, then use the keypad.
d.
To enter the minutes, touch
Minute
, then use the keypad.
8.
Touch
OK
.
9.
To return to the General menu, touch the
Back
arrow.
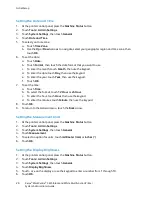
Setting the Measurement Units
1.
At the printer control panel, press the
Machine Status
button.
2.
Touch
Tools
>
Admin Settings
.
3.
Touch
System Settings
, then touch
General
.
4.
Touch
Measurement
.
5.
To select an option for units, touch
millimeter (mm)
or
inches (")
.
6.
Touch
OK
.
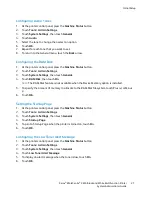
Setting the Display Brightness
1.
At the printer control panel, press the
Machine Status
button.
2.
Touch
Tools
>
Admin Settings
.
3.
Touch
System Settings
, then touch
General
.
4.
Touch
Display Brightness
.
5.
Touch
-
or
+
on the display or use the keypad to enter a number from 1 through 10.
6.
Touch
OK
.
20
Xerox
®
WorkCentre
®
3615 Black and White Multifunction Printer
System Administrator Guide


