Network Connectivity
Email Settings
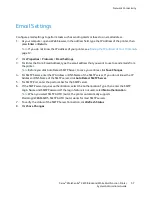
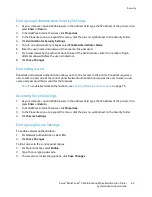
Configure email settings to perform tasks such as sending alerts or faxes to an email address.
1.
At your computer, open a Web browser, in the address field, type the IP address of the printer, then
press
Enter
or
Return
.
Note:
If you do not know the IP address of your printer, see
Finding the IP Address of Your Printer
on
page 12.
2.
Click
Properties
>
Protocols
>
Email Settings
.
3.
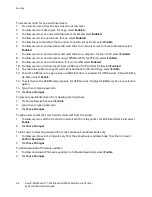
For Enter the From: Email Address, type the email address that you want to use to send emails from
the printer.
Note:
Before you click Auto Detect SMTP Server, to save your entries, click
Save Changes
.
4.
For SMTP Server, enter the IP Address or DNS Name of the SMTP server. If you do not know the IP
Address or DNS Name of the SMTP server, click
Auto Detect SMTP Server
.
5.
For SMTP Port, enter the port number for the SMTP server.
6.
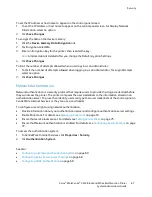
If the SMTP server requires authentication, select the Authentication Type, then enter the SMTP
Login Name and SMTP Password. If the login feature is not used, select
No Authentication
.
Note:
When you select SMTP AUTH (Auto), the printer automatically supports
Plain/Login/CRAM-MD5. SMTP AUTH (Auto) works for most SMTP servers.
7.
To verify the status of the SMTP Server Connection, click
Refresh Status
.
8.
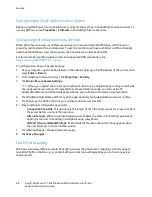
Click
Save Changes
.
Xerox
®
WorkCentre
®
3615 Black and White Multifunction Printer
57
System Administrator Guide

