background image

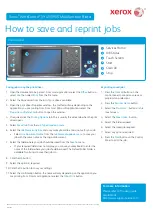
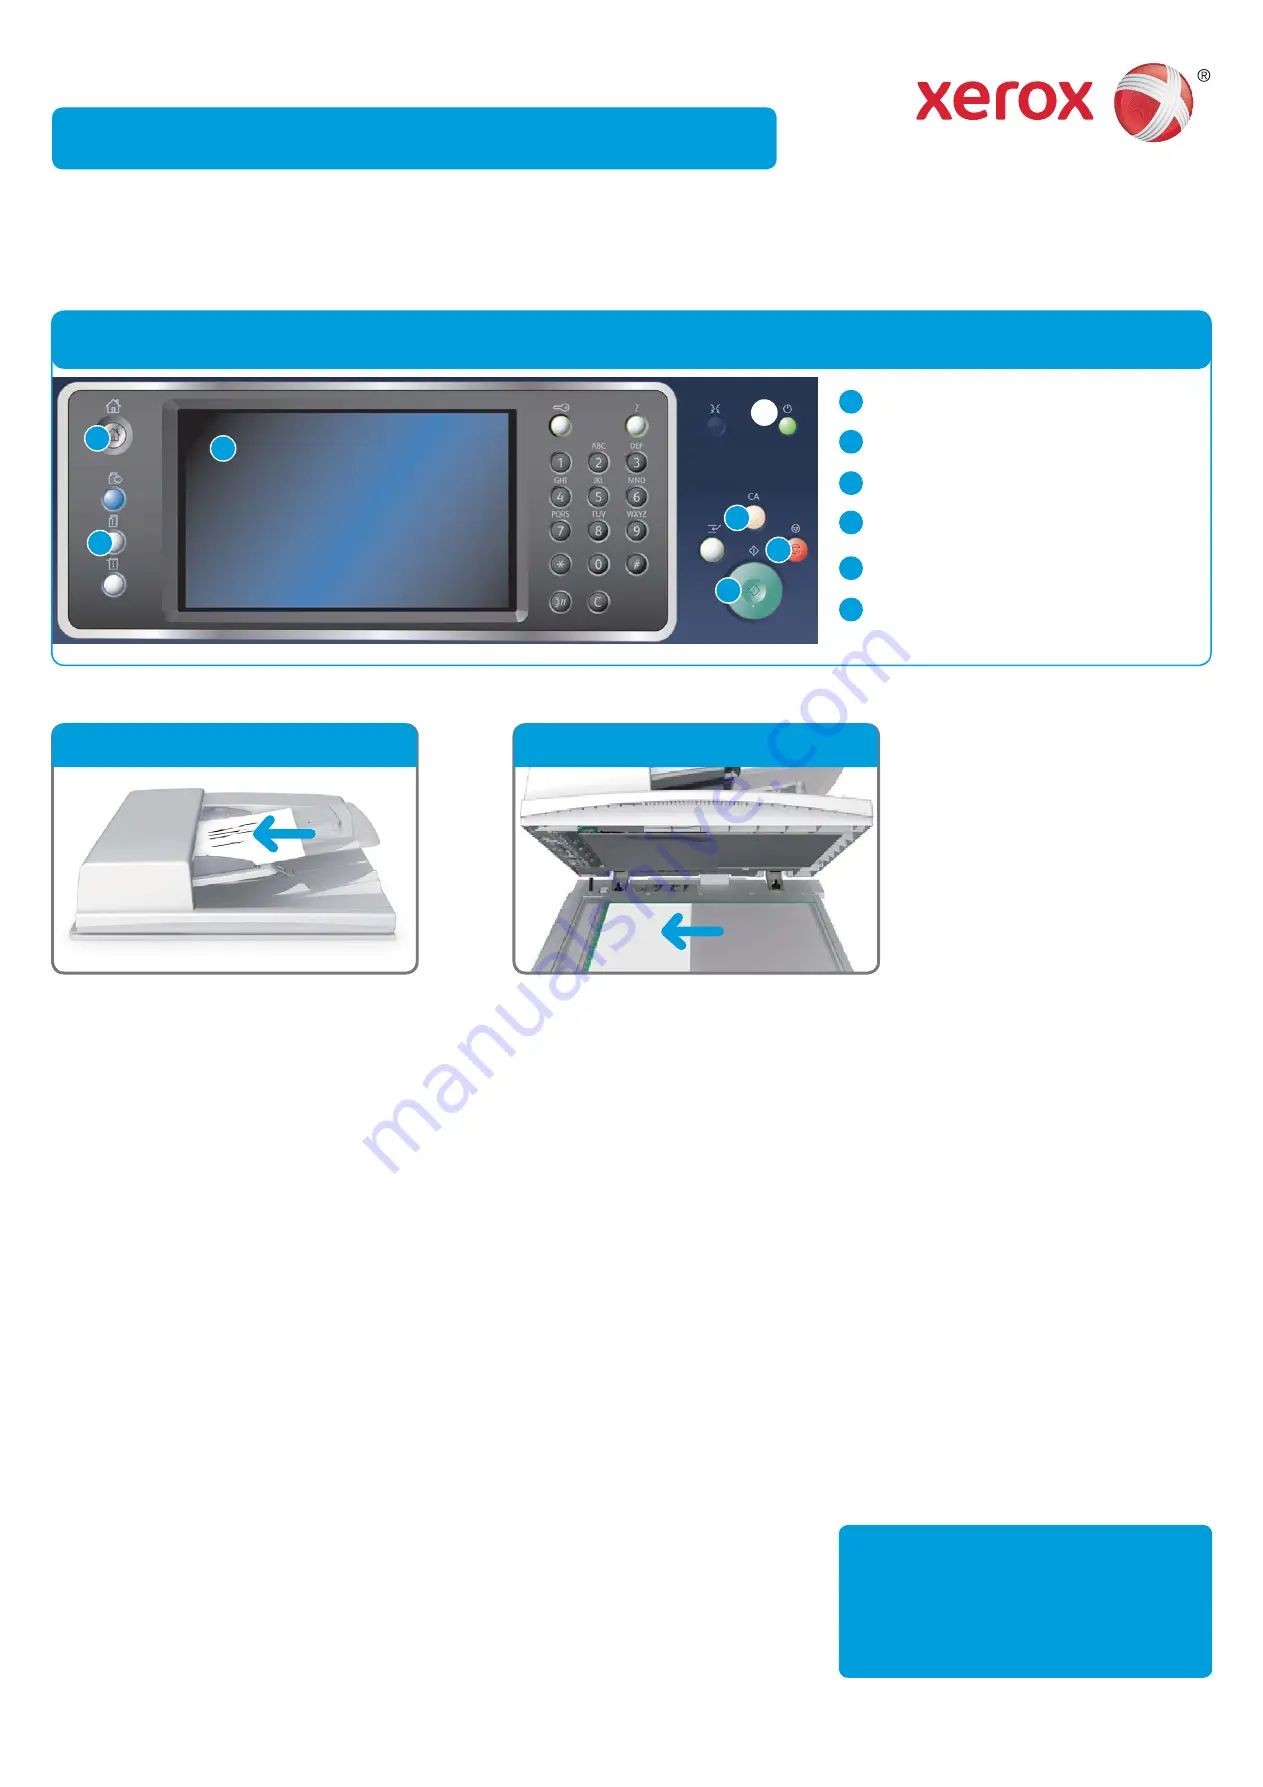
1

Services Home

2

Job Status

3

Touch Screen

4

Start

5

Clear All

6

Stop

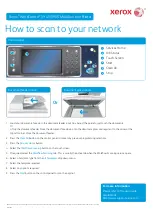
Control panel

Or

Document feeder option

Document glass option

©2014 Xerox Corporation. All rights reserved. Xerox

®

 and Xerox and Design

®

 are trademarks of Xerox Corporation in the United States and/or other countries.

BR7341        

For more information

Please refer to the user guide - 
available at 
http://www.support.xerox.com

Xerox

® 

WorkCentre™ 5945/5955 Multifunction Printer

1

2

3

4

5

6

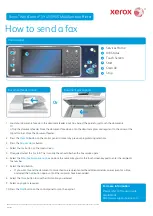
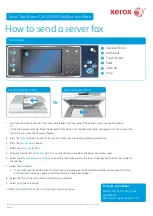
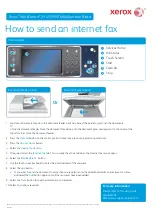
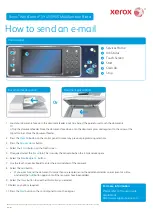
Load your documents face up in the document feeder input tray. Adjust the guide to just touch the documents.

1. 

Or
Lift up the document feeder. Place the document face down onto the document glass and register it to the arrow at the 
top left corner. Close the document feeder.

Press the 

2. 

Clear All

 button on the control panel to cancel any previous programming selections.

Press the 

3. 

Services Home

 button.

Select the 

4. 

Copy

 button on the touch screen.

If required, select the 

5. 

Copy

 tab. This is usually the active tab when the Copy service opens.

Select any options required.

6. 

Enter the number of prints required using the numeric keypad on the control panel.

7. 

Press the 

8. 

Start

 button on the control panel to scan the original.

How to make a copy

Summary of Contents for WorkCentre 5945

Page 1: ...der input tray Adjust the guide to just touch the documents 1 Or Lift up the document feeder Place the document face down onto the document glass and register it to the arrow at the top left corner Cl...

Page 2: ...glass and register it to the arrow at the top left corner Close the document feeder Press the 2 Clear All button on the control panel to cancel any previous programming selections Press the 3 Services...

Page 3: ...nt glass and register it to the arrow at the top left corner Close the document feeder Press the 2 Clear All button on the control panel to cancel any previous programming selections Press the 3 Servi...

Page 4: ...ace the document face down onto the document glass and register it to the arrow at the top left corner Close the document feeder Press the 2 Clear All button on the control panel to cancel any previou...

Page 5: ...cument glass and register it to the arrow at the top left corner Close the document feeder Press the 2 Clear All button on the control panel to cancel any previous programming selections Press the 3 S...

Page 6: ...vers available 2 Open the print driver Properties window the method will vary depending on the 3 application you are printing from From most Microsoft applications select the Properties or Preferences...

Page 7: ...eder input tray Adjust the guide to just touch the documents 1 Or Lift up the document feeder Place the document face down onto the document glass and register it to the arrow at the top left corner C...

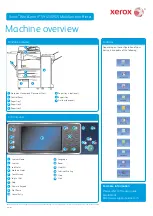
Page 8: ...n the configuration of your device it is capable of the following 1 Services Home 2 Services 3 Job Status 4 Machine Status 5 Touch Screen 6 Log In Out Control panel Machine overview Features 1 2 3 6 7...

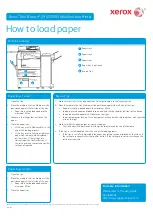
Page 9: ...against the left side of the tray Paper must not be loaded above the maximum ll line Close the paper tray 3 Paper trays 3 and 4 Make sure the tray is in the down position For larger media use the tray...

Reviews: