64
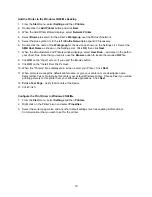
Add the Printer to the Windows NT4 Desktop
1. From
the
Start
menu, select
Settings
and then
Printers
.
2. Double-click
Add Printer
.
3. Verify
that
My Computer
is selected and click
Next
.
4. Click
Add Port
.
5. From the list that appears select
LPR Port
.
6. Click
New Port
.
7. Type in the IP address of the Printer for the "Name or address of server providing lpd." Type in the
case-sensitive name of your Printer, or enter in the word
raw
for "Name of printer or print queue on
that server." Select
OK
.
8. Select
Close
. The Wizard will return you to the previous dialog. Verify the new IP address you
entered is in the list and correct.
9. The Port check box to the left of the address must be checked. If it is not, check it then select
Next
.
10. You will be prompted for a print driver. Select
Have Disk
and browse to the location of your print
drivers.
11. Select the
.INF
file then click
Open
.
12. When the "Install from Disk" screen displays, verify that the path and file name are correct and click
OK
.
13. Select the model that corresponds to your Printer and click
Next
.
14. At the next dialog, enter a name for your Printer and select either Yes or No for making this printer
your default Windows printer. Select
Yes
if you will be printing primarily to this printer from your
Windows applications. Click
Next
.
15. Select
Not
Shared
unless the Printer is directly connected to your workstation and you wish to Share
it with other network users. Click
Next
.
16. Select
Yes
to print a Test Page.
17. Select
Finish
and verify that the Test Page printed out at the Printer.
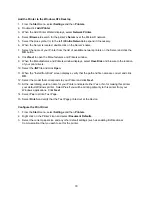
Configure the Print Driver
1. From
the
Start
menu, select
Settings
and then
Printers
.
2. Right click on the Printer's icon and select
Document Defaults
.
3. Select the correct paper size and any other default settings (such as enabling Bi-Directional
Communication) that you wish to set for the printer.
Summary of Contents for WorkCentre 7228
Page 1: ...System Administrator s Guide WorkCentre 7228 7235 7245...
Page 300: ...701P46436...


