Xerox 7600i
User’s Guide
47
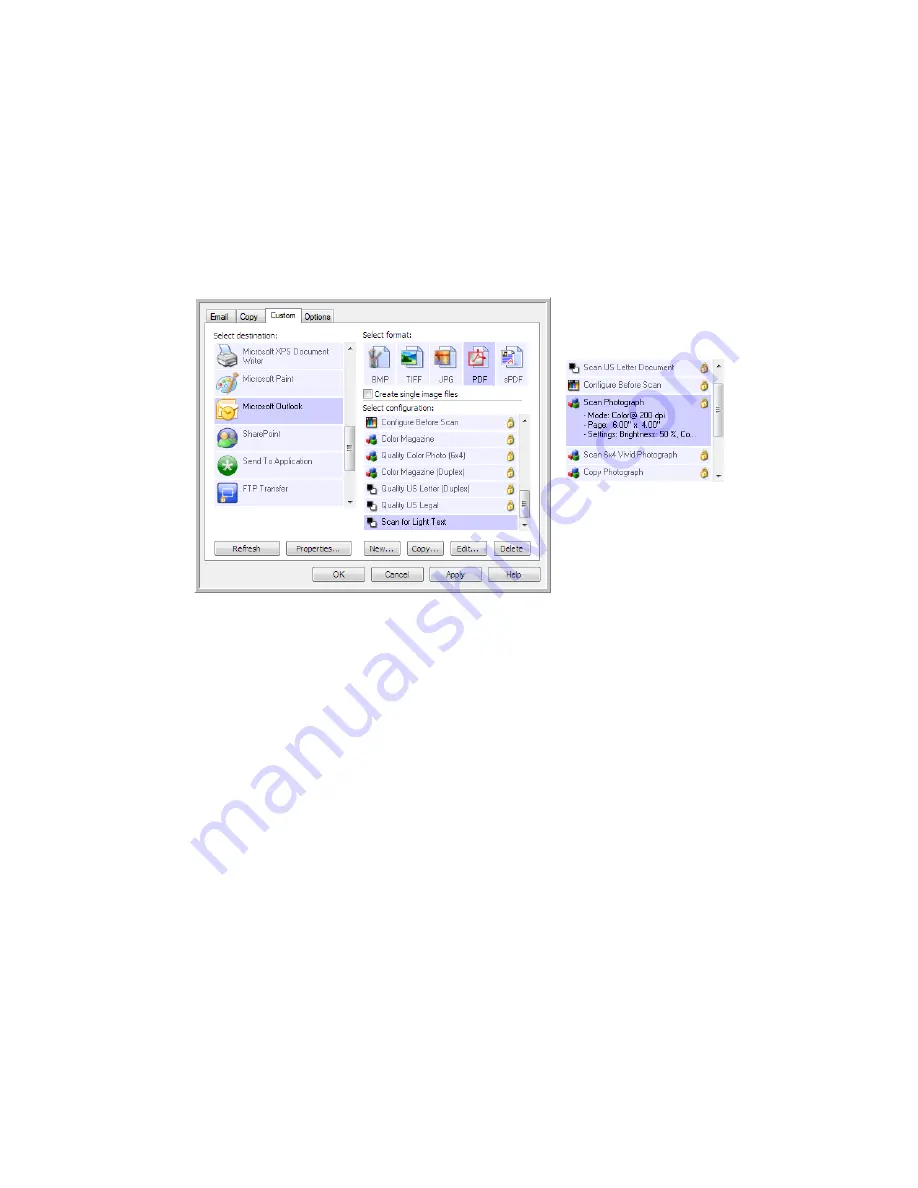
Scan Configurations
The scan configurations are where you select the scanning resolution, brightness, mode (color, black & white, or
grayscale), and a number of other settings. To see a selected scan configuration’s settings, click its icon. Click the
icon again to close the detailed information.
Note:
Use
Configure Before Scan
if you want to set the options manually before scanning. See
Configure Before
Scan
on page 58.
Create a new configuration:
•
Click the
New
button to create a new configuration starting with the One Touch default configuration settings.
•
Select a configuration in the list, then click on the
Copy
button to create a new configuration starting with the
settings of the currently selected configuration.
Edit or delete a configuration:
Select the scan configuration you want to edit or delete.
•
To delete the configuration, click the
Delete
button.
•
To edit the configuration, click the
Edit
button.
Edit the settings and click
OK
.
Note:
Your scanner comes with a number of configurations pre-set at the factory. To ensure that your scanner will
always have a set of correct scan configurations, do not delete the pre-set configurations. We also recommend that
you keep those configurations locked so they are not inadvertently deleted. That way, you will always have the
factory-settings available. If you do delete or edit them, and want to get the factory pre-sets back again, you will
need to uninstall then re-install your scanner.
In the Scan Configuration Properties window, the
Scan Settings
,
Page Settings
,
Advanced Settings
, and
Redaction Settings
tabs are always available. When the Visioneer Acuity module is installed, the
Acuity Settings
tab will also be available for all destinations.
Click the icon of a
selected configuration to
view its settings.
Select the scan
configuration to edit or
delete. It must be
unlocked, as indicated by
not having a lock
displayed here.


