Xerox Mobile Scanner
User’s Guide
32
Install the Eye-Fi Center Application
Before you begin installing the software, make sure you have an active Internet connection. The Eye-Fi software will
look for updated software during installation and you will be prompted to install any available updates.
You can use either a standard memory card reader or install the software with the Eye-Fi card in the scanner,
connected and powered on.
Note:
Do not delete any files or folders that are already on the Eye-Fi card when you first use it. A folder named
DCIM
is created when images are saved to the card. This is the only folder that you should modify or delete from
the card.
Tip
: the scanner automatically powers off after 2 minutes to conserve battery power. If you decide to install the
software using the scanner as the memory card reader, tap the function button occasionally to keep the scanner
powered on while installing the software.
1.
With the scanner off and Eye-Fi card in the scanner, connect the cable to the scanner.
2.
Press and hold the power button on the scanner until you see a light flash on the scanner. The computer
detects the scanner as a disc drive.
3.
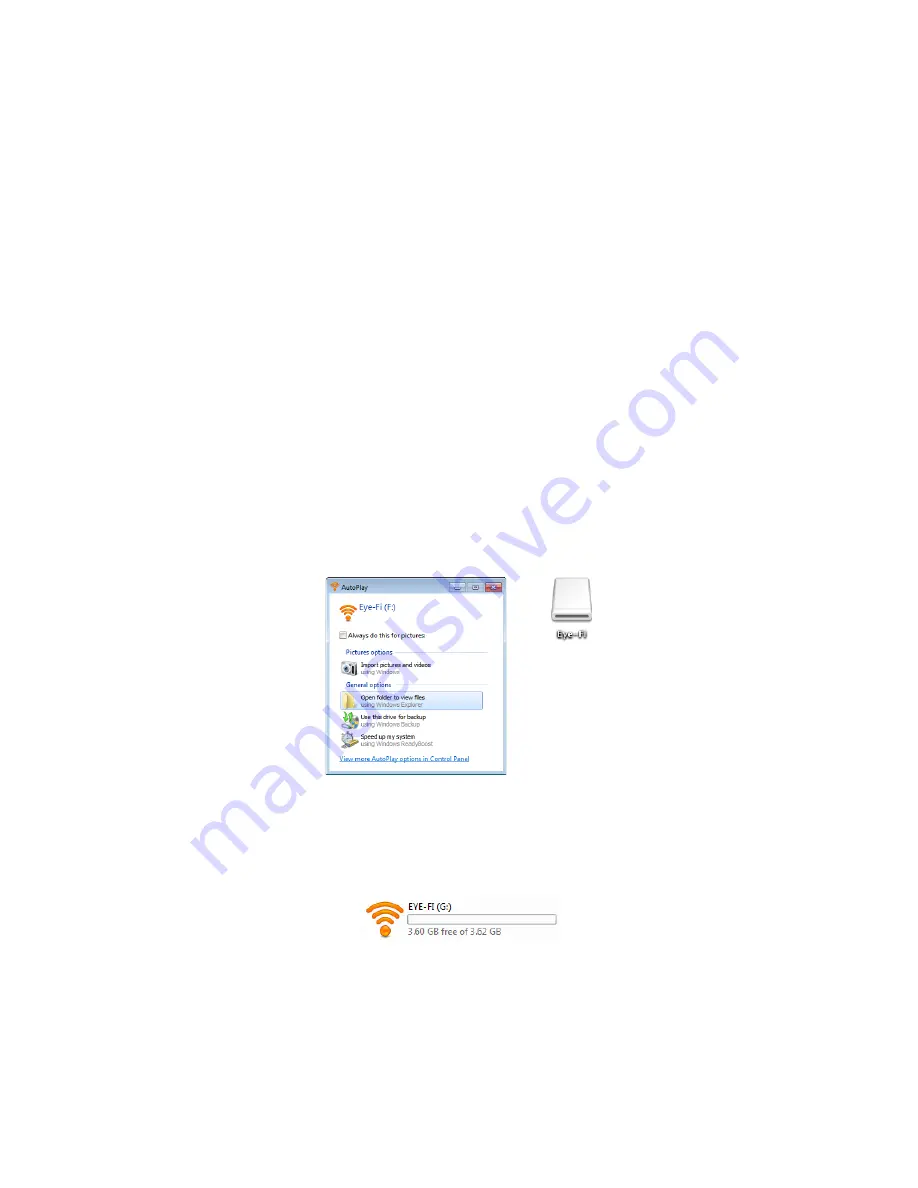
Windows users
—AutoRun will display a list of options for you to choose how to view the folder. Select the
option to “Open folder to view files”.
Mac users
—an Eye-Fi icon appears on the desktop.
Note:
if Eye-Fi does not appear on the desktop (Mac users) or if AutoRun does not prompt you (Windows users),
open a computer window to locate the disc drive. You can also try plugging the scanner into a different USB port if
the scanner is not being detected properly.
4.
Click or double-click the
EYE-FI
drive to open it.
5.
Open the
START HERE
folder.
6.
Open the
Mac OS X
or
Windows
folder.


