


15
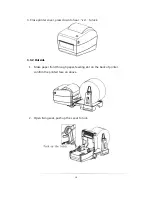
4.2 Clean the sensor, the rubber roller and paper path
1.
Open the printer cover and remove the paper roll.
2.
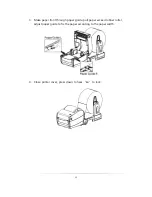
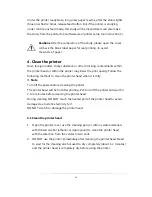
Use a dry cloth or cotton swab to wipe off dust or foreign matter.
3.
Place cloth or cotton swab dipped in alcohol for medical. And use it to
remove adhesive foreign substances or other contaminants.
4.
DO NOT use the printer immediately after cleaning the parts. Need to wait
for the cleaning alcohol used to dry completely (about 1-2 minutes) and
the printer head is completely dry before using the printer.
※
Clean the parts when the print quality or paper detection performance
descends.
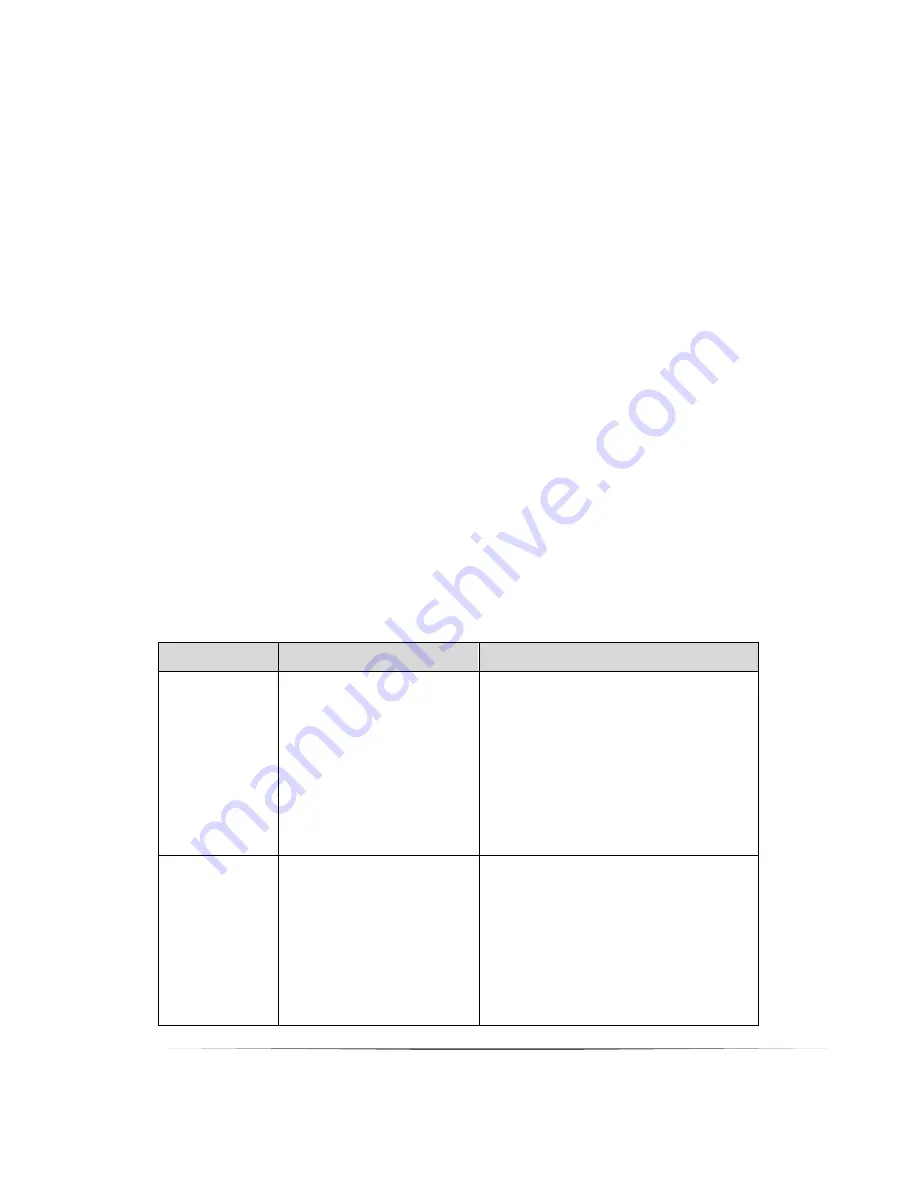
5. Troubleshooting
5.1 FAQ
The contents of the table below are common problems and problem-solving
methods for general operators. If you are already in accordance with our easy
way to troubleshooting, but the printer still not work normally, PLS contact the
manufacturer's customer service department in order to get more help.
Problems
Possible Causes
Recommended Solution
light is off
a.
AC socket and
adaptor plug are not
properly connected
with printer plug;
b.
Printer power switch
is off;
a.
PLS double check if AC socket
and adaptor plug are properly
connected with printer plug or
not;
b.
Switch on the power;
Not printing
a.
Communication
cable is not properly
connecting printer &
PC;
b.
Fault
setting
the
communication
a.
Reconnect
communication
cables;
b.
RS232 port: PLS check the
communication settings on the
PC, make sure these settings
match the settings of the


