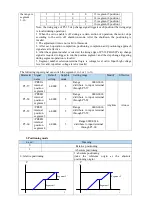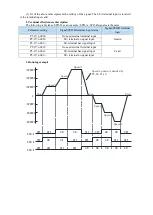
the range is
segment
1~16.
1
1
0
0
13 (segment 5 position)
1
1
0
1
14 (segment 6 position)
1
1
1
0
15 (segment 7 position)
1
1
1
1
16 (segment 8 position)
Note: the rising edge of P5-35 step change signal triggers each position (the rising edge
is invalid during operation).
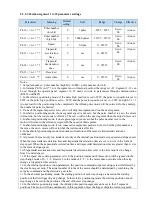
1. When the servo enable is off during a certain section of operation, the motor stops
according to the servo off shutdown mode. After the shutdown, the positioning is
invalid.
2. The adjustment time is not valid in this mode.
3. After each operation completion, positioning completion and positioning approach
signal are all effective.
4. After the segment number is selected, the rising edge of P5-35/CHGSTP step change
signal is required to trigger to run the position segment, and the step change triggering
during segment operation is invalid.
5. Segment number selection terminal logic is voltage level valid. Input high voltage
level is valid, input low voltage level is invalid.
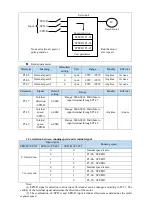
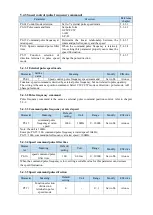
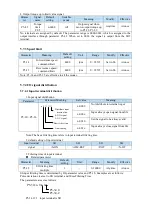
The following input signal can switch the segment 1 to 3 or 1 to 16:
Parameter Signal
name
Default
setting
Suitable
mode
Setting range
Modify
Effective
P5-57
/PREFA
internal
position
segment 1
n.0000
5
Range
0000-0014,
distribute to input terminal
through P5-57
Anytime At once
P5-58
/PREFB
internal
position
segment 2
n.0000
5
Range
0000-0014,
distribute to input terminal
through P5-58
P5-59
/PREFC
internal
position
segment 3
n.0000
5
Range
0000-0014,
distribute to input terminal
through P5-59
P5-60
/PREFD
internal
position
segment 4
n.0000
5
Range 0000-0014,
distribute to input terminal
through P5-60
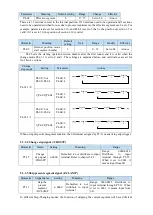
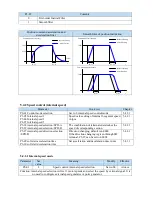
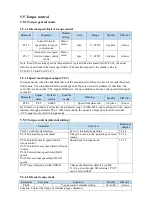
3. Positioning mode
n.xxx□
Meaning
0
Relative positioning
1
Absolute positioning
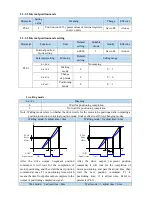
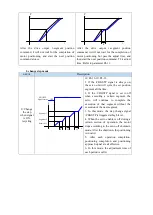
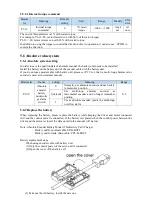
0: relative positioning
1: absolute positioning
(take the reference origin as the absolute
positioning origin)
P
t
Segment 1
Segment 2
P
t
Segment 1
Segment 2
Summary of Contents for DS5L1 Series
Page 1: ...DS5L1 series servo driver User manual WUXI XINJE ELECTRIC CO LTD Data No SC5 05 20200929 1 0 ...
Page 2: ......
Page 6: ......
Page 100: ...3 Set the auto tuning interface 4 Click ok to start inertia identification ...
Page 106: ...3 set the auto tuning interface ...
Page 112: ...with higher rigidity 6 Start auto tune 7 Open the servo enable then click ok ...
Page 169: ...Appendix 9 Torque speed characteristic curve ...
Page 170: ......


