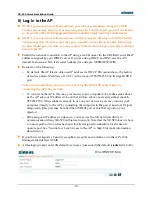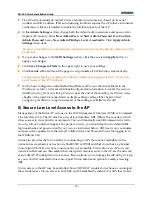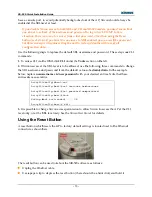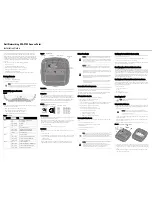
XR-520 Q
2)
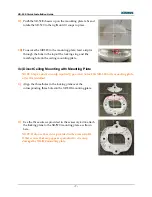
Push
When yo
bracket t
hole in th
tab in the
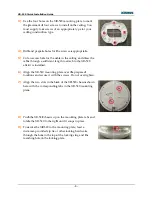
You can
locking
mountin
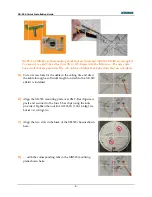
4) Inst
The XR-5
a suspen
the follow
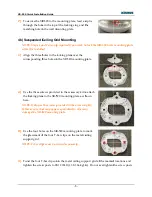
4a) Wa
1)
Alig
corre
Quick Installat
h the slug in
ou attach a ce
o the XR-520
he top of the
e locking pla
then use a
hardware
g plate.
tall Mou
520 can be in
nded ceiling g
wing paragr
ll Mountin
gn the three h
esponding th
tion Guide
until it click
eiling lockin
0 mounting
e locking slu
ate or wall b
a customer-s
to perman
unting H
nstalled direc
grid, or on a
raphs.
ng
holes in the w
hree holes in
ks in place.
ng plate or w
plate and in
g will align
racket.
supplied zip
nently secur
ardware
ctly on a nor
a wall. The s
wall mounti
n the XR-520
- 3 -
wall mountin
nstall the XR-
with the hol
p tie, lock,
re the AP
e and XR
rmal ceiling
teps for each
ing plate ove
0 mounting p
ng
-520, the
le on the
or other
to the
R-520
(with or wit
h of these in
er the
plate.
thout the loc
nstallations a
cking option
are outlined
n), on
in


