


67
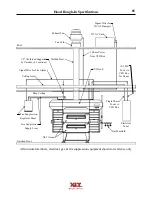
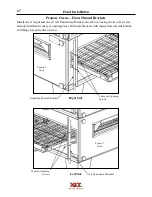
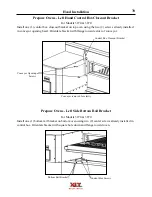
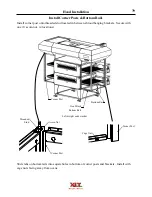
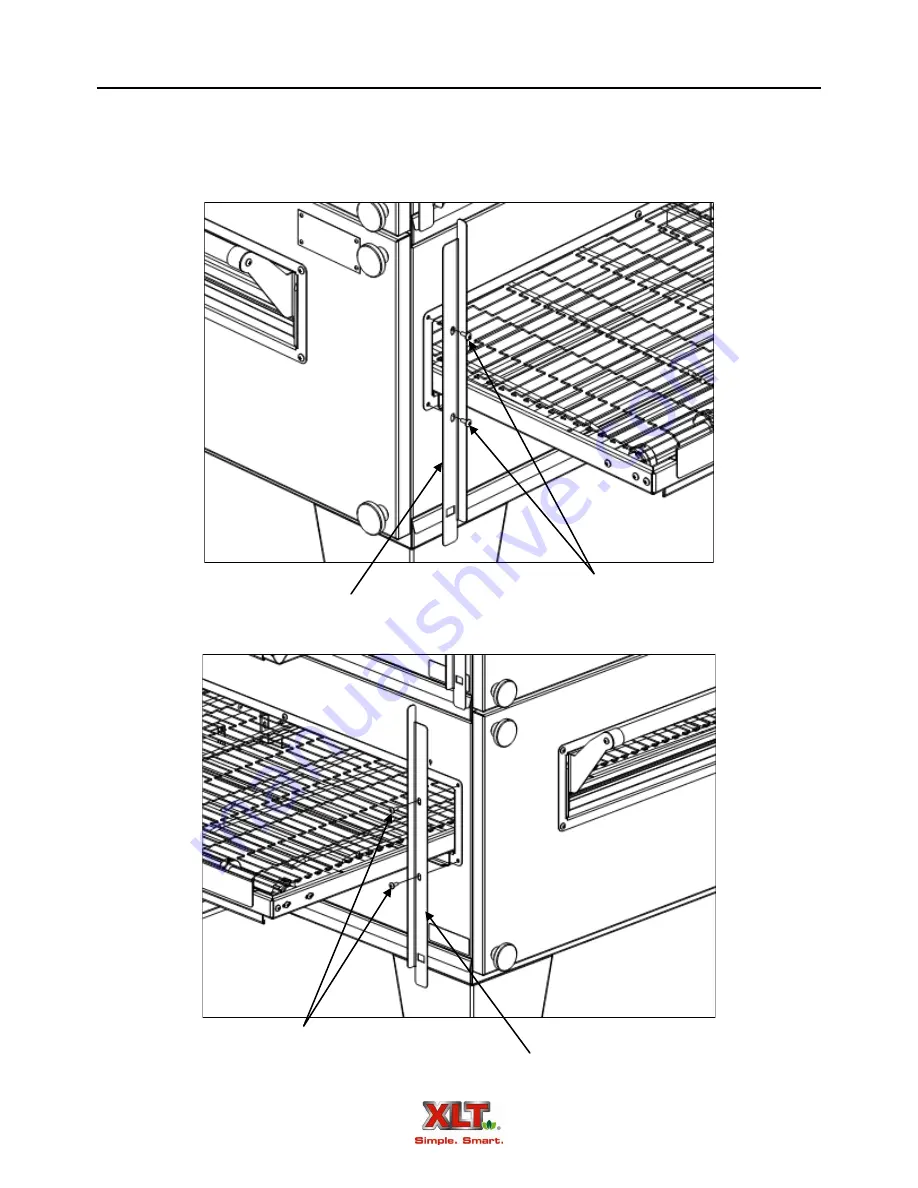
Prepare Ovens—Front Shroud Brackets
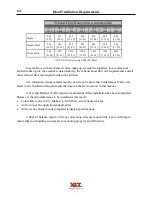
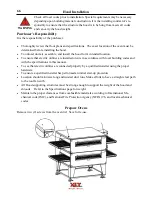
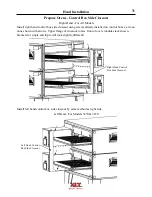
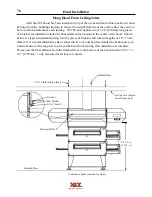
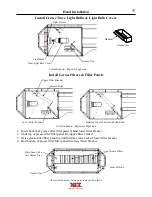
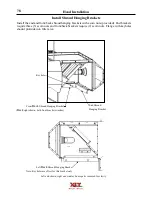
Hood Installation
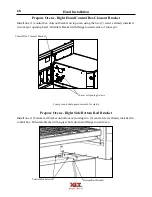
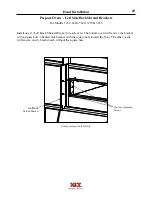
Install one (1) right and one (1) left front shroud bracket on each oven using the two (2) screws
already installed in conveyor opening bezel. Orientate brackets with square hole towards bottom
and flange toward center of oven.
Right Side
Conveyor Opening
Screws
Right Hand Shroud Bracket
Left Side
Left Hand Shroud Bracket
Conveyor Opening
Screws
Front of
Oven
Front of
Oven
Summary of Contents for 1832-AE-B
Page 43: ...43 This page intentionally left blank ...
Page 88: ...This page intentionally left blank ...
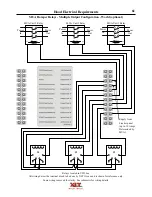
Page 95: ...95 Oven Schematic 1832 2440 3240 3255 3855 Square Burner Standard ...
Page 96: ...96 Oven Schematic 1832 2440 3240 3255 3855 Square Burner World ...
Page 97: ...97 Oven Schematic 1832 2440 3240 3255 3855 Round Burner Australia ...
Page 98: ...98 Oven Schematic 3270 3870 Square Burner Standard RH Control Box ...
Page 99: ...99 3270 3870 Square Burner Standard LH Control Box Oven Schematic ...
Page 100: ...100 Oven Schematic 3270 3870 Square Burner World RH Control Box ...
Page 101: ...101 Oven Schematic 3270 3870 Square Burner World LH Control Box ...
Page 102: ...102 3270 3870 Round Burner Australia LH Control Box Oven Schematic ...
Page 103: ...103 Oven Schematic 3270 3870 Round Burner Australia RH Control Box ...
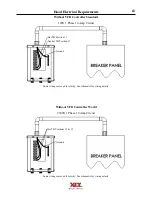
Page 104: ...104 Hood Schematic Standard ...
Page 105: ...105 Hood Schematic World ...


