


79
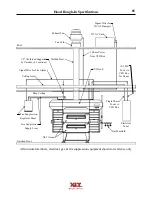
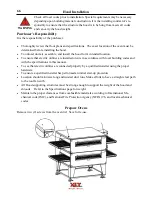
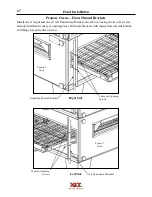
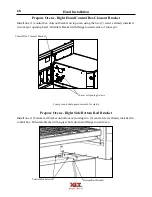
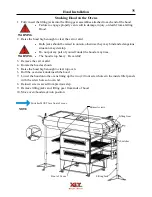
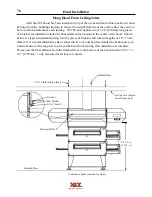
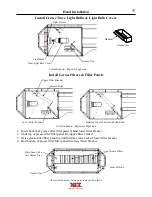
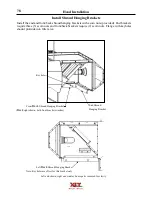
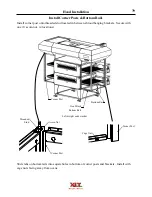
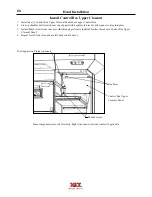
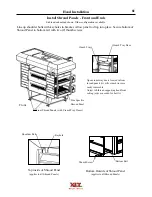
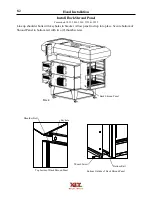
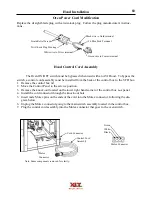
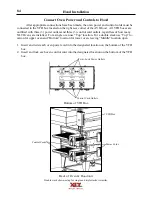
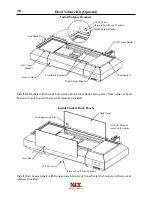
Hood Installation
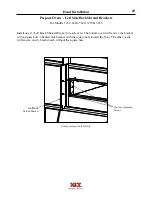
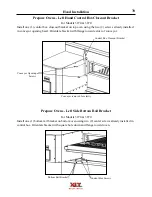
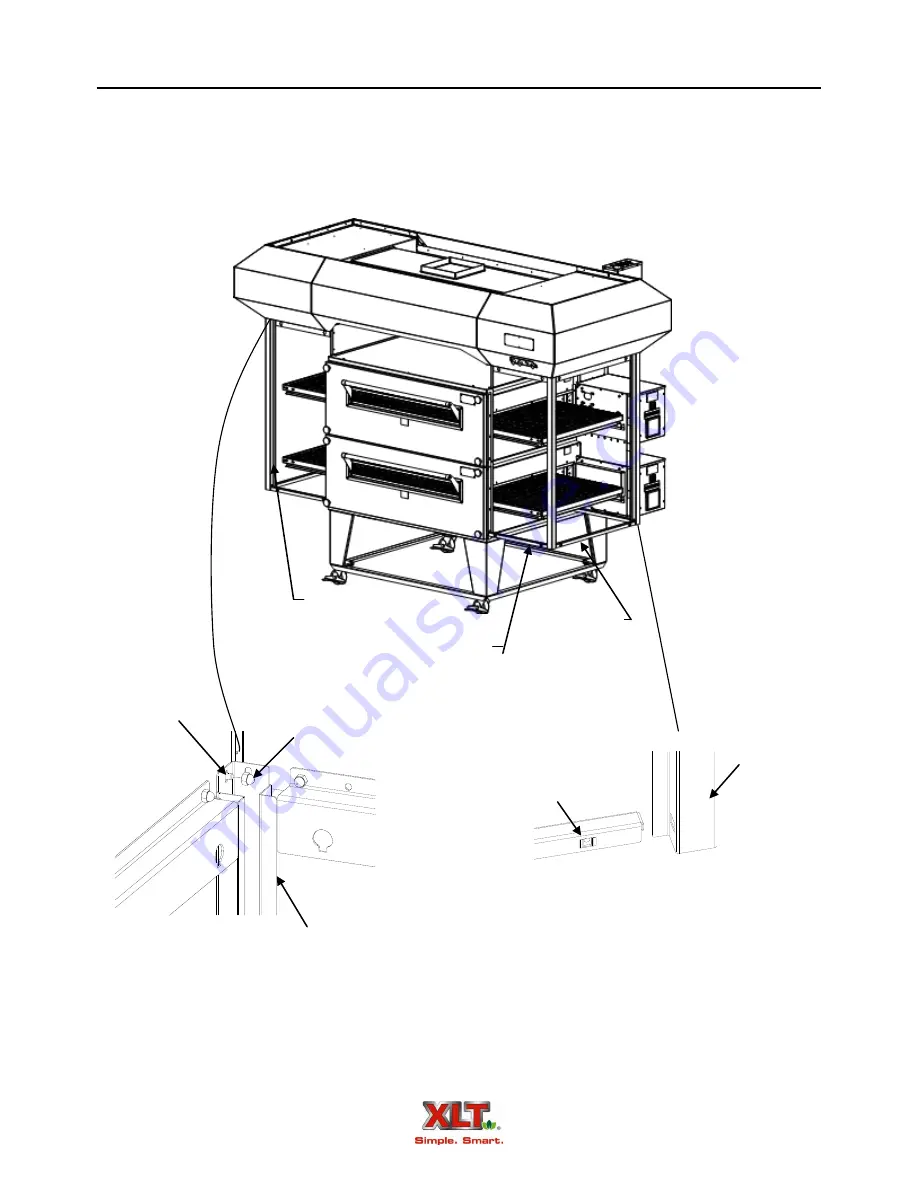
Install Corner Posts & Bottom Rails
Slide tabs on bottom rails into square holes in bottom of corner posts and brackets. Install with
cage nuts facing away from ovens.
Install corner post onto threaded stud located in between shroud hanging brackets. Secure with
one (1) acorn nut. (4 locations)
Cage Nut
Corner Post
Bottom Rail
Front/Back
Bottom Rail
Left & right ends similar
Acorn Nut
Threaded
Stud
Corner Post
Corner Post
Summary of Contents for 1832-AE-B
Page 43: ...43 This page intentionally left blank ...
Page 88: ...This page intentionally left blank ...
Page 95: ...95 Oven Schematic 1832 2440 3240 3255 3855 Square Burner Standard ...
Page 96: ...96 Oven Schematic 1832 2440 3240 3255 3855 Square Burner World ...
Page 97: ...97 Oven Schematic 1832 2440 3240 3255 3855 Round Burner Australia ...
Page 98: ...98 Oven Schematic 3270 3870 Square Burner Standard RH Control Box ...
Page 99: ...99 3270 3870 Square Burner Standard LH Control Box Oven Schematic ...
Page 100: ...100 Oven Schematic 3270 3870 Square Burner World RH Control Box ...
Page 101: ...101 Oven Schematic 3270 3870 Square Burner World LH Control Box ...
Page 102: ...102 3270 3870 Round Burner Australia LH Control Box Oven Schematic ...
Page 103: ...103 Oven Schematic 3270 3870 Round Burner Australia RH Control Box ...
Page 104: ...104 Hood Schematic Standard ...
Page 105: ...105 Hood Schematic World ...


