5
ENGLISH
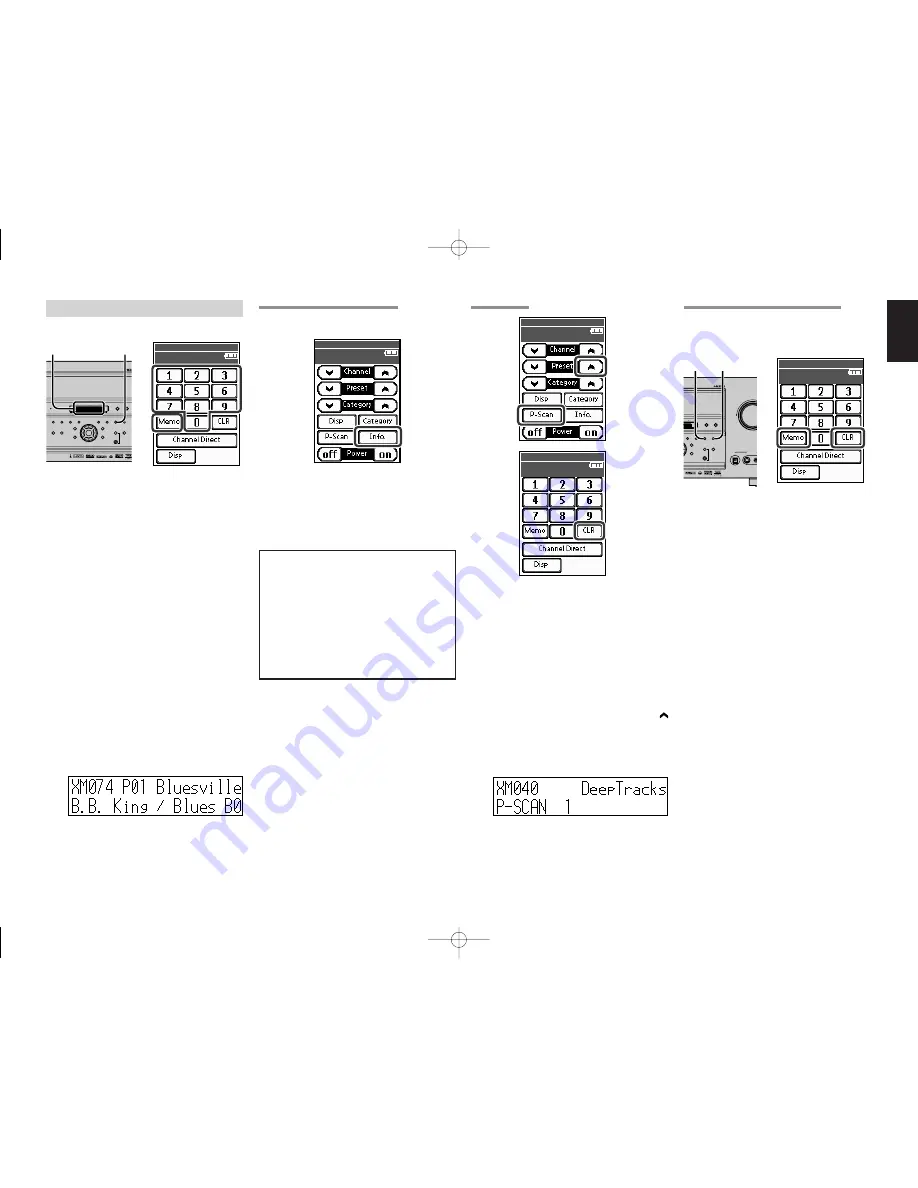
PRESET MEMORY
You can store the desired channel in the Preset
Memory.
(Using the SR9600)
1.
Tune into the desired channel.
2.
Press the
MEMORY
button on the front panel.
“
PRESET – –
“ (preset number) starts blinking
on the display.
3.
Select the preset number by rotating the
GYRO TUNING
dial, while it is still blinking
(approx. 5 second)
4.
Press the
MEMORY
button again to enter.
The display stops blinking.
The Channel is now stored in the specified
preset memory location.
(Using the remote control unit)
1.
Tune into the desired channel.
2.
Tap the
Memo
on the remote control unit.
“
PRESET – –
” (preset number) starts blinking
on the display.
3.
Enter the desired preset number by tapping
the numeric keypads.
Note
• When entering a single digit number (2 for
example), either input “02” or just input “2”
and wait for a few seconds.
2/2
XM
XM : Key
wed Jun 01
4:40
pm
2.
3.
MULTI
MULTI
SPEAKER
SPEAKER
F/P
F/P
BAND
BAND
THX
THX
PURE DIRECT
PURE DIRECT
UP
UP
DOWN
DOWN
TUNING
TUNING
AUX 1 INPUT
R
AUDIO
DIGITAL
S-VIDEO
L
VIDEO
POWER ON/STANDBY
VOLUME
UP
DOWN
INPUT SELECTOR
PHONES
STANDBY
AV SURROUND RECEIVER SR9600
SURROUND
SURROUND
MIC
MIC
ENTER
ENTER
MENU
MENU
PURE DIRECT
PURE DIRECT
THX
THX
7.1CH INPUT
7.1CH INPUT
MODE
MODE
AUTO
AUTO
MULTI
MULTI
A/B
A/B
T-MODE
T-MODE
MEMORY
MEMORY
CLEAR
CLEAR
DISPLAY
DISPLAY
EXIT
EXIT
SPEAKERS
SPEAKERS
MRAC
MRAC
AUTO TUNE
AUTO TUNE
3.
2. 4.
CHECKING THE PRESET CHANNEL
The preset channel can be checked on the on
screen display.
(Using the remote control unit)
1.
Tap the
Info
. to view a list of tuner preset
channel on the on screen display.
2.
If there are 10 or more preset channel, tap the
Info
. again.
Note
• The preset channel indication disappears in about
5 sec.
PRESET SCAN
(Using the remote control unit)
1.
Tap the
P-Scan
on the remote control unit.
”
PRESET SCAN
” appears on the display and
then the preset station with the lowest preset
number is recalled first.
2.
Preset stations are recalled in sequence (No. 1
→
No. 2
→
etc.) for about 5-10 seconds each. The
time changes by the received condition. No
stored preset number will be skipped.
3.
You can fast forward through the
Preset
stations by tapping the Preset continuously.
When the desired preset station is received,
cancel the preset scan operation by tapping
the
CLR
or
P-Scan
.
CLEARING STORED PRESET STATIONS
You can remove preset stations from the memory
using the following procedure.
1.
Recall the preset number to be cleared with
the method described in “
RECALLING A
PRESET CHANNEL
”.
2.
Press the
MEMORY
button on the front panel
or tap the
Memo
on the remote control unit.
3.
The stored preset number blinks in the display
for 5 seconds. While blinking, press the
CLEAR
button on the front panel or tap the
CLR
on the remote control unit.
4.
“
xx CLEAR
” appears on the display to
indicate that the specified preset number has
been cleared.
Note
• To clear all stored preset channels, press and hold
the
CLEAR
and the
F/P
buttons for two seconds.
• There are 50 preset channels prepared at the
factory default. The 50 channels are all set to
“CHANNEL 001”. Each channel can be stored in
the preset memory. You can search for only the
preset channels.
1/2
XM
XM : Main
wed Jun 01
4:40
pm
1.
2.
1/2
XM
XM : Main
wed Jun 01
4:40
pm
1.
3.
3.
2/2
XM
XM : Key
wed Jun 01
4:40
pm
2.
3.
MULTI
SPEAKER
F/P
F/P
BAND
BAND
THX
PURE DIRECT
UP
UP
DOWN
TUNING
AUX 1 INPUT
AUX 1 INPUT
R
AUDIO
DIGITAL
DIGITAL
S-VIDEO
S-VIDEO
L
VIDE
VIDEO
POWER ON/STANDBY
VOLUME
VOLUME
UP
DOWN
DOWN
INPUT SELECTOR
PHONES
STANDBY
AV SURROUND RECEIVER SR9600
SURROUND
MIC
MIC
ENTER
MENU
PURE DIRECT
THX
7.1CH INPUT
MODE
AUTO
MULTI
A/B
A/B
T-MODE
T-MODE
MEMORY
MEMORY
CLEAR
CLEAR
DISPLAY
DISPLAY
EXIT
EXIT
SPEAKERS
SPEAKERS
MRAC
MRAC
AUTO TUNE
AUTO TUNE
3.
2.
1
X M 0 0 1
P r e v i e w
N O .
2
X M 0 0 1
P r e v i e w
N O .
3
X M 0 0 1
P r e v i e w
N O .
4
X M 0 0 1
P r e v i e w
N O .
5
X M 0 0 1
P r e v i e w
N O .
6
X M 0 0 1
P r e v i e w
N O .
7
X M 0 0 1
P r e v i e w
N O .
8
X M 0 0 1
P r e v i e w
N O .
9
X M 0 0 1
P r e v i e w
N O .
T U N E R
P R E S E T
L I S T
2/2
XM
XM : Key
wed Jun 01
4:40
pm
3.
SR9600U DFU̲01̲ENG XM
06.1.16, 4:44 PM
Page 5
Adobe PageMaker 6.5J/PPC


