Video Features 1 - 33
Quick Start Guide
1
Video Features
You can switch display devices, and configure display options, from the
Display settings
(click the
Start Menu
and click
Settings > System
or right-click the desktop and select
Display settings
) control panel (see page
1 -
35
). In
Windows 10
it is possible to quickly configure external displays from the
Project
menu (
press the Win-
dows logo key
on your keyboard and the
P
key or
Fn + F7
).
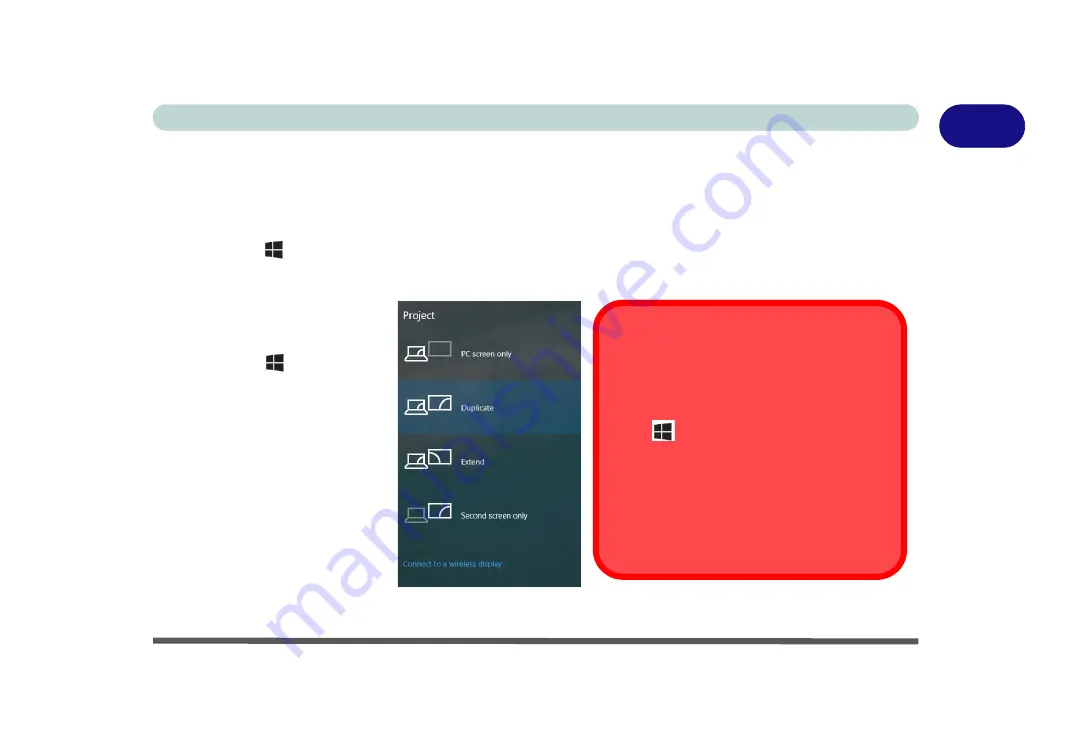
To Configure Displays using Project
Figure 1 - 23
- Project (Devices)
1.
Attach your display to the
appropriate port, and turn it
on.
2.
Press the
+ P
(or
Fn +
F7
) key combination.
3.
Click on any one of the
options from the menu to
select
PC screen only
,
Duplicate
,
Extend
or
Second screen only
.
4.
You can also click
Connect
to a wireless display
at the
bottom of the
Project
screen
and follow the steps to
connect to any wireless
enabled display.
Configuring External Displays
When a single external display is attached to
the HDMI or Display Ports, use the
System >
Display
(in
Settings -
page
) control panel
or the
+ P
(or
Fn + F7 -
page
combination, to configure the external display.
When multiple external displays are attached
you should use the
NVIDIA (
page
con-
trol panel to configure the external displays.
You cannot configure external displays us-
ing the Intel(R) HD Graphics control panel
.
Summary of Contents for PRO 17
Page 1: ...V17 3 00...
Page 2: ......
Page 20: ...XVIII Preface...
Page 36: ...XXXIV Preface...
Page 118: ...Power Management 3 26 3...
Page 152: ...BIOS Utilities 5 24 5...
Page 256: ...Interface Ports Jacks A 6 A...
Page 346: ...Video Driver Controls C 48 C...


