background image

                                           WARNING

NEVER

 CONNECT A GAS LINE DIRECTLY TO THE GRILL. A PRESSURE REGULATOR MUST 

BE INSTALLED ON ALL GAS EQUIPMENT.  ALL LOCAL CODES REQUIRE IT AND XO SUPPLIES 

THE CORRECT REGULATOR WITH YOUR UNIT.  REMOVING OR FAILING TO INSTALL THE 

PRESSURE REGULATOR CAN RESULT IN FIRE AND SERIOUS PERSONAL INJURY AND WILL 

VOID THE WARRANTY


critical that the gas you use matches that which the grill was set up for. You can verify that  

by checking the rating plate.  

The Rating Plate lists serial numbers, model numbers and gas

type. 

Ensure that the gas supplied meets with the minimum pressure requirements. Do not operate 

the grill on any gas other than that for which the grill has been set.

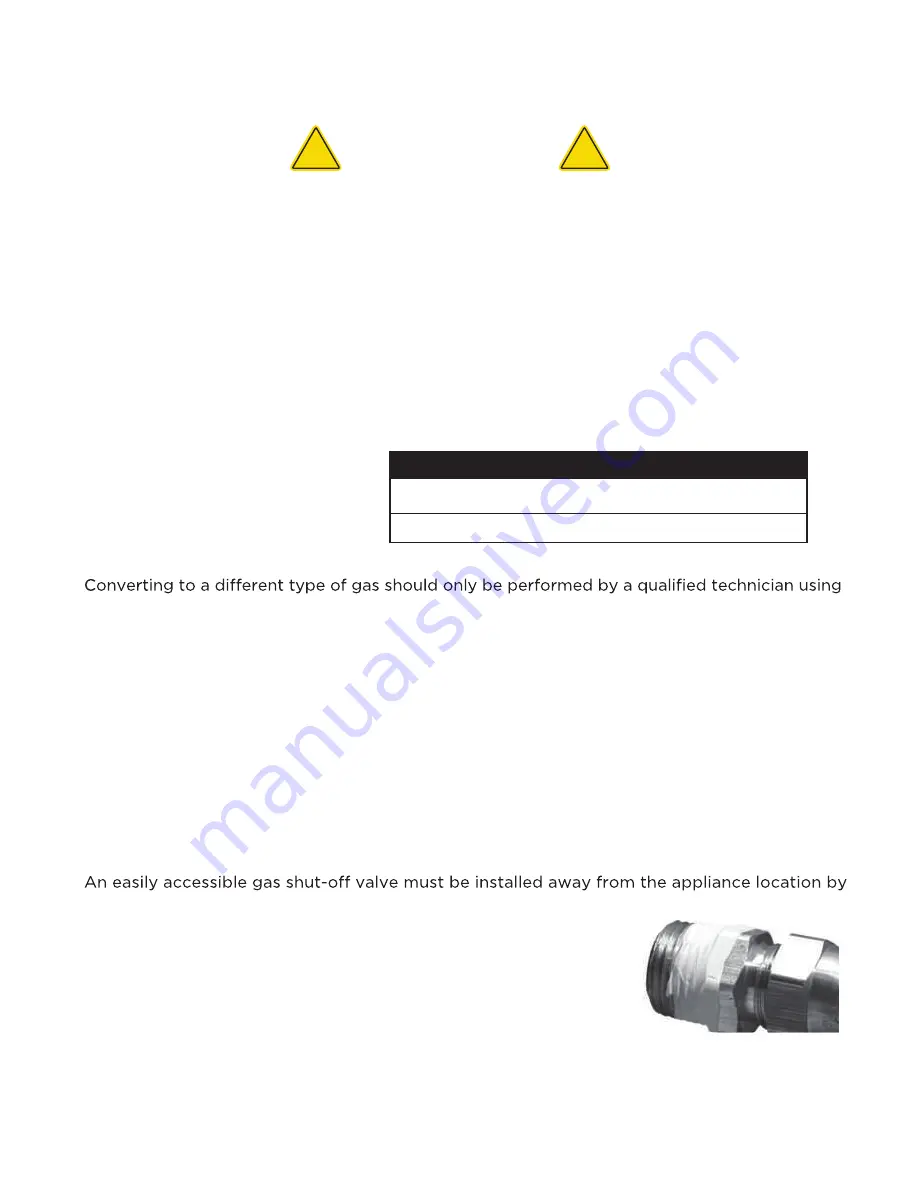
Water Column Requirements  

Both the regulator and manifold 

orifices have been tuned for the 

type gas identified on the rating

plate.

factory original parts from XO.   All installation and all installation parts must conform to local

codes with the National Electrical Code, ANSI Z223.1/NFPA 70 latest edition and the National 

Fuel Gas Code, ANSI Z223.1/NFPA54 in the U.S. and CGA-B149.1/.2 in Canada.

XO recommends that only qualified professionals perform the required plumbing, installation

and maintenance on this product.   

To ensure satisfactory  performance, the gas supply line must be sized to accommodate the

total BTU requirements of all the gas-fired equipment that will be connected to that  line.  In 

no case should an inlet pipe less than 3/4” ID or 1” OD ever be used to connect this product.  

Calculate the total BTU output of all equipment and refer  to “Gas Supply Line Runs” for 

allowable run distances for 3/4” pipe.  Failure to meet these minimum requirements may 

reduce performance of the grill and any other appliances running on that supply line.  Always 

keep supply line runs as short as possible.  (See:  “BTU Output” for specific model outputs)

a qualified plumber.

Keep the first two pipe threads free of any sealing compound 

to prevent pieces breaking loose which could clog a burner valve. 

Do not use sealing compound on flare fittings. 

For built-in installations it is recommended that flexible pipe used 

be kept as short as possible.  

FUEL

N G

L P

WC MAX INLET

10 in
14 in

WC MIN INLET*

4 in

11 in

*under full load

gas connections


!


!

15

XO cooking appliances are factory set to use either propane (LP) or natural gas (NAT).  It is      

Summary of Contents for XOGRIDDLE30 Series

Page 1: ...XO PRO GRADE GRIDDLE MODEL XOGRIDDLE30_...

Page 2: ...n the vicinity of this or any other appliance An LP cylinder not connected for use must NOT be stored in the vicinity of this or any other appliance FOR OUTDOOR RESIDENTIAL USE ONLY IMPROPER INSTALLAT...

Page 3: ...XOGRIDDLE30N XOGRIDDLE30L these are the models covered in this book record your serial number here in case you need it later 3...

Page 4: ...ting Gas and Electrical Connections Operating Meet your XO Controls Lighting the Burners Griddle Safety Tips Maintenance Care of Stainless Steel General Cleaning Burner Maintenance Parts and Service N...

Page 5: ...Handling Code B149 2 in Canada All electrical connections must comply with local builing codes or in the absence of local codes National Electrical Code Appliance must be connected to a GFI protected...

Page 6: ...ZE BURNER TYPE NUMBER OF BURNERS BURNER CAPACITY IGNITION SYSTEM CONSTRUCTION CONTROL LIGHTING 30 28 3 4 13 3 6 28 3 4 24 10 7 8 28 18 504 sq in Natural Gas or Propane 2 08 mm 1 3 mm 304 Stainless Ste...

Page 7: ...stalled in the gas supply line to this appliance This does not apply to portable propane installations using a 20lb cylinder The burning of gas cooking fuel generates some byproducts wich are on the l...

Page 8: ...material exposed to heat will catch fire Gas grills and griddles are not designed or certified for and are not to be installed in or on any recreational vehicles portable trailers boats or any other m...

Page 9: ...oduct dimensions please read and follow all safety instructions 12 3 8 315mm 13 3 16 335mm 11 11 16 282mm 28 3 4 730mm 24 5 8 625mm 30 760mm FRONT BOTTOM SIDE XOGRIDDLE30 TOP 21 1 2 546mm 10 1 2 267mm...

Page 10: ...using combustible materials such as wood or vinyl you must install the XOG30JACKET liner first use the larger cutout dimensions 12 H x 25 3 4 D x 31 1 4 W THE NOTCH IMPORTANT NOTE The depth shown is m...

Page 11: ...allation code CSA B149 1 or Propane Storage and Handling Code B149 2 in Canada MINIMIZE YOUR GAS RUN Keep all gas supply lines as short and straight as possible Piping long distances changes in direct...

Page 12: ...be installed using an XOG30JACKET insulated liner The cutout dimensions are increased to accommodate the liner which is placed without fastening into the cutout The liner is supported by a perimeter...

Page 13: ...he design of the appliance makes it less susceptable to wind patterns than a grill however care should be taken to avoid conflicts with strong prevailing wind patterns In the case where strong prevail...

Page 14: ...h vent must have a minimum of 10 sq in of open area Placing vents on opposite sides ensures cross ventilation Safe operation requires adequate air flow make certain there are no unventilated voids IMP...

Page 15: ...GA B149 1 2 in Canada XO recommends that only qualified professionals perform the required plumbing installation and maintenance on this product To ensure satisfactory performance the gas supply line...

Page 16: ...note the direction of gas flow is marked If installed backwards it will not work Attach your Flexline from the house gas supply Leak test all connections WARNING Regulators set for Natural Gas and LP...

Page 17: ...XOLQD connecting to a permanently plumbed gas line Follow the example diagrams below to connect your griddle to a permanently plumbed system For Natural Gas use of a Stainless Steel Flexline is recom...

Page 18: ...16 cylinder with an over fill protection device Never use a cylinder with a damaged valve Always check for leaks after every LP cylinder change See Leak Test for further details Cylinders must be stor...

Page 19: ...use a leak and or fire hazard Open the tank valve slowly a full turn counter clockwise and use a soapy water solution to check for leaks before attempting to light the griddle If a leak is found close...

Page 20: ...uired however this conversion should only be undertaken by a qualified technician experienced in gas appliance repair and service All the necessary components for the conversion can be found in kit fo...

Page 21: ...ny part of the power cord an extension cord or any plugs in water or other liquid Unplug the product from the outlet when not in use and before cleaning Ensure that all equipment has cooled completely...

Page 22: ...cted outlet If you are uncertain if an existing outlet meets this requirement consult a licensed electrician NEVER remove or circumvent the third grounding prong The transformer and its attendant wiri...

Page 23: ...tdoor kitchen and expand your culinary boundaries PRO GRADE 304 Stainless Steel Welded Construction Massive Solid 304 Stainless Steel Cooking Surface Twin 18 000 BTU Stainless Steel U Shaped Burners f...

Page 24: ...ad and follow all safety instructions LEFT BURNER CONTROL RIGHT BURNER CONTROL LED LIGHTS ON OFF BUTTON OFF POSITION LIGHTING HIGH POSITION OFF LOW HI OFF LOW HI 24 KNOBS TURN ON COUNTER CLOCK WISE AN...

Page 25: ...num foil this can alter the flow of air internally and result in damage to the unit Such damages are excluded from your warranty Cooking excessively fatty or similar foods can cause flare ups Damages...

Page 26: ...E FOR BEST RESUTS Prior to lighting using a cooking oil that will not smoke oil the griddle surface to prepare it Before cooking turn both burners on medium until your desired temperature is reached T...

Page 27: ...hese baked on stains use a fine to medium non metallic abrasive pad with a stainless steel cleaner DRIP TRAY The drip tray should be cleaned after every use Extreme care must be taken to protect all S...

Page 28: ...wash with a mild soap and warm water solution ROUTINE CLEANING OF THE GRIDDLE INTERIOR at least every 6 months you must give the entire griddle a thorough cleaning to minimize your risk of fire and ke...

Page 29: ...venturi and air shutter Inspect the venturi air shuttle to make certain it is clear If any obstructions can be seen use a WARNING TEAM LIFT this requires two people WHEN YOUR GRIDDLE ARRIVES THE BURNE...

Page 30: ...the griddle plate CAUTION this part is extremely heavy and will require at least two people to handle safely carefully remove the burners by tilting the burner up and away from the gas valve orifice...

Page 31: ...er ______________________________ Appliance Serial Number_______________________________ Type of Gas Propane or Natural ________________________ For warranty purposes you will need to have proof of pu...

Page 32: ...parts 32...

Page 33: ...ATE OF SERVICE WORK PERFORMED DATE OF SERVICE WORK PERFORMED DATE OF SERVICE WORK PERFORMED DATE OF SERVICE WORK PERFORMED DATE OF SERVICE WORK PERFORMED DATE OF SERVICE WORK PERFORMED DATE OF SERVICE...

Page 34: ...notes 34...

Page 35: ...WARRANTY TERMS FOR Stainless Steel Outdoor Cooking Appliances griddle we ve got your back...

Page 36: ...now you re cooking 973 403 8900 OR VISIT US ONLINE WWW XOAPPLIANCE COM...

Reviews: