x0xio Calibration and finishing
Product Name
x0xio
Instruction ver
1.06
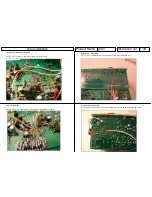
Use the wire ties to neaten them up but make sure not to strain any wires in the process.
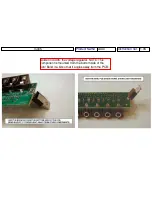
Before closing the case back up make sure there are no wires touching the new LM317
voltage regulator.
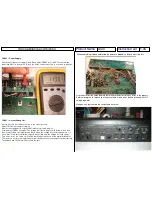
Now you can reassemble the x0xb0x and have fun!
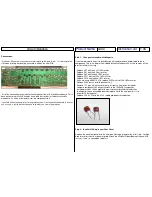
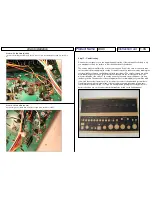
When everything is done and tested the wires are probably a bit of a mess like this:
TM302 – Power Supply.
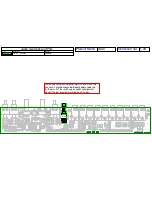
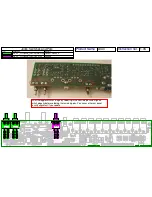
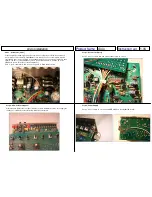
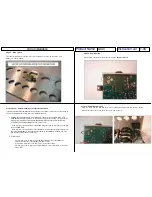
Check the voltage across pads C and D and adjust TM302 for 11.90V. There are many
pads labeled
C
on the new PCB, they are all the same connection so you can use any one:
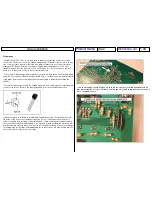
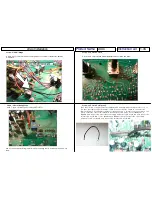
TM301 – Accent Sweep Out.
Set the Cutoff & Resonance controls to the center position.
Adjust TM301 full counter-clockwise.
Monitor the voltage at tip of jack J306 (relative to ground - pad C).
Slowly adjust TM301 clockwise. The voltage will start to drop from 1V down to 0.1V and
then you will find a spot right around 0.01V where the voltage doesn’t drop any more – it
hits a wall. You want to calibrate it right to that point where the voltage no longer drops.
This is easiest to see on an oscilloscope but it can also be done with a digital multimeter.
The idea is to not turn the trimpot any further clockwise once the voltage stops decreasing.
Turn it back and forth a few times to find the spot.

